Let’s get acquainted!

Hello, and welcome if you are new and stopping by from Plum & June’s New Blogger Hop!  If you’re a regular, then thanks for sticking around 🙂

QACreationsFinishedProjects
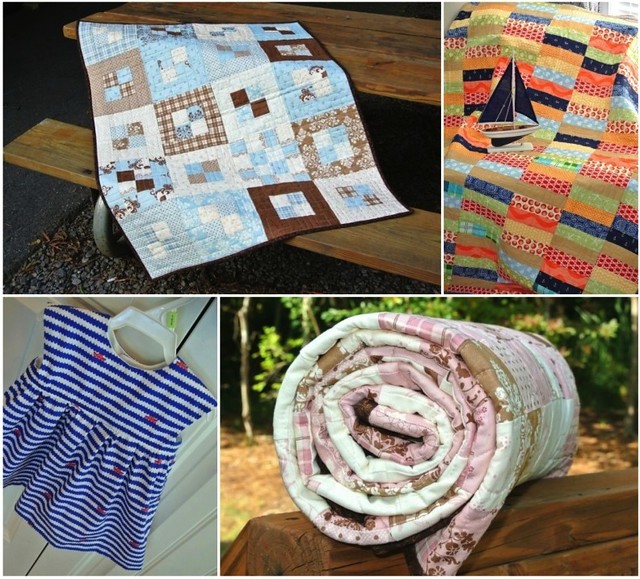
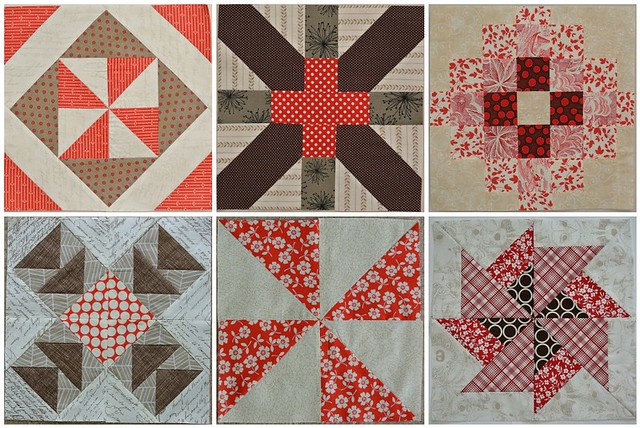
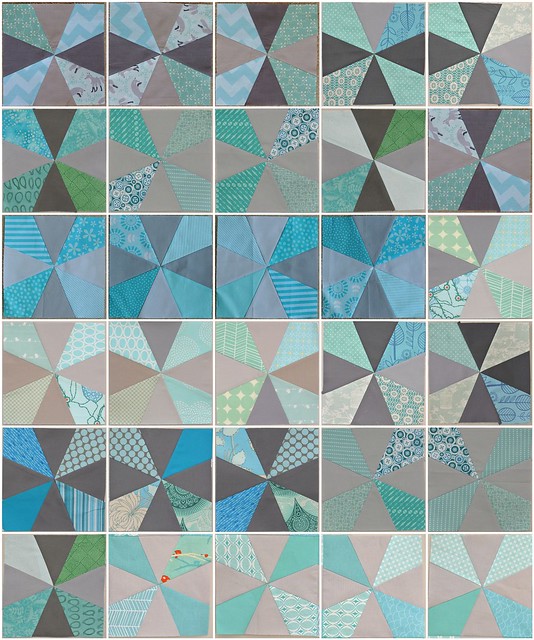
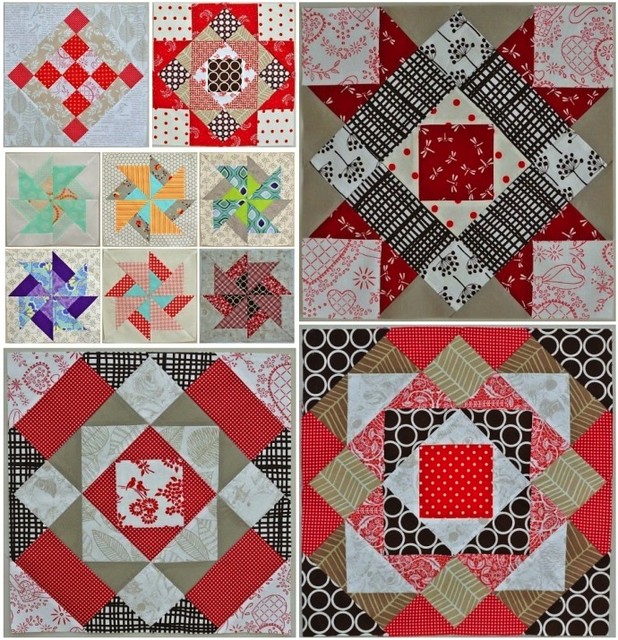
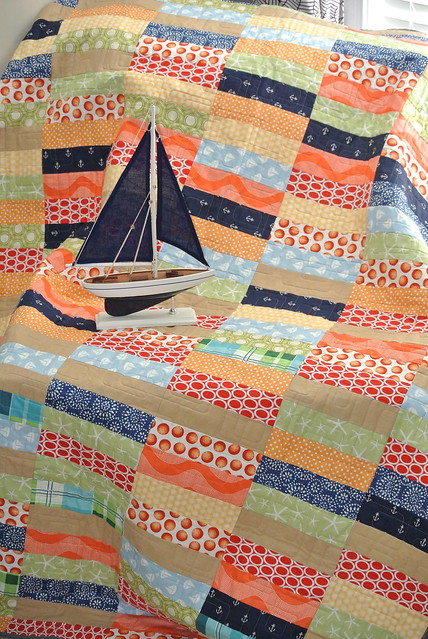
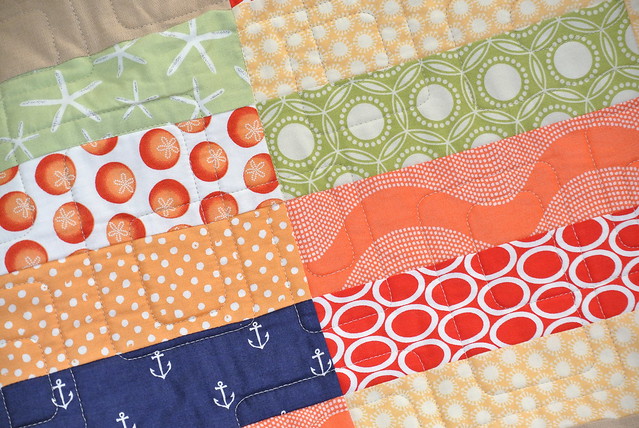
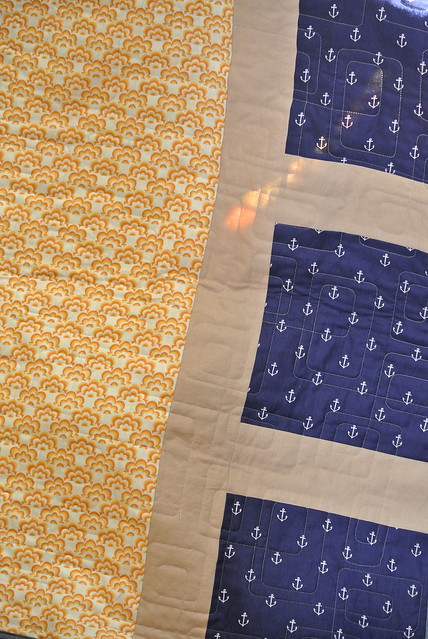
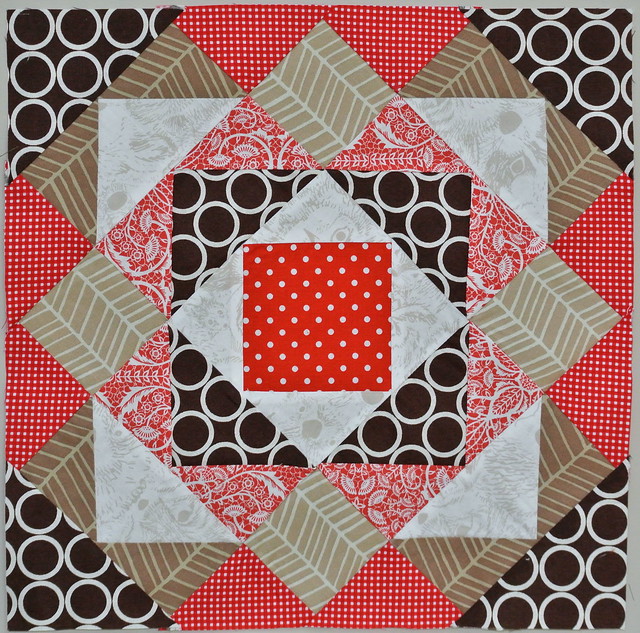
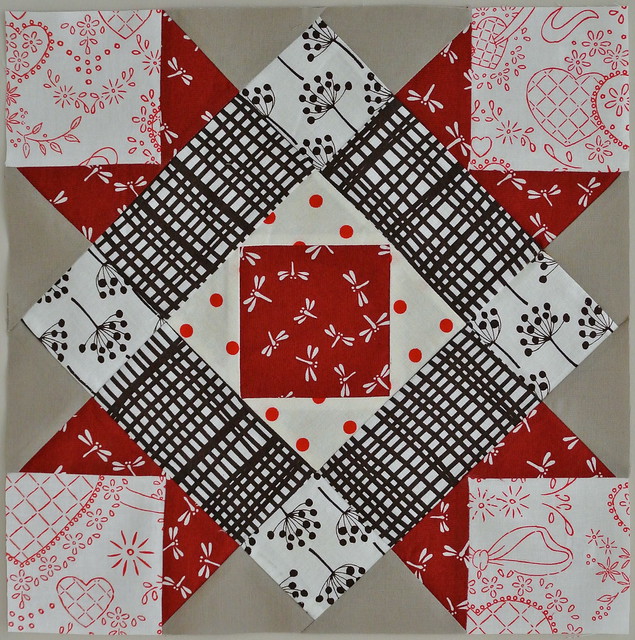
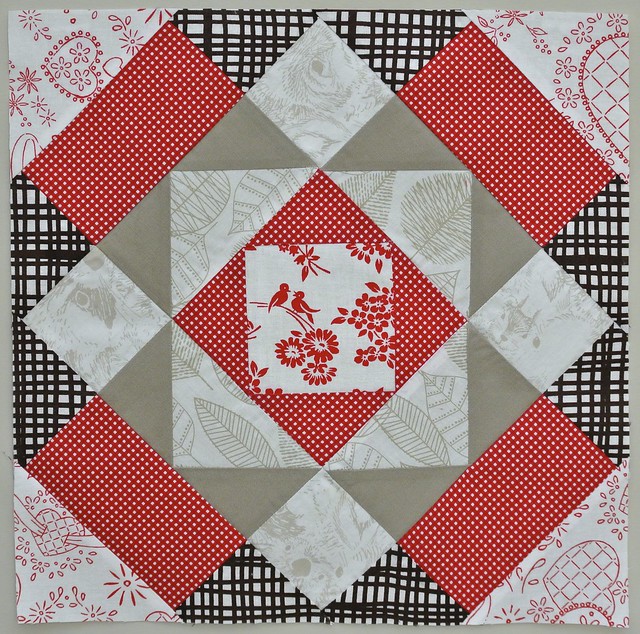
Pandora’s Box, Spinnaker Quilt, Geranium Dress, Daisy Chain Quilt

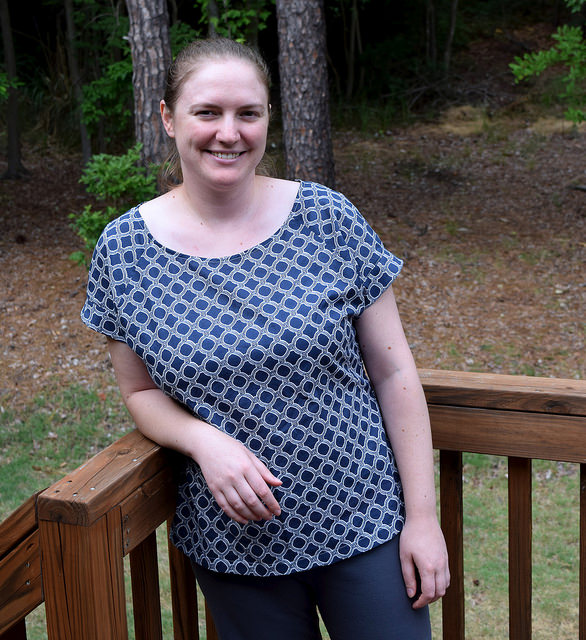
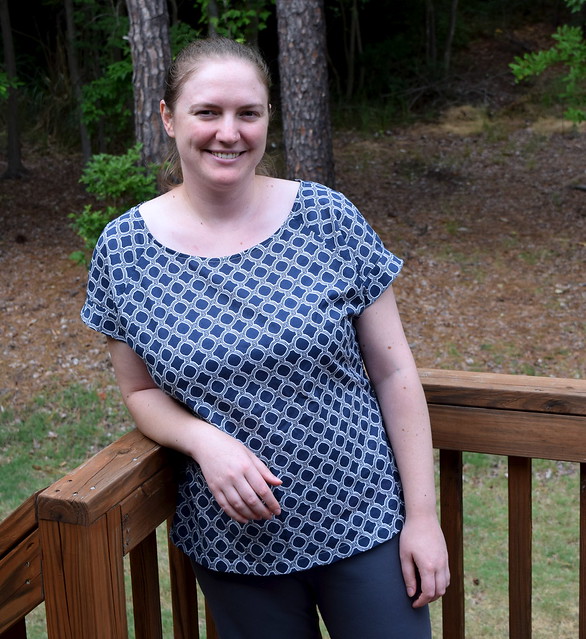
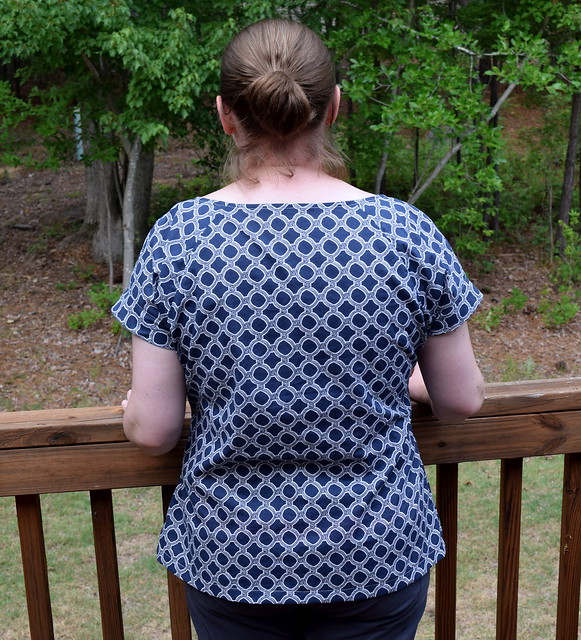
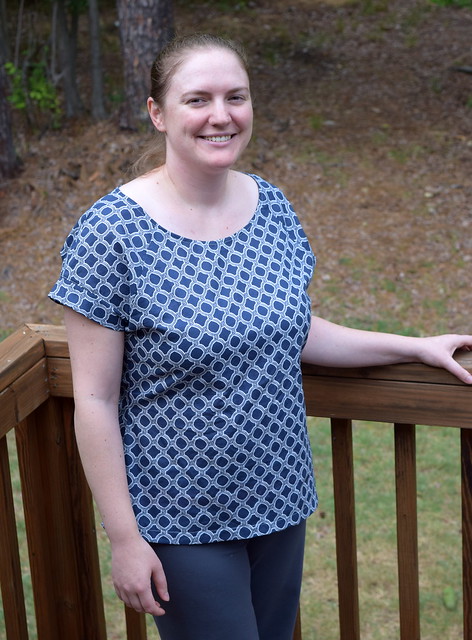
Welcome to QA Creations!  I’m Heather, and this is my little corner for sanity sewing.  I started with quilting back in 2010, but when I was pregnant with my daughter I sewed my first dress.  With complete ignorance of the fact that garment sewing is supposed to be difficult, I just followed the directions and made some garments that I am still proud of today (even with a little more experience).  Now I still make quilts, but sew for my daughter and even myself (still learning on the women’s clothing front!).

Let’s start with a few random facts:

– I adore chocolate, but don’t like doughnuts.

– I now love to sew and cook, but pretty much refused to do either before almost age 25.  I ate a lot of boxed macaroni and cheese and lean pockets.

– I was chastised by a tailor when I was in college because I took a shirt there to get a button sewn on.  Now, I sew clothing for myself and my daughter though I still rarely do buttons.

– Dream Vacations: Machu Pichu, Galapagos Islands, Northern Italy, New Zealand, driving tour of the National Parks in the western United States (I have a lot more dream vacations than time or money!)

– Favorite TV Show: NCIS

– Favorite Book: Anything by Bill Bryson

– Favorite Movie: McLintock, almost anything with Audrey Hepburn

– Born: Wisconsin

– Grew up in: Oregon

– Lived in: New York, Alabama, Texas, Missouri, North Carolina, Iraq and Afghanistan (Yes, I used to be in the Army in case the last 2 didn’t give it away)

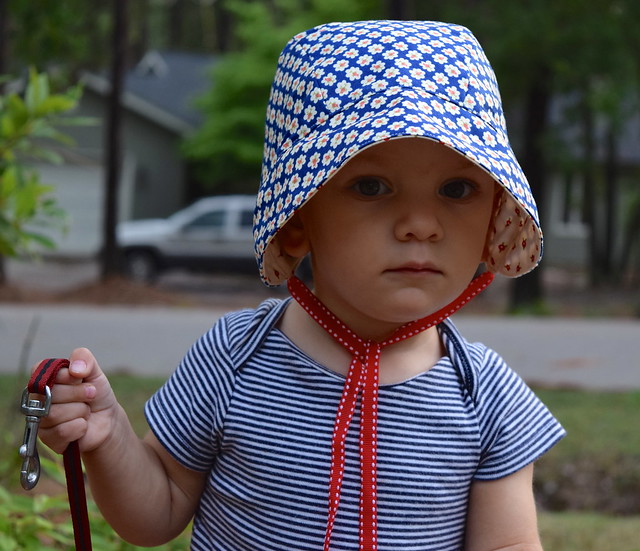
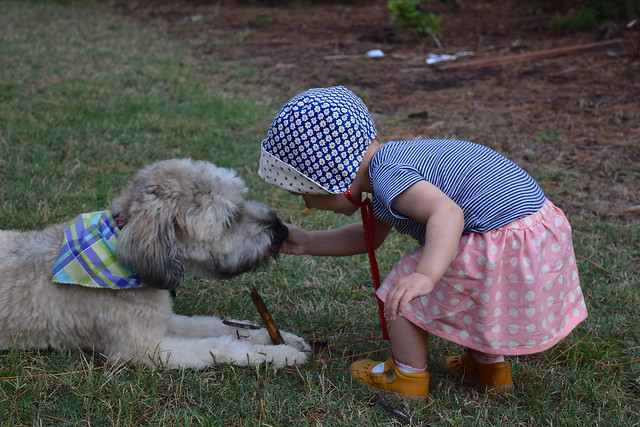
I used to blog as Bobbins and Bullets, but switched to QA Creations because it represents who I am now as opposed to what my job used to be.  The post announcing the name change explains it a little more.  Now, I am momma to a 16 month old little girl that loves doggies and her family (and yes, probably in that order!).  The name QA Creations is a combination of Quilts Actually, my long arm business and the stuff I create and document here.

Blogging Tip: Don’t choose a name that scares people!  No seriously, it’s better to choose something that has some room for you to grow and develop without boxing you into a corner or making people think you are some type of nut.

Quilting Tip: Label your solids and interfacing.  I learned this lesson the hard way because none of mine are labeled and when I go back to look at a fabric I bought years ago I don’t even remember what brand it was, much less which exact shade of the 30 possible greens there are that it is.  And just which white is it?  Why are there so many whites?!?

Thanks for stopping by, and please check out the other bloggers on the tour today:

Sarah @ Berry Barn Designs

Liz @ Green Cheese Quilting

Janet @ Simply Pieced

Ruth @ Charly & Ben’s Crafty Corner

Kristyn @ Melon Patch Quilts

Jo @ Riddle and Whimsy

Linh @ Calling All Stitchers

Alida @ Tweety Loves Quilting

Rachel @ Quiltineering

-Heather

Summer Sewing

It’s been a little busy so far this summer, but I have managed to get some summer sewing in.  June was Made for Kid’s Month, after all.

Little Betty Bonnet

I love a little girl in bonnets, and hers was getting a little small.  I made the 7th and 8th versions of the Little Betty Bonnet pattern.  It comes in only three sizes, but I play with the seam allowances to get a better fit.  The one that is getting small was the straight 18-24 month size, with a 3/8 inch seam as the pattern calls for.  It fit her head fine, but the bill wasn’t covering her face.  The one I made last fall with the 1/4 inch seam throughout is still too big.

Little Betty Bonnet

Therefore, I used the 3/8 inch seam on the top of the bonnet, and the 1/4 inch seam in the back and on the bill.  That gave the extra length to cover her face, but didn’t make the whole bonnet so huge that it would be unwearable.

Little Betty Bonnet

You can also push the brim back and show off the coordinating fabric because the whole bonnet is reversible.

Little Betty Bonnet

I also made a little skirt for her, no pattern.

Little Betty Bonnet

Baby Skirt

I used the measurements off a skirt she already has, but some time lapsed between taking the measurements and making the skirt, so I forgot to add seam allowances.  It would have been a little short, but I added a separate waist which saved the skirt.  I love her in a skirt, and it’s a great use for leftover fabric.

Baby Skirt

I also love clean inside seams!

Baby Skirt

-Heather

Linking up to: Anything Goes MondayFabric Tuesday @ Quilt StoryFinish it up Friday @ Crazy Mom QuiltsWhoop Whoop Fridays @ Confessions of a Quilt AddictTGIFF , Fabric Frenzy Friday @ Ft. Worth Fabric, Show off Saturday at Sew Can She, and Sewing Saturday at Simple Simon & Co


Pilot Hat Review

Pilot Hat Review

This is a project summary of the “Pilot Hat” pattern by See Kate Sew.  I bought this pattern during her Black Friday sale last year, made it in February, and am just now blogging it.  It is sized to fit from 18M to 7/8.

See Kate Sew Cozy Pilot Hat

I originally thought that it would fit my daughter next winter and beyond, but then when I checked the sizing, she was a 12 month old wearing the 2T size.  Granted, she has a large head.  Her head circumference was 19.5 when I made it, and I made the 18M-2T size which is recommended for a 19 inch head.  It fits her well, but probably won’t after her next growth spurt – I’ll have to size up.  Then again, it’s been a few months since I made it and it still fits, so maybe I’m good for a little while longer.

See Kate Sew Cozy Pilot Hat

I made this using linen for the outer fabric and a light fleece for the inner fabric.  Both were pre-washed prior to sewing.  I like the fabric combination.

I chose not to add the velcro enclosure.  My daughter prefers to put this hat on when she starts playing with the airplane and then take it off about 2 minutes later, so the velcro is unnecessary.

See Kate Sew Cozy Pilot Hat

Pilot Hat Review: As far as the pattern, I’m mostly happy with it…  I think it’s overall a cute pattern.  I think the angular top is a bit odd and slightly alien-ish.  Traditional pilot hats were not shaped like that so I’m not quite sure why the hat is shaped that way.  I sewed it with a larger seam allowance at the very top in an attempt to minimize that aspect of the hat and you can still see it a little.

Wooden AAC Plane

The instructions were adequate.  I would have preferred a few additions, such as a diagram showing where she measured the head for fit recommendations or a table with the finished size so that I could better decide what size to make.  I also wish she would proofread a little bit better.  On page 11, the instructions said, “… cut out bow pattern pieces located on page xx.”  I know that’s a small detail, but her patterns (while reasonably priced) cost enough that I expect them not to have basic typos like this.  If you have a free tutorial or the pattern cost next to nothing, I am more accepting of typos, but these are small and easy to catch so it makes me wonder about the testing process.

See Kate Sew Cozy Pilot Hat

One other issue I had with this pattern was that it did not call for topstitching, or ironing of any seams.  I added it everywhere – partially because I like the finished look of it and partly because I know that it helps a garment (or hat) wash and wear better.  I know that I can put this hat through a washing machine and it will come out  fine.  The ironing thing is a personal preference, I suppose, but if I had not made other hats before I don’t know if I would have known to do it and would not have as good of a result.  I think that for a pattern that seems to be aimed at beginners, it doesn’t have quite enough detail.

Wooden AAC Plane

Overall, it’s a cute hat, and with some modifications I will probably make this again.

The hat was an accessory to go with the absolutely awesome airplane my husband made the little girl for her birthday.  She enjoys pushing it around, making the rudder flap, spinning the propeller, and scooting around in circles on it.  She knows that the hat goes with the airplane, but it usually doesn’t last long.  Probably because the hat is lined with fleece and it’s really hot in June in North Carolina.  The airplane is made to look like an old World War II Army Air Corps trainer.  I may be slightly partial, but I think he did an incredible job on the plane!

-Heather

Linking to: Anything Goes MondayFabric Tuesday @ Quilt StorySew Cute Tuesday @ Blossom Heart QuiltsLet’s Bee Social Wednesday @ SewFreshQuiltsNeedle and Thread Thursday @ My Quilt InfatuationFinish it up Friday @ Crazy Mom QuiltsWhoop Whoop Fridays @ Confessions of a Quilt AddictTGIFF , Fabric Frenzy Friday @ Ft. Worth FabricSewjo Saturday at My Go-Go LifeShow off Saturday at Sew Can She, and Sewing Saturday at Simple Simon & Co


Bee Blocks – Received!

It is always fun to receive bee blocks!  I try to do the 4×5 Modern Bee quarterly, which is nice because it has instant gratification as far as bees go.  You send your blocks and receive your blocks at the same time.  This spring I was in hive 3, and was fortunate to receive the following blocks to add to my Real World Red & White Sampler:

Spring 2014 4x5 Modern Bee Hive 3

1. Dawn, 2. Christina (illy23), 3. Brandy (Jade Rose), 4. Sarah (Coincidentally Quilting), 5. Cinda (Sewbusy64), 6. My Double Pinwheel

I am also part of the Stash Bee, which is a more traditional monthly bee where you send away a block each month, and then have to wait until your month to get all your blocks in return.  When it’s your month though – it’s magical!  Everyday going to the mailbox felt like my birthday.

Hive 12 did an amazing job on my blocks.  I requested that they do my Square Dance block using my paper piecing tutorial in gray and shades of aqua.  As you can see below, they did beautiful work.

Square Dance Quilt

Thank you to the ladies of Hive 12: Heather (Quilts in the Queue), Cheryl (Texas Quilting Gal), Jennifer (Taken Patiently), Michele, Kristel (Work in Progress Girl), Laura (Sew Frou Frou Quilter), Toni (Gypsygirl Wanderlust), Genevieve, Francis (Quilts n Stuff), and Willa.


-Heather


Linking up to:

Anything Goes MondayFabric Tuesday @ Quilt StoryLet’s Bee Social Wednesday @ SewFreshQuiltsNeedle and Thread Thursday @ My Quilt InfatuationWhoop Whoop Fridays @ Confessions of a Quilt AddictFabric Frenzy Friday @ Ft. Worth Fabric, and Sewjo Saturday at My Go-Go Life.


Sewaholic Belcarra Blouse Review

Belcarra Blouse Review

I am going to give a quick spoiler and say I love the Belcarra Blouse by Sewaholic!  Continue reading my Belcarra Blouse Review to see why…

Sewaholic Belcarra Blouse

This blouse has a similar look to a blouse I purchased and really like (but it is slightly too big, and made from a kind of weird polyester that is not comfy when it’s super hot out – which North Carolina is HOT in the summer).  Originally, I was going to try to trace the pattern and make it smaller, but honestly – that was not going to happen anytime soon and I wanted a shirt to wear this summer.  So, when I saw this blouse came in a PDF, and was on sale for just under $10, I had to go for it!

Pattern: Belcarra Blouse by Sewaholic.  I used the PDF version of the pattern and I made view A.

Fabric: lightweight 100% cotton

Sewaholic Belcarra Blouse

Sizing: I discovered from this pattern that I am not a pear shape, which is what Sewaholic designs for.

I was a 16 in the bust, 12 in the waist, and 10 in the hip.  I had seen an awesome Madras version on Meg’s blog where she mentioned she went down a size and used the finished measurements to find the size that gave her 2 inches of ease.  I made the same choice, and cut a straight size 14.  The fit looks pretty good in the chest and waist, but I did take it in around the hips – probably to about a 12.

I must admit that about halfway through making this shirt, I had one of those making moments when you question every decision you’ve made associated with a project.  As in, maybe I should have made a muslin?  Did I cut out the right size?  Why did I make this with good fabric that cost $15 a yard?  In my case, I had a major doubt about what size I cut out.  I actually took the shirt with only the shoulder seams sewn into the bathroom, where I was pinching the seams to try and tell if it would fit around my chest or not.  Thankfully, the finished sizes on the pattern were correct, and my chest did fit into the shirt!

Fabric Used: According to the pattern, a size 14 View A shirt should take between 2-2 1/4 yards of fabric (depending on width).  I was able to cut it out of less than 1.5 yards.  I did piece together the neck binding, but that doesn’t show so I didn’t care that it had an extra seam.  Maybe it’s my quilting background that makes me a ninja at maximizing fabric usage?

Instructions:  This blouse is fairly simply to construct, but any questions I would have had were answered in the sew-along.  The instructions and photos in the sew-along made this easy.  The finishes on this project are awesome.  I felt like an amazing seamstress while I was making this.  The pattern pieces have the seam allowance printed on them, which is a nice touch.

Belcarra Blouse

Pattern Issues: I had a little bit of odd fabric that had to be eased in when sewing the sleeves to the front piece.  It was not excessive, and that edge is on the bias, so it is possible it stretched (but I was super careful not to move that fabric, so who knows?)  The neck is also wide.  Bra choice will have to be considered when I wear this.

Fabric Choice: This pattern recommends lightweight cotton, which is what I used, and it is great.  It is going to be so comfortable to wear this summer.

Finished Product: I love how this shirt turned out!  It is going to be in heavy rotation this summer.

Using as scrap – wearable inside the house – wearable outside the housewearing outside the house and will proudly say I made it

Husband’s opinion: The first thing my husband said when he saw it (about halfway through construction) was that it didn’t look handmade, which I take as a compliment 🙂

Belcarra Blouse

Final Thoughts: I may try narrowing the neck on my next version because it does occasionally show my braw strap.  I will definitely grade down to a 12 in the hips.  I’m still debating whether or not to try doing a 12 with a FBA.  I think it could potentially fit slightly better, but this one fits fine.  We’ll see how motivated I get before I make my next one… and there will be a next one!

Linking up to Fabric Frenzy Friday @ Ft. Worth Fabric, Show Off Saturday at Sew Can She, and Sewing Saturdays at Simple Simon & Co.

I also entered this in the New to Me Indie Pattern Contest at The Monthly Stitch.


Welcome to QA Creations!

Welcome to QA Creations!

QA Creations Announcement

The first piece of news is that I have changed my blog name.

A lifetime ago, I chose Bobbins and Bullets.  It made sense at the time.  I was in the Army, deployed to Afghanistan.  My husband was deployed to Iraq.  I was sewing for sanity, and wanted a blog to maintain a link (no matter how small) to the “real world”.

The blog was just something I had – mostly for me to document what I was doing so I wouldn’t forget what I made.  I barely posted once a month.  Once I redeployed and got home, I got a puppy, was busy at work, and continued to not post very regularly.

Fast forward a couple years, and I was getting out of the Army to stay at home with my new daughter.  Once again, I was sewing to keep my sanity, and I discovered that I needed the online sewing world as my link to the “real world” as a new stay at home mother even more than I had needed it back when I was thousands of miles away from home.

Now, I have an active, determined, amazing (almost) 16 month old daughter.  I’m starting to take quilts from others to finish on my long arm.  I want to continue sharing my patterns and tutorials.  I’m having a lot of fun with bees and swaps.  I’m ready to be a contributing member of this community instead of just a lurker.

But, I’m convinced my name was holding me back.  Some people were taken aback, some people left comments that led me to believe they thought I was some kind of gun nut.  Most people never read the explanation, or noticed that the sewing machine in my logo was Army ACU colored.

I don’t want to scare people anymore.  I want a name that reflects my current life, not what I used to do.

QA Creations will be my creative blog.  The QA comes from Quilts Actually – which is my long arm and pattern blog and business.

I will continue to post about sewing and quilting.  I still love both traditional and modern quilts, and probably fall into the modern traditional camp for most of my own work.  I still love to make clothes for my daughter.  I’m starting to make clothes for me, and trying to get over the body issues involved with posting pictures of myself on here.  I’m also starting to make bags and expand what I sew.

I hope you enjoy the new QA Creations, and stick around to see what happens!

As an admin note, when I transferred the blog, a lot of my old pictures got messed up.  I will be slowly updating all the pictures on my old posts, so please have patience with me.  If there is a post you are interested in seeing, let me know and I’ll put that post higher in the queue for finishing up.

Finally, so this post isn’t entirely picture less, below are the blocks I worked on in May.  It was a big piecing month.  I’ve got the bug to make some clothes for me, so we’ll see how much of that I get done in June.

June Fresh Sewing Day


Thanks for reading!

Heather


Linking to: Fresh Sewing Day @ Lily’s QuiltsAnything Goes MondayWiP Wednesday @ Freshly PiecedLet’s Bee Social Wednesday @ SewFreshQuiltsNeedle and Thread Thursday @ My Quilt InfatuationWhoop Whoop Fridays @ Confessions of a Quilt AddictFabric Frenzy Friday @ Ft. Worth Fabric, and Sewjo Saturday at My Go-Go Life

Spring 2014 4×5 Modern Bee

I chose to make the Double Pinwheel Block from McCalls.

I think it’s a fun block, that isn’t seen very much around the inter webs right now.  It’s one of those classic blocks that can be modernized with fabric choices.  The only downside of the block is using the construction directions from McCalls there are a gazillion bias edges.  All you can do is starch like crazy and hope for the best.

Spring 2014 Hive #3 4x5 Modern Bee

Sarah requested aqua, lime, cobalt, and grey on a text or low volume background.

Double Pinwheel Block


Christina requested sea foam green, pale turquoise, pale gold, champagne, pearl white, and kona white background.

Double Pinwheel Block


Cinda requested aqua/turquoise, orange, yellow, and grey with a white or low volume background.

Double Pinwheel Block

Dawn requested red, turquoise, aqua and pink with a white background.

Double Pinwheel Block

Brandy requested purple and aqua with grey or low volume background.

Double Pinwheel Block

I continued with my real world red and white theme.

Double Pinwheel

– Heather

Linking to: Anything Goes MondayWiP Wednesday @ Freshly PiecedLet’s Bee Social Wednesday @ SewFreshQuiltsNeedle and Thread Thursday @ My Quilt InfatuationWhoop Whoop Fridays @ Confessions of a Quilt AddictFabric Frenzy Friday @ Ft. Worth Fabric, and Sewjo Saturday at My Go-Go Life.

Blogger’s Quilt Festival

Welcome to my entry to the Spring 2014 Blogger’s Quilt Festival – the Spinnaker Quilt!

This quilt was a work of love, my Christmas present to my dad for Christmas 2013 (over 5 months ago already – can you believe it?)

The inspiration for this quilt was a brightly colored spinnaker on a racing sailboat.  My dad actually requested this quilt, and when dad requests something like this, I make it.  He wanted it to have yellow, green, red and be bright and cheerful.  I like to think I met his requests.

Spinnaker Quilt
Each of the 238 rectangles in this quilt are 2 inches by 7.5 inches finished size.  I used a variety of fabrics and tan linen to allow the eye a place to rest.

The quilting is an allover design of rounded rectangles, with the goal of softening up the hard rectangles while keeping it masculine.
Spinnaker Quilt

The back is pieced with the linen and anchor fabric to make the backing wide enough to fit the quilt.

Spinnaker Quilt

  The quilt roll shows the grey crosshatch binding.

Spinnaker Quilt

This quilt measures 68.5 by 53 inches, which is 243 inches around – just barely a large quilt category.  A little more in process information can be found in my original entry on this Spinnaker Quilt.
Thanks for visiting from Amy’s Creative Side!
– Heather

Cora’s Quilts Spring Sampler

In my continuing quest to create a queen sized quilt so I can actually sleep under a quilt I’ve made, I started the Spring Sampler over at Cora’s Quilts.

Block 1 is Pyramid.  These are all 12.5 inch unfinished blocks, so a great size for bees or a sampler quilt (in my case!).
Pyramids (Cora's Quilts Spring Sampler)
Block 2 is Beacon.
Beacon  (Cora's Quilts Spring Sampler)
Block 3 is Tombstone.  I varied the fabric placement a little from her suggestion to make it look more different than Pyramid, because it is pretty similar.

Tombstone  (Cora's Quilts Spring Sampler)

So far, I’m enjoying these blocks.  Cora has done a good job making these tutorials available, and I can’t wait to keep making more!

– Heather


Linking up to:WiP Wednesday @ Freshly PiecedLet’s Bee Social Wednesday @ SewFreshQuiltsNeedle and Thread Thursday @ My Quilt InfatuationWhoop Whoop Fridays @ Confessions of a Quilt AddictFabric Frenzy Friday @ Ft. Worth Fabric, and Sewjo Saturday at My Go-Go Life.