For February, Cheryl of Texas Quilting Gal, Hive 12 of Stash Bee asked for the Dutch Rose block. This block is also currently well known as the Swoon Block from Camille’s fame. She had us use this tutorial from The Double Nickel Quilt Challenge blog.
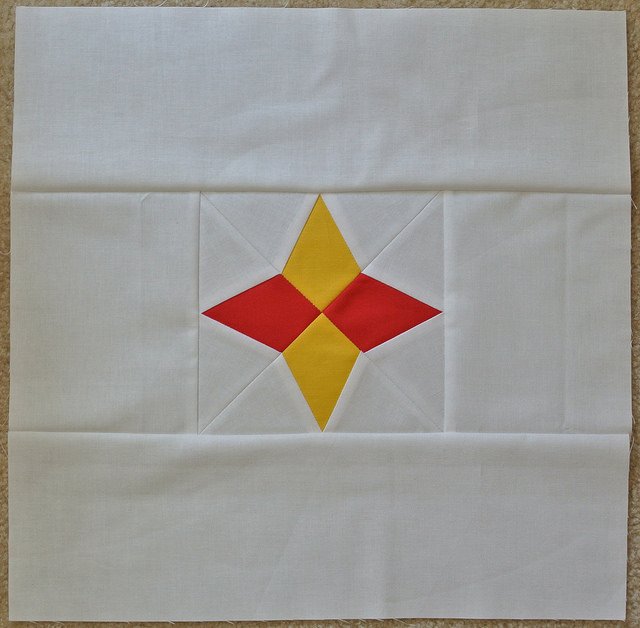
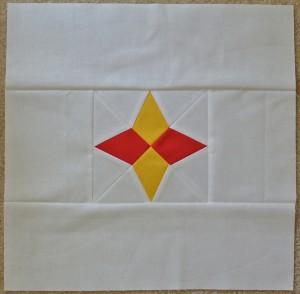
The Swoon block is a huge 24″ block. This Dutch Rose tutorial is constructed differently, and makes a 16″ finished block. Quite frankly, this block still looks large and I can’t imagine it another 8 inches larger! Then again, this block is a fiddly block with lots of steps, so maybe a 24″ version is the way to go…
Also, I know this is not the 100% original layout of the Swoon/Dutch Rose. I did it on accident at first, but the more I look at it, the more I like it. I think maybe even more so than the traditional version of this block. I really want to try one that doesn’t have the white part in the gray and purple lattice square corner. I think that could look really cool.
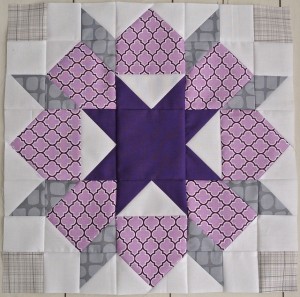
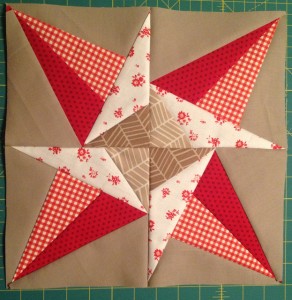
Cheryl asked for a radiant orchid inspired, purple and gray block. I realized that despite liking purple, I only have about 8 purple fabrics and half of those have some other color mixed in. Hopefully with Radiant Orchid as the Pantone Color of the Year, the quilting fabric companies will make some good purple fabric this year.
Anyway, on to talk about the block. The tutorial was designed to use charm squares, but if you are cutting yardage leads to quite a bit of waste. Or as the write refers to it, “bonus blocks.” I don’t personally like as many “bonus blocks” as this leads to, so I re-did the math on some portions and maybe I can save someone else some fabric.
No waste flying geese….
The first change I made was to use the no-waste method of making the flying geese units. This method makes 4 units, and this block requires 4 units. Perfect, right? To do this method, I used this tutorial, or you can just google “no waste flying geese” and find others.
To make a flying geese unit that is 2.5″ x 4.5″ (as required by the tutorial), you need 1 square of background fabric that is 5.75″ square and 4 squares of the star fabric that are 3 3/8″ square. This creates 4 units that need to be trimmed down to 2 1/2 by 4 1/2 inches. As you trim them, you can make them more perfectly shaped so that the block goes together better.
No waste half square triangle units….
The second change was to the HST blocks. In this method, you end up with 8 “bonus blocks”. Or, you can use a no-waste method. I used the 2-at-a-time method from this tutorial. I don’t know why I did that, I should have done the 4-at-a-time method. Both ways are demonstrated at that link. To do the 2-at-a-time method, you need 4 squares that are 3 3/8 inches of each color. Follow the tutorial, and you will make 8 HSTs without any wasted fabric. Once again, these need to be trimmed down.
Using this method, the only waste is below, and it is unavoidable due to how the pentagon shaped sections are formed. The truly no waste method would be to construct those sections using HSTs, but then the pattern gets broken up, so I consider this a small price to pay for the neater appearance of the final block.
I’m a little late making the block this month, but I hope this isn’t too late to help someone else out. I hope you like your block Cheryl!
Linking up to: Anything Goes Monday, Whoop Whoop Fridays @ Confessions of a Quilt Addict, and Fabric Frenzy Friday @ Ft. Worth Fabric.