Mini quilts everywhere

Spools Mini

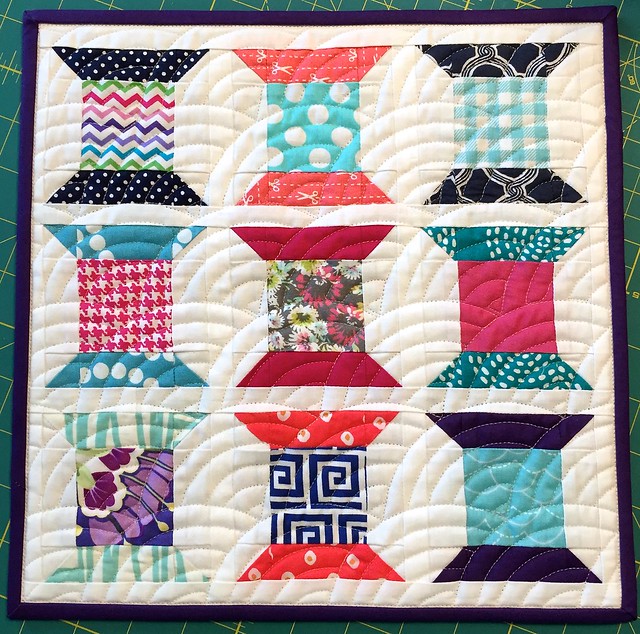
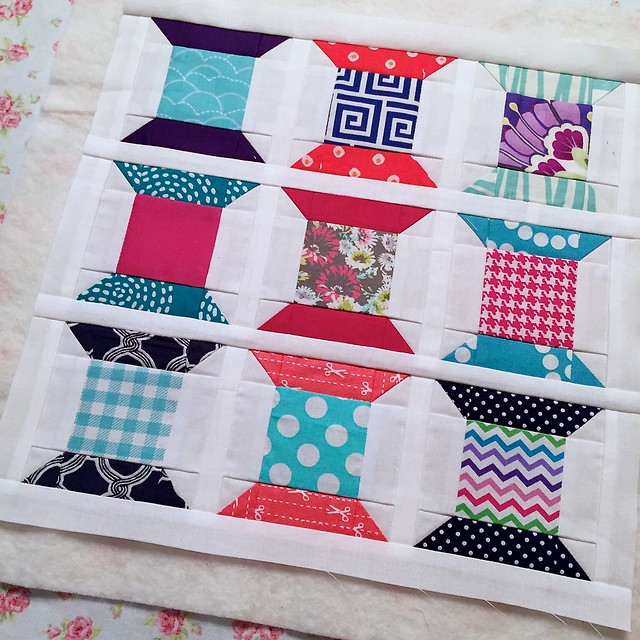
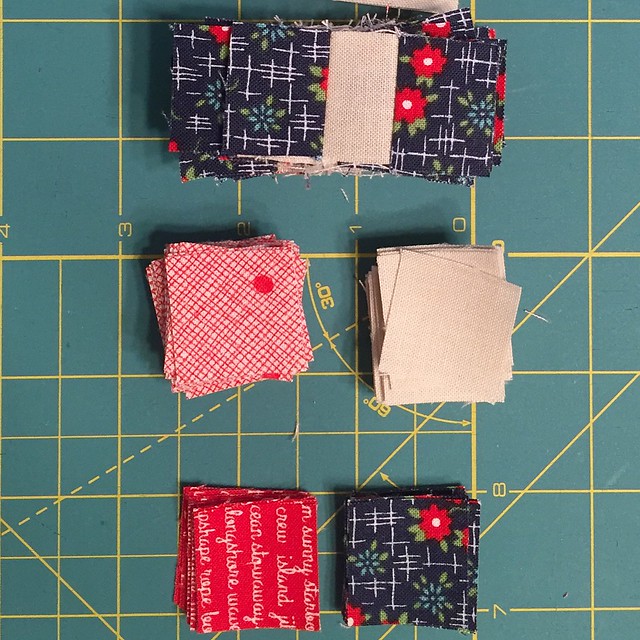
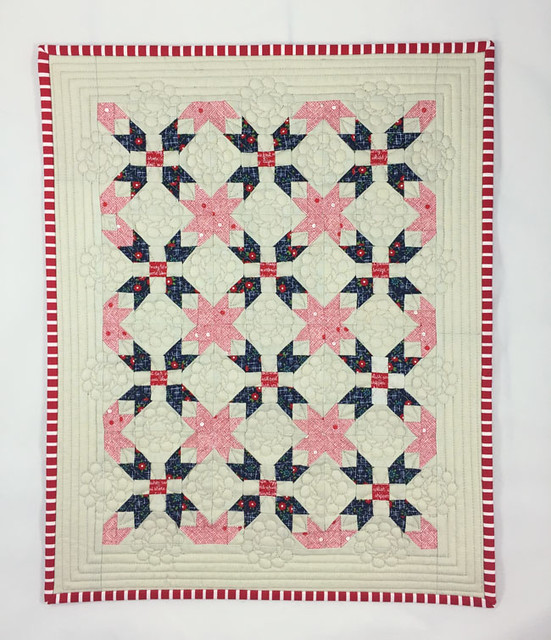
I started this little mini quilt as part of a Quilting Circle that I go to once a month with Abigail from Aby Quilts.  In December, we were gifted a kit to bring to make the mini in January.

spool mini quilt

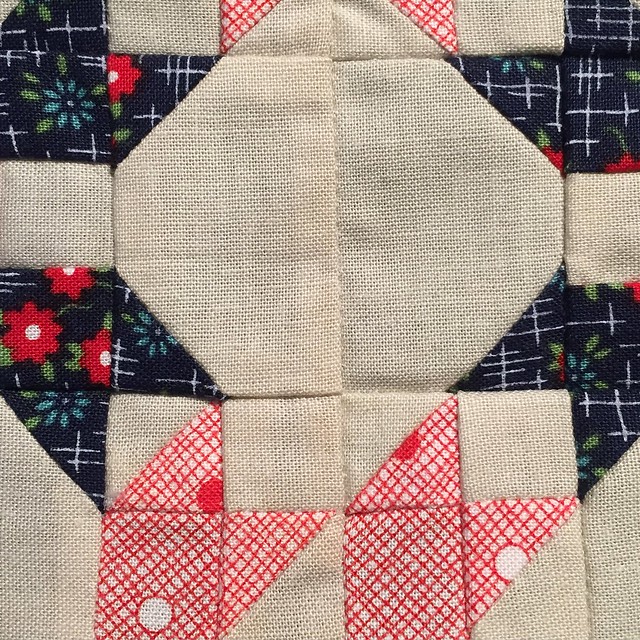
I’m never one to finish things quite as directed, so mine looked a little different than the planned version, but I was proud of myself for finishing the top, making a backing, attaching a label and getting it ready for quilting.  I should add that I did all of this the first week of February – no UFO’s for me!

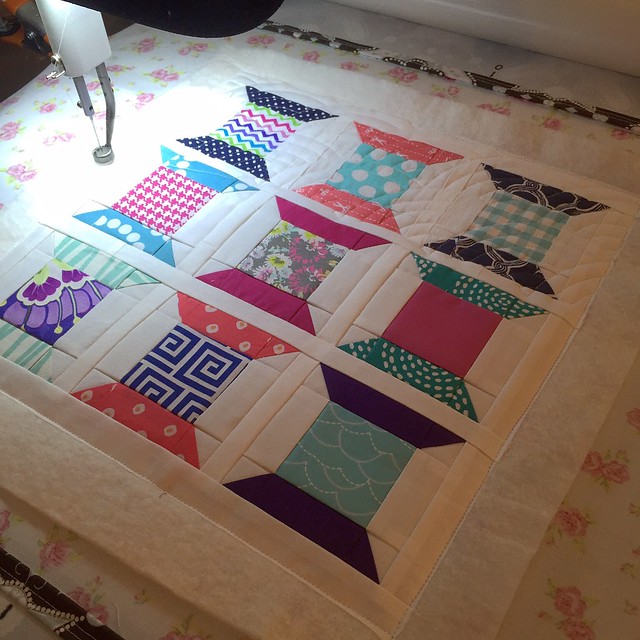
baptist fan quilting

I decided to use this mini to try out the baptist fan design because it’s such a classic design, but I had not done it before.  There are a few things you have to figure out the hard way the first time you do this pattern because it is very obvious if you don’t nest it correctly.  I learned a few lessons with this design on my own work which should keep me from making those mistakes on someone else’s quilt.

As a long armer, I feel like it’s my job to be concerned about tiny mistakes that no one else will ever notice, but that doesn’t mean I can’t enjoy my cute little mini.

I was originally very bothered by the small mistakes I had made in this mini.  I was actually seriously considering tearing out all of the stitching and starting over.

Instead, I stopped and asked myself why I made this mini.

Is it for a show?  No.

Is it to demo my quilting?  No.

This mini will hang on my mini wall as a souvenir of the enjoyable times that I had with a wonderful group of ladies in the Quilting Circle.

I wasn’t even going to share this quilt because the mistakes bother me.  But, everyone makes mistakes!  It’s so easy to get caught up in the perfect world that we curate for the internet… to not show something that didn’t turn out just how we imagined.  I shared this because it’s part of my quilting journey.  It’s not going to win any shows or blow anyone’s socks off with its originality, but it’s mine and I like it.

So, I am concluding this project in the same way Angela concluded her post – a finished quilt is better than a perfect quilt top.  This little mini will hang in honor of good memories and a good lesson.


Linking up to Linky Tuesday @ Freemotion by the RiverFinish it up Friday @ Crazy Mom QuiltsWhoop Whoop Fridays @ Confessions of a Quilt AddictTGIFF

Squared Away Placemats

Squared Away Placemats

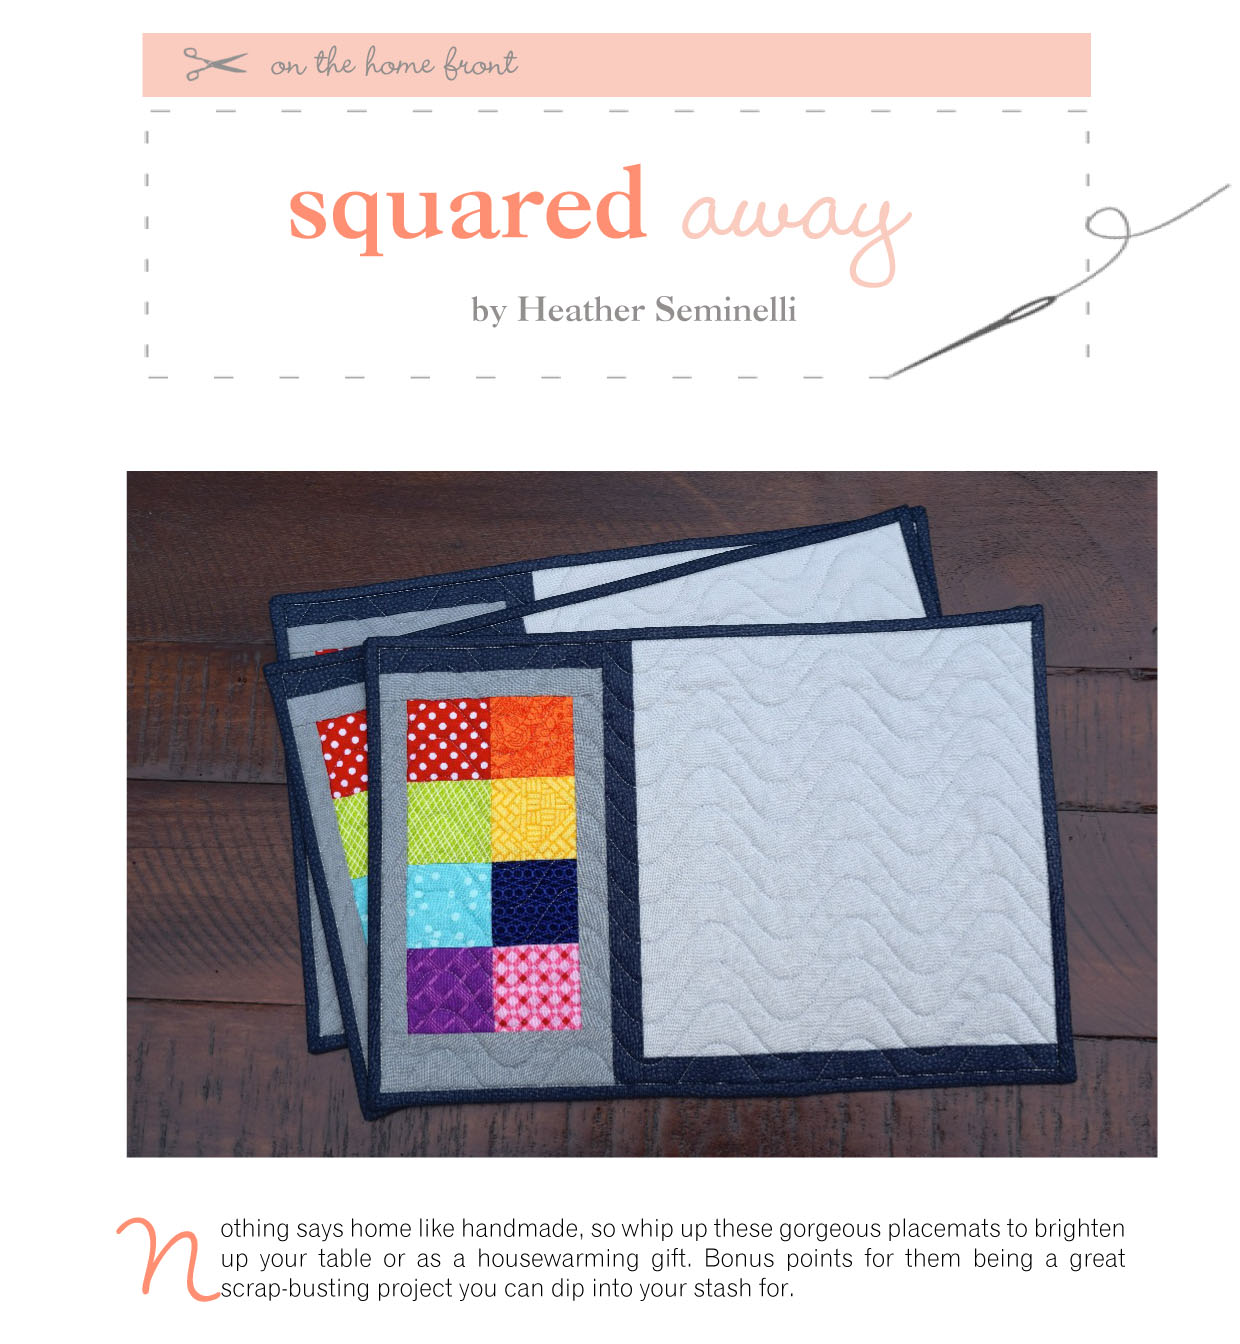
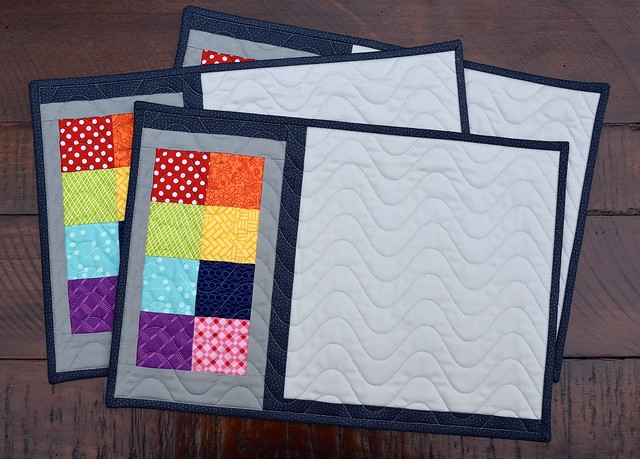
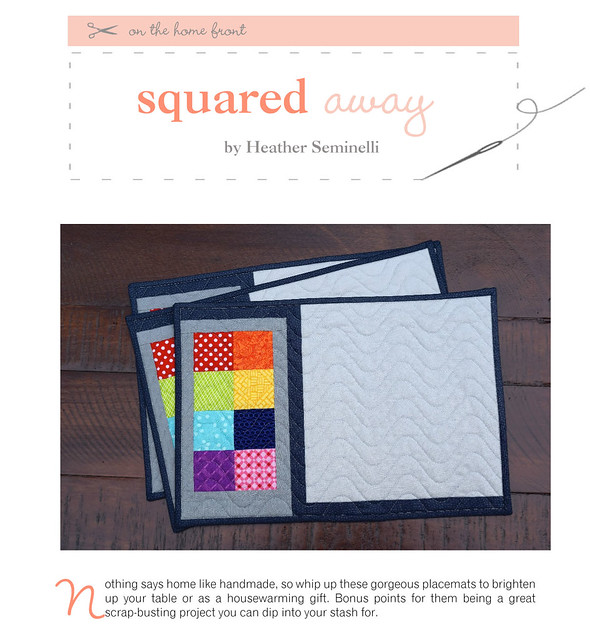
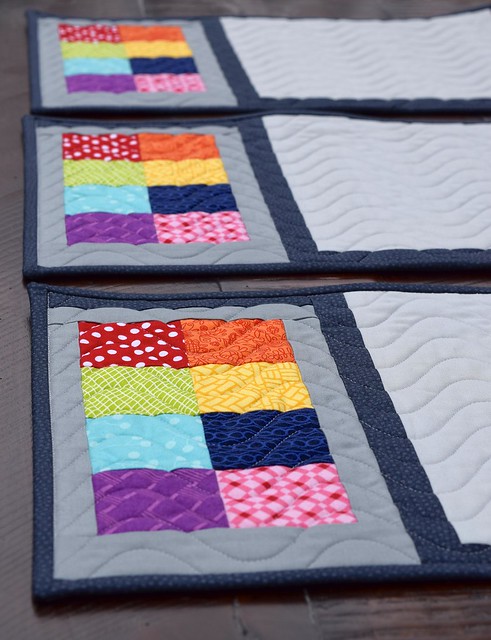
Modern and colorful, the Squared Away Placemat set was published in the May 2015 Make Modern issue.

I’ve had a secret project in the works for a few months now, and I’m really excited to share the good news!

Squared Away Placemat

My first pattern was published in Make Modern‘s May issue!  If you would like to purchase the issue, it is available here.  My project is in home section, and is called the Squared Away Placemats.

Make Modern Project cover page

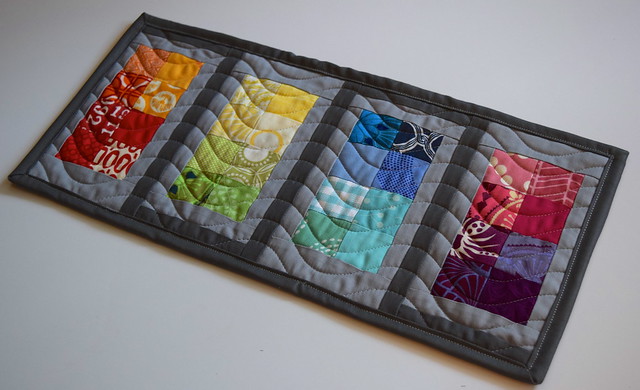
I made these placemats based off a design I first came up with for the Schnitzel & Boo Mini Swap last summer.  It was one of my early attempts at a more modern look, and I was so grateful for signing up for that swap because it pushed me out of my comfort zone.  I would not have come up with this design without that push, and I still really like how it turned out!

Schnitzel & Boo Mini Swap

You can see the inspiration from the mini quilt in the finished placemats.  One or two of the fabrics have even made an appearance in both items.

Squared Away Placemat

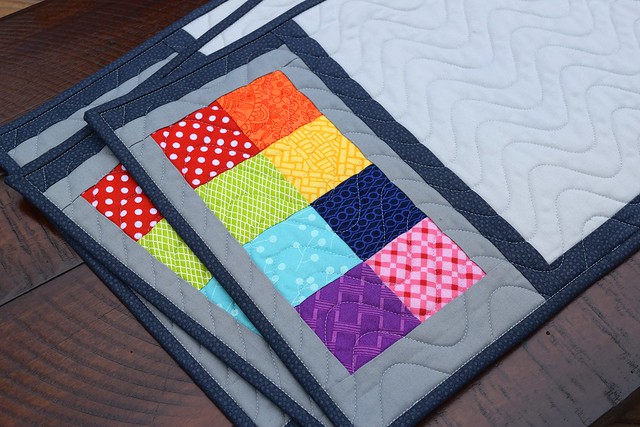
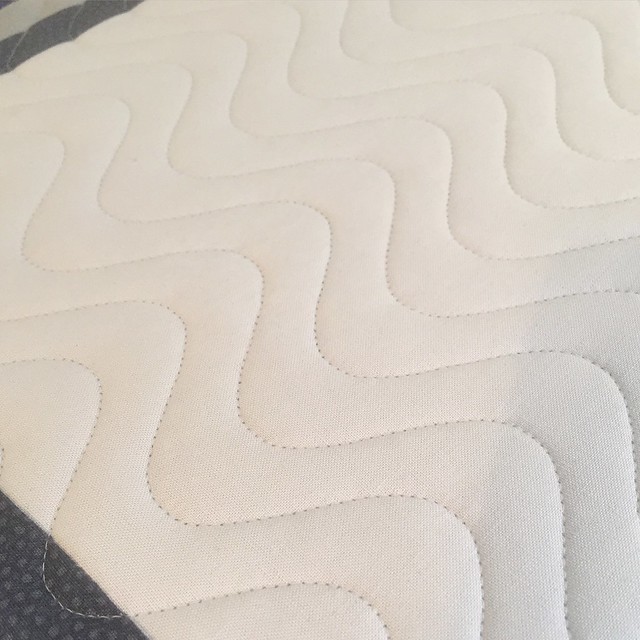
If you follow me on instagram (@QACreations) or Facebook (Quilts Actually), you’ve seen a preview of the quilting on these.  I love the wave panto for a modern look.

Wave quilting

These are a simple, quick project that is great for using up some of those precious scraps you’ve been hoarding of your favorite fabrics… I know you have those tiny scraps saved!  It is also perfect for that mini charm pack you picked up at the store because they are cute, and then you get home and realize, what am I ever going to use this for?

Squared Away Placemat

We’ve all been there, it’s ok!  Use those bits to make a placemat so that you can see those beautiful little bits everyday.  My daughter loves this rainbow version because she gets to point out all the colors.

If you make set of these placemats, please let me know!  I would love to see what you do with my pattern.  Send me a picture, direct me to a blog post, or share on instagram with #squaredawaytable.

Also, these smaller quilted items are great to practice quilting on your machine, but if you just don’t have time or want to make a bunch as gifts you can always send them to me to be quilted.  Use one continuous length of fabric for the back, and send me the placemats to use as the top.  It’s an even better deal if you have another quilt – make the backing extra long and I can quilt those extra smaller pieces on the end of the backing below the quilt.  Contact me if you are interested!

– Heather

Linking up to some of the following: Fabric Tuesday @ Quilt StorySew Cute Tuesday @ Blossom Heart QuiltsScraptastic Tuesday @ She Can QuiltLet’s Bee Social Wednesday @ SewFreshQuiltsNeedle and Thread Thursday @ My Quilt InfatuationFinish it up Friday @ Crazy Mom QuiltsWhoop Whoop Fridays @ Confessions of a Quilt AddictTGIFFFabric Frenzy Friday @ Ft. Worth FabricShow off Saturday at Sew Can She


One of Those Days Mini Quilt

Challenging free pattern tutorial will test your accurate seam allowances to make a mini quilt with 448 pieces.

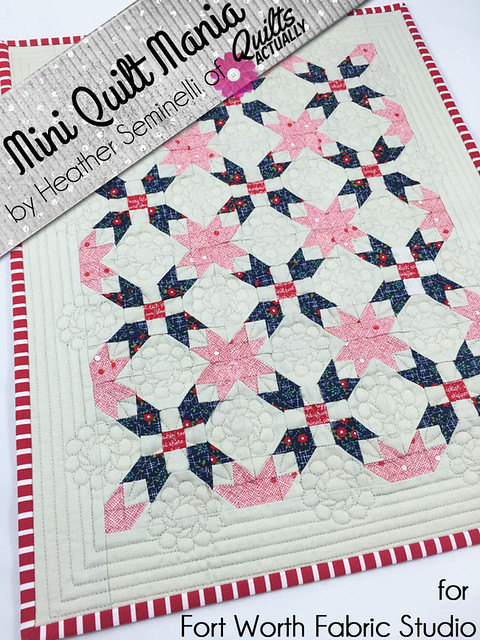
We all have those days… and those projects!  This project is the front of the mini quilt I showed yesterday in my mini quilt hanging tutorial.  This mini quilt was my design for the Fort Worth Fabric Studio Mini Quilt Mania for the month of April.

One of Those Days

To see the other mini quilts designers this month, visit the following links:

April 1st : Lindsey – FWFS
April 2: Melissa – My Fabric Relish
April 6: Nettie – FWFS pattern tester
April 8: Afton  – Quilting Mod
April 13: Amanda – The Cozy Pumpkin
April 14: Trina – Will Cook For Shoes
April 22: Wendy – Sugarlane Quilts
April 27: Paula – The Sassy Quilter
April 28: Heather – Quilts Actually

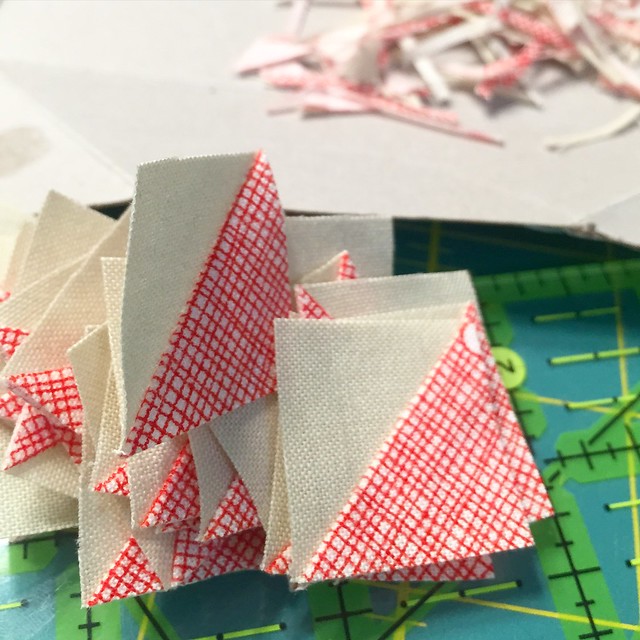
It’s a challenging little miniature quilt.  The blocks are 3.5″ finished, so each of those little squares and HSTs finish at 1/2″.

tiny HSTs

I really like the secondary design that is created by this block, and really wanted to try the block out, so it seemed like a good idea to try it out really small.  Ask me again in a couple weeks if it was a good idea or not!

Not to scare anyone off, but there are 448 tiny pieces in this quilt.

tiny pieces

If you are careful and precise, it is a do-able project, I promise!

nested seams

I called it one of those days because as I was assembling it, I was making pretty good progress.  Then, I noticed that one of these things was not like the others.  So, I seam ripped, and pulled the offending section out and resewed it in place correctly.

One of these things is not like the other

What I did not notice, was that a second thing was not like the others.  Not through pressing, adding borders, or until I was about 2/3 of the way done quilting and it was too late to tear it out and redo it because I had quilted too close around it.  Like I said, one of those days!

one of those days mini


At least my test to see how this block looks as a quilt was successful!  Now to move on to the full sized version!

Linking up to: Finish it up Friday @ Crazy Mom QuiltsWhoop Whoop Fridays @ Confessions of a Quilt Addict, and TGIFF


How to hang a mini quilt

Tutorial shows you a quick and effective non-permanent way to display your growing collection of mini quilts.

If you are visiting from Fort Worth Fabric Studio Mini Quilt Mania, Welcome!  I have a quick tip on an easy way to hang mini quilts.

how to hang a mini quilt_square

If I am making a mini to keep or give away, I generally do the corner tab hanging method.

When I first started making mini quilts, I didn’t add any sort of sleeve or tab to hang it with.  As a result, I never hung them up.  This is an easy way to  make it easy to hang your mini quilt up.  You made it, enjoy it and show it off!

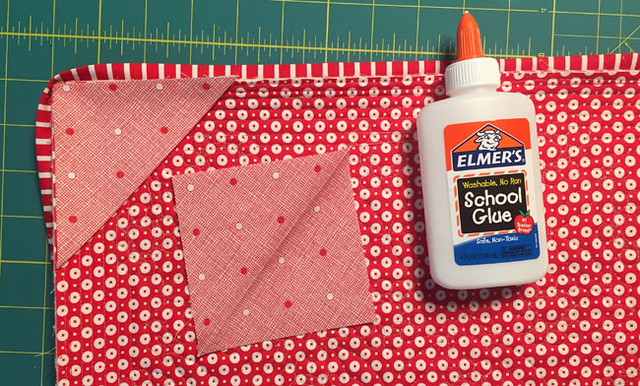
Corner Hanging tab

To do this, I cut two squares from scrap fabric.  In this case, I cut (2) 4″ squares.  Fold them in half diagonally, and press with wrong sides together.

I then use a very small line of Elmer’s Washable School Glue within the seam that will be covered by the binding, and glue the triangle in place with the raw edges flush against the raw edges of the quilt.  Press to heat set.

This will keep those triangles in place so that they will be sewn down when you sew the binding down.

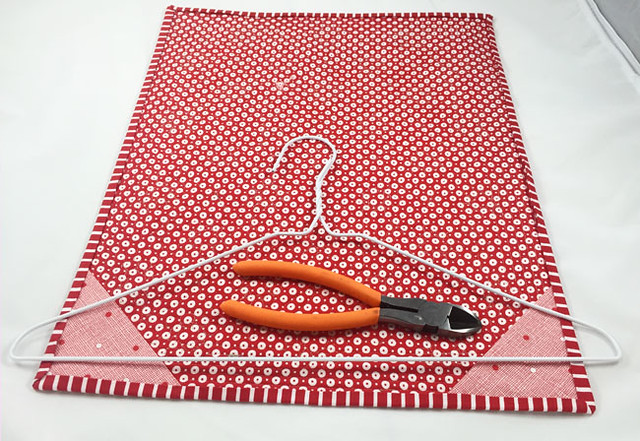
So, why on earth you would let a wire cutter get near your hard work?

Hanging tools

To hang, I cut the bottom part of a wire clothes hanger to match the width of the quilt.  I used a wire cutter to cut the hanger.

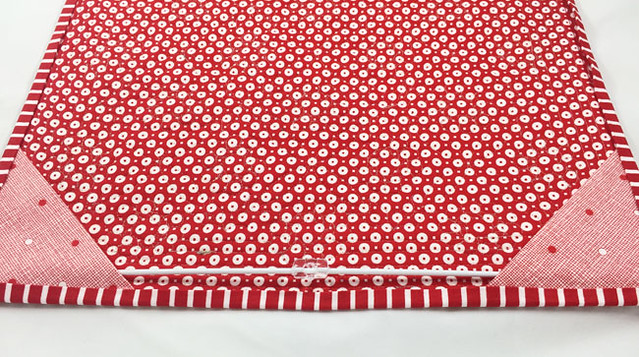
The wire clothes hanger fits perfectly inside a Command Clear Mini Strip.  Depending on the size of the mini, I will use one or two of the Command Mini Strips, and gently press the hanger into the gap.

Example of how to hang mini quilt

This gives me a removable system that does no damage to walls, and I can rearrange easily if I want to.

You can see the front of the mini quilt here!

Schnitzel & Boo Mini Quilt Swap

Round 2 of the Schnitzel & Boo Mini Quilt Swap finished up awhile ago, but I never shared my project until now.  I was checking the draft section and realized this post never got published, so here’s to catching up!

Schnitzel & Boo Mini Quilt Swap

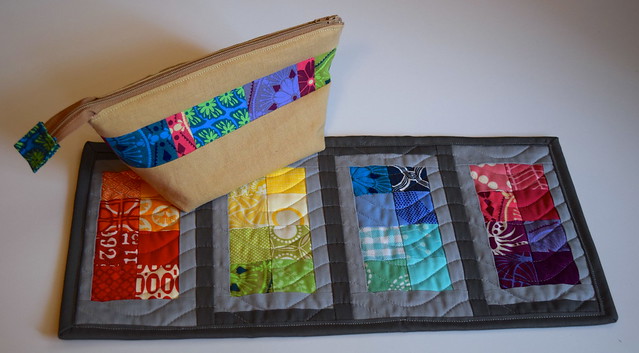
My partner likes bright rainbow colors and the simplicity of Alissa Haight Carlton, the colors of AMH and Allison Glass, and Tula Pink’s quilt designs.  I hope this lives up to all of that!

Schnitzel & Boo Mini Swap

I was very inspired by “Every Color” by Alissa Haight Carlton.

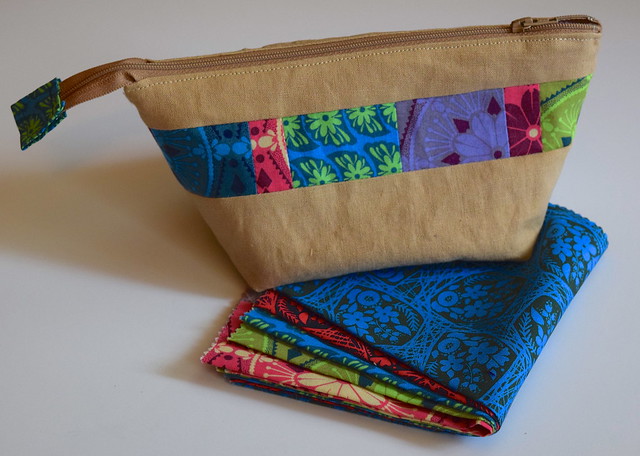
Noodlehead Open Wide Zipper Pouch

I also included a little pouch made from the Open Wide Zippered Pouch Tutorial by Noodlehead and some bits of True Colors by Anna Maria Horner.

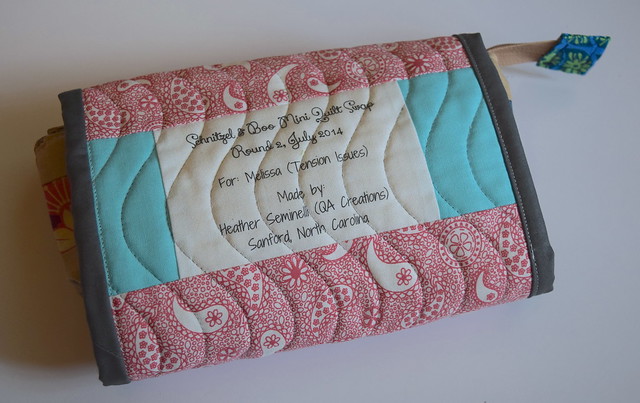
Quilt Label

From my “stalking” I discovered my partner’s favorite colors are aqua and pink, so I included that on the back.  I also tried printing on fabric for the first time for the label, and it was so easy!  I used this tutorial for printing on fabric using an inkjet printer.  I am not sure how this works for labels that need to be washed, but for a mini that will hang on a wall, I think this method works great!

I hope you liked this partner!

In return, I received this sweet heart mini with some treats from Pure Joy Creative.   That aqua fabric was used up with a week or two, so never fear that it is sitting unloved in a stash somewhere!  Thanks for the wonderful mini quilt swap!

-Heather

Linking to: Fabric Tuesday @ Quilt StorySew Cute Tuesday @ Blossom Heart QuiltsLet’s Bee Social Wednesday @ SewFreshQuiltsNeedle and Thread Thursday @ My Quilt InfatuationWhoop Whoop Fridays @ Confessions of a Quilt AddictFabric Frenzy Friday @ Ft. Worth Fabric, and Sewjo Saturday at My Go-Go Life.