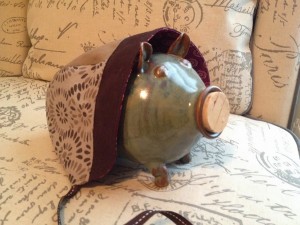
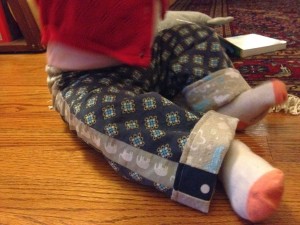
1/2 yard skirt

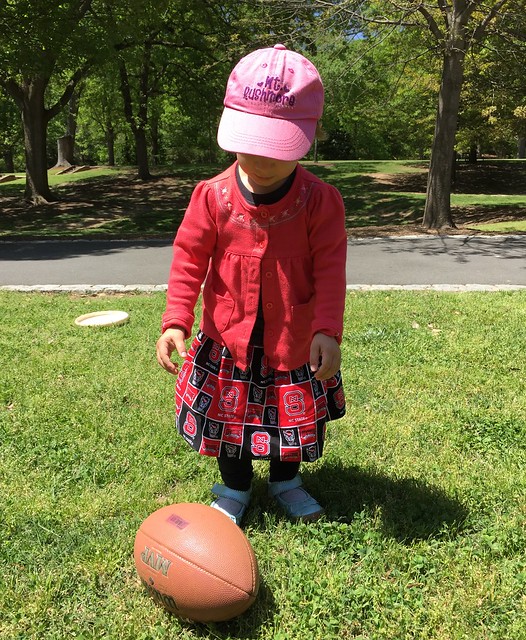
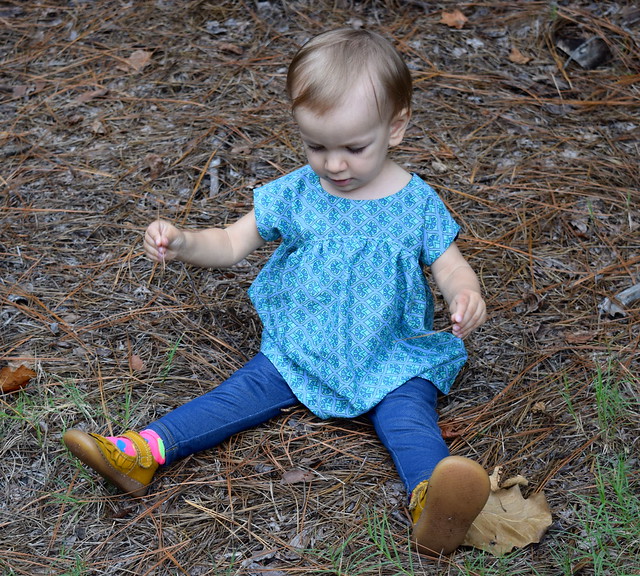
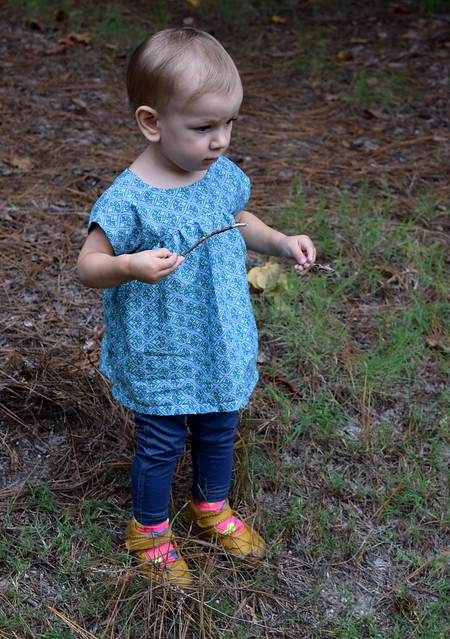
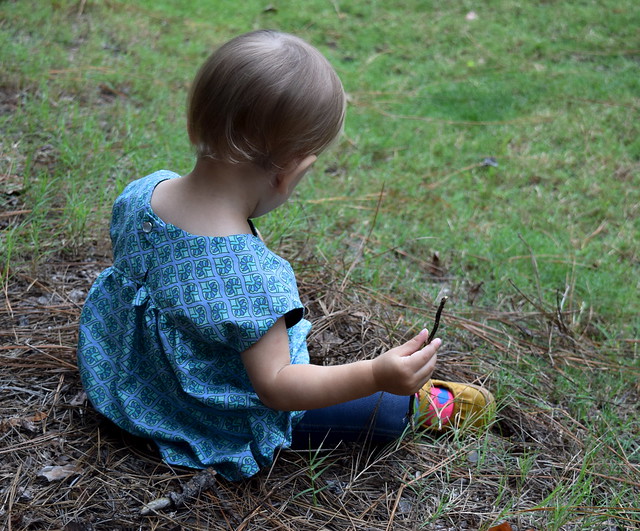
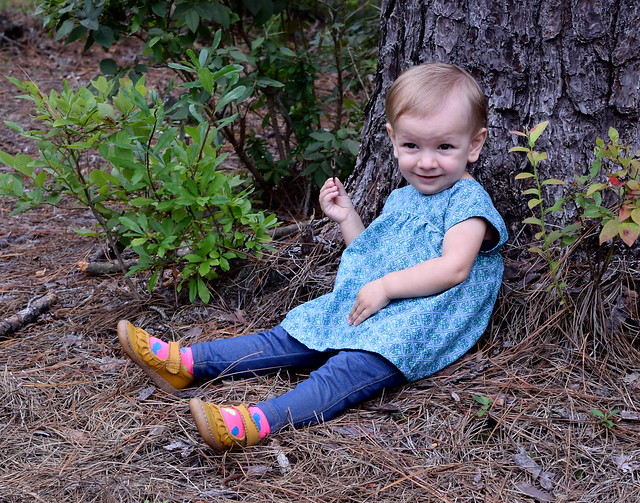
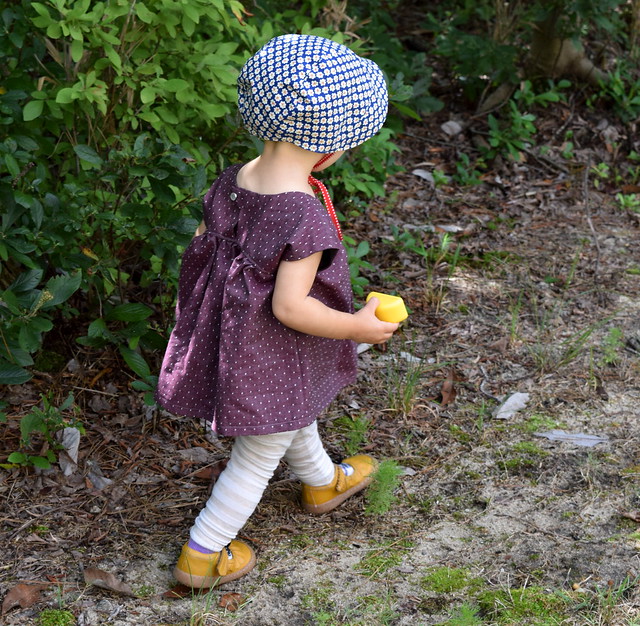
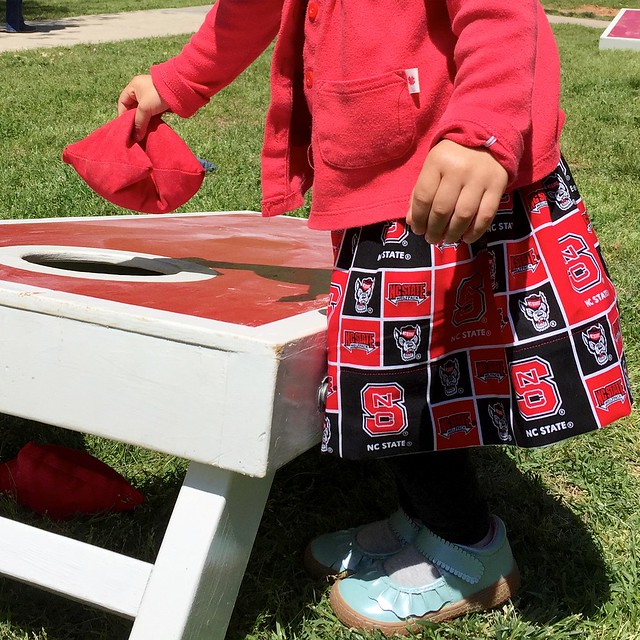
I managed to make a 2nd item for Kids Clothes Week!  This was just a quick rectangle skirt made from 1/2 yard of fabric with a gathered waist and a deep hem, but it was the perfect spirit item to wear to my husband’s picnic for his department at NC State.

NC State Skirt


This fabric was printed ridiculously off grain, so I cut based on the print rather than the grain, and then ironed it into submission.

NC State Skirt


It was a little long – like Little House on the Prairie long, so I hemmed it up 3 inches, and it’s still slightly long.

NC State Skirt


It was a quick and easy skirt – or would have been if I didn’t have the owner of said skirt on my lap “helping” unthread the serger and sewing machine.  She loved the attention she got wearing the skirt, and many of the students loved her support of their school.  Plus, it’s long enough that it will still fit if my husband goes back to NC State to get his PhD someday 😉

Go Wolfpack!


Little Zippy Top

I originally had not planned to participate in Kid’s Clothes Week this week because I have quite a few other obligations that need to be finished.  Then, I was working on a particularly frustrating quilt top, so I needed to just take a break from quilting/piecing for a morning.  I decided that following an easy pattern was just what I needed before tackling that other project.  Therefore, I present to you the Little Zippy Top.
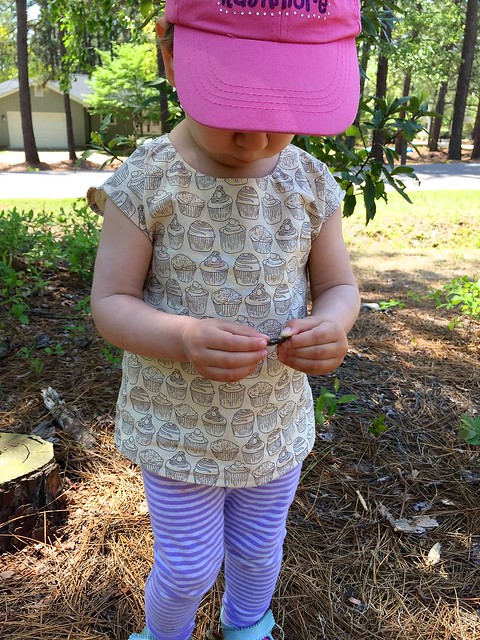
Little Zippy Top

Pattern: Little Zippy Top from See Kate Sew

Pattern Description (from designer): This top is a versatile woven top with an exposed zipper on the back! Make it with all your favorite fabrics! This top is perfect for beginners and quick and fun to sew! Requires very little fabric and a little zipper!

Pattern Price: $9 full price, but watch for sales.

Fabric Required: 1/2 yard for size 4T and smaller

Amount of fabric used: 1/2 yard!

Sizing: Comes in size 18M to 10.

Alterations:  This shirt is a little short, in my opinion.  I used the 4T length hoping to get a little more wear out of the shirt, and it needed that length just to be wearable now on my daughter.
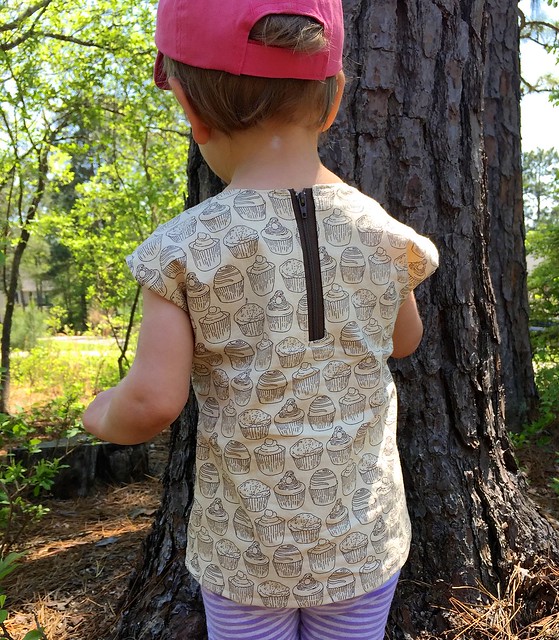
Little Zippy Top

Instructions: Some of the steps were in a little bit of a weird order.  For example, you don’t stay stitch the neckline until step 6 by which point you’ve already handled it quite a bit so if it was going to stretch out, I think it would have by then.  I also prefer to do prep-type work at the beginning, but that’s my personal preference versus a pattern issue.  For example, step 7 is to fuse the interfacing to the facing pieces.  That’s something I prefer to do first before I get into sewing the piece of clothing.

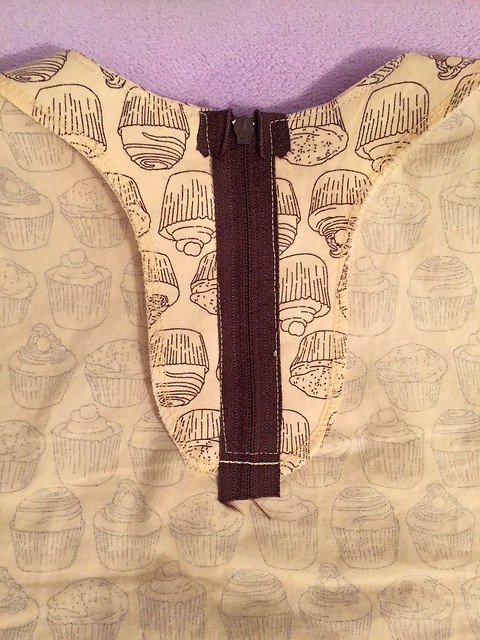
Pattern Issues: Instructions are adequate, but not my preferred style of construction.  For example, you don’t under stitch the facing to the seam allowance.  Instead, you just topstitch the whole neckline.  Which is fine, but that step has you also topstitch around the zipper opening prior to the zipper being installed, which leads you to have to install the zipper while insanely carefully trying to topstitch over the line of stitching already there.  I probably made more work for myself by under stitching the neckline, then installing the zipper and just continuing on to topstitch around the neckline in one go.

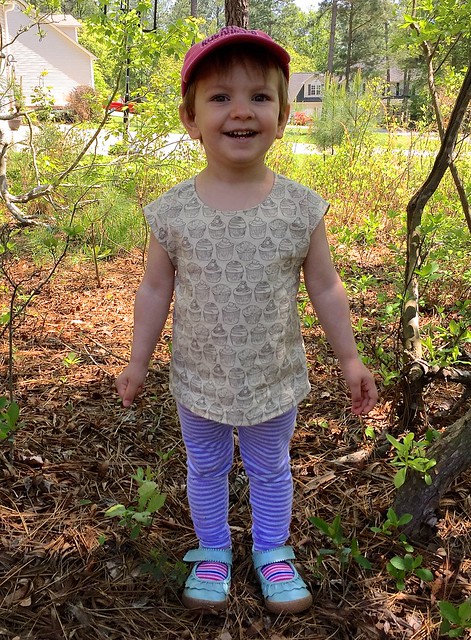
Fabric Choice: Cute cupcake fabric that was on sale from Fort Worth Fabric Studio.  The actual name of the fabric is Love At First Bite by Color Bakery for Windham Fabrics.  Quilting cotton works fine for the shirt.

Finished Product: It’s a cute shirt.  I wish the neck was a little bit higher in front.  Sometimes the shirt has a tendency to sit forward a little more than it should, so that may be why the neckline looks lower than it should.
Little Zippy Top

Husband’s opinion: I like the exposed zipper, and the fabric.

Notes for future makes: I think I will go up a size in width, and at least one more size in length (to 5T for a little girl that wears 2T in ready to wear).  My daughter is pretty skinny, but likes to “help” put her clothes on by sticking her arms out straight in whatever direction that makes it impossible to get a woven shirt on, so I’m hoping a little extra width will help make dressing her a little bit easier.
Little Zippy Top

Final Thoughts: I had high hopes for this shirt being one that I go to again and again, but I’m not sure that I will.  It’s like when someone tells you a restaurant has the best hamburger they’ve ever had in their entire life… your hopes get high and no hamburger is going to live up to what you have built up in your head.  I had higher hopes for this pattern, so I think that’s why I’m a little disappointed.

I didn’t keep track of time, but it wasn’t quite as fast of a make as I was hoping.  Then again, if I made multiples, it would go faster.  Making sure the zipper is evenly installed takes longer than buttonholes and sleeves do for me.  I also don’t really like how the zipper is installed.  The zipper seemed to be annoying my daughter last night when we were sitting on the couch together.  I still like how little fabric it uses, so I may try it again just for that reason.

I guess for now, I’ll see how often I dress her in it before deciding if it’s a total win or bust.

Oliver and S Roller Skate Tunic Pattern Review

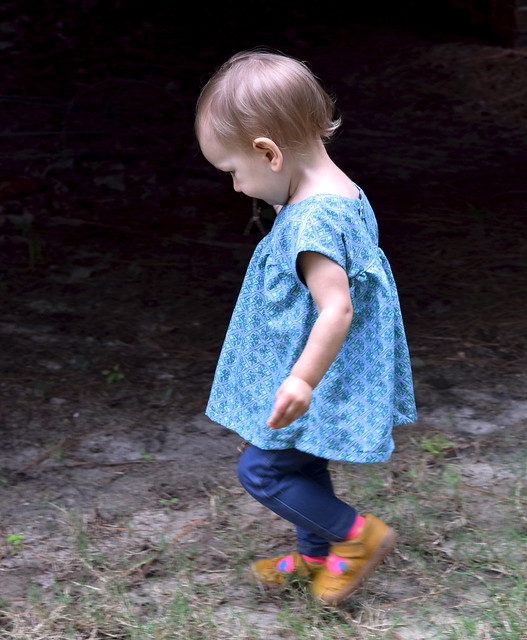
I’m continuing my Kid’s Clothes Week theme of fall useful clothing with my Roller Skate Tunic Pattern Review.

Roller Skate Tunic Pattern Review

Pattern: Oliver and S Roller Skate Tunic and Dress (digital version)  This is a great pattern for the digital side, because there is not that much to print.  It was a nice change from some of the huge patterns I have printed off lately.

Pattern Description (from designer): This cute and easy dress can also be made as a tunic, with two different styles for each length. All views include built-in cap sleeves, Empire-waist elastic casing, and keyhole-with-button opening at back.

Fabric Required: For 12-18 month size, 3/4 yard of both the lining and outer fabric.  One button for the back closing… a lion button makes any kid’s shirt better!

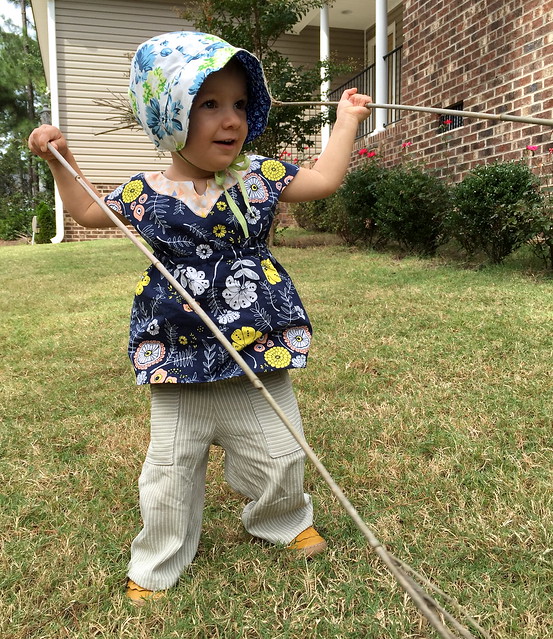
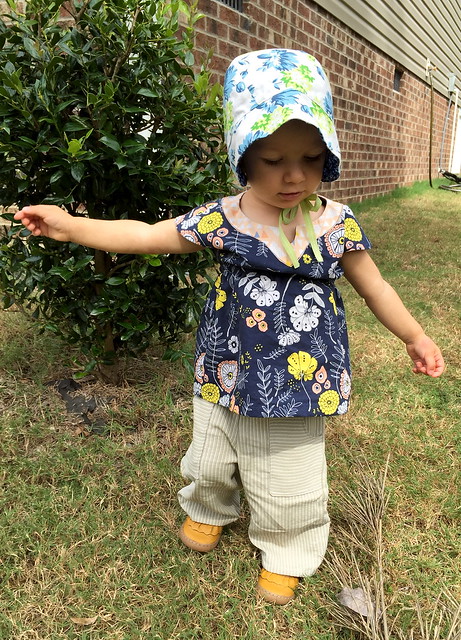
Oliver & S Roller Skate Tunic

Amount of fabric used: I’m pretty sure I could have cut it out of a half yard cut of fabric.

Sizing: My daughter’s chest size matched the 12-18 month size exactly, so I made the 12-18 width with 2T length.

Alterations: The only change I made was to add some length.

Instructions: This is a pretty simple shirt to construct, and the instructions are good (as always from Oliver and S).  The marking of the line where the elastic casing goes was a bit tedious, but there are better tools that make it easier (I just don’t own them).  The method to use carbon paper and a tracing wheel would be infinitely faster, easier, and more accurate.

Pattern Issues: I measured the elastic to be the exact width of her chest (plus the seam allowance) as directed, but I think it’s a little tight.  Not uncomfortable tight, but when she lifts her arms, the shirt rides up and stays up.  In my next version I will make the elastic a little bit looser so it hopefully won’t have that issue. You can see what I mean in the picture below…

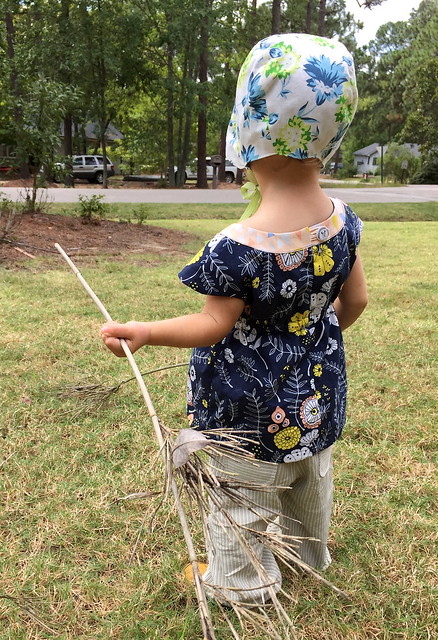
Oliver & S Roller Skate Tunic

Fabric Choice: I used quilting cotton for the outside and voile as the lining.  The weight works well together.

Finished Product: Overall, I think it’s a cute shirt.  I already have another one cut out, it just needs to be sewn up.  I think with the cutout, the neckline is a little low on my daughter.  Maybe for her size, it gets low proportion wise?  I’ve seen a lot of other versions of this dress and never had thought before, but sometimes there is a little more food stuck in the top after a meal than is ideal.  Until she gets into larger sizes I don’t plan on using the cutout again.

Husband’s opinion: He doesn’t like how it rides up, but hopefully loosening the elastic will take care of that.

Notes for future makes: As stated above, I will make the elastic  a little bit looser in my next version and probably not use the cut out option until she is a little bit older.

Oliver & S Roller Skate Tunic

Final Thoughts: The Roller skate tunic is a well designed pattern that creates a good looking dress.  I like how it is lined, and think it is a very flattering and cute silhouette for a little girl.

Also, the pants are the Oliver and S Sandbox Pants that I made for the Winter 2014 KCW (last January).

Izzy Top Review

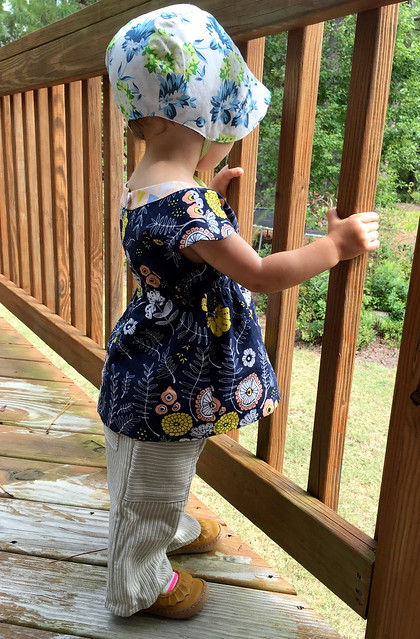
Here in North Carolina, fall sewing looks a lot like summer sewing for a good reason.  Last week, I think we had about 80 good reasons to wear short sleeves and still sew short sleeves this far into fall.  Therefore, my latest project and review is the free Izzy Top from Climbing the Willow.

This is also the unofficial start of Kid’s Clothes Week for me!  We have some family stuff next weekend, so in my personal version, KCW runs from 18-24 October instead of 20-26 October.

Izzy Top

PatternIzzy Top from Climbing the Willow.  Available for free in sizes 18 months – 12 years.

Pattern Description (from designer): The Izzy Top is a sweet, feminine curved yoke top pattern that closes with a button (or snap) tab in the back.  It is a very simple pattern to make and only requires basic sewing skills.

Fabric Required: 1/2 yard of main print, 1/4 yard lining for 18 months and 2 years.

Amount of fabric used: every last bit of 1/2 yard of the main fabric.  I had to actually reduce the width of the flared portion to fit in a half yard.

Izzy Top

Sizing: The 18 month size is recommended for a 19.5 inch chest.  The designer also mentions that she designed it to fit true ready to wear sizes.  I think that is pretty accurate.  My daughter’s chest is 18.75 inches right now, and I’m glad I have the little bit of ease because it makes it easier to get on and off.  Also, my daughter has a huge head and needed every bit of the neckline to get it on and off.

Alterations: I added 1.5 inches to the length because my daughter is about a 2T in height.  I used a snap for the back enclosure because I didn’t feel like doing button holes.
Izzy Top

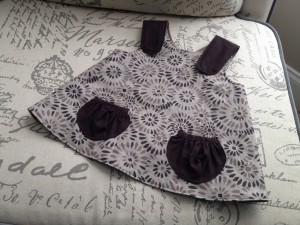
Instructions: The instructions were good.  There are pictures for every step.  The only change I made was to baste the bodice to the skirt portion prior to serging them together.  I basted one one top, and did not on the other and the one I basted first turned out nicer.  Most shirts/dresses I have made in this style have the seam mid-chest enclosed, and at first I was annoyed that it was not, but the seam doesn’t seem to bother my daughter and it was faster a little bit easier to serge the seam.  If you don’t have a serger, you would probably want to lengthen the lining piece about half an inch to be able to enclose the seam.  Or you could do a french seam, or a flat felled seam there as well without issue.

Izzy Top

Pattern Issues: None.  This is a free tutorial, and I think for it being free, she did a great job!  The pattern fit as advertised, there are photos for every step, and it is a cute shirt.

Fabric Choice:  One shirt was a Lisette voile from a year or two ago.  The other shirt I made from chambray dots.  I purchased it in person at Mulberry Silks in Carborro, NC, but I’m pretty sure this burgundy chambray dot is the same one.  It’s a heavier weight than the voile, but still works well for this shirt.

Izzy Top

Finished Product: This is an adorable shirt for a toddler.  The shirt is a little wide for my taste.  I prefer the blue one that I didn’t have enough fabric to make the full width, so I will probably reduce the width again when I make this in the future.

Izzy Top

Husband’s opinion: Likes it, but agrees that the full width is a little too full.

Final Thoughts: This is a well put together tutorial in a wide range of sizes that I will most likely make again as she grows out of the current versions.  I even like it as it gets colder because I can either layer it over a long sleeve shirt, or put a cardigan over it.  I think in the spring I would like to try it with a knit for the bottom portion.

Notes for future makes: Reduce the width of the bottom portion.  I think in the spring I would like to try it with a knit for the bottom portion.

Apple Loungewear Leggings

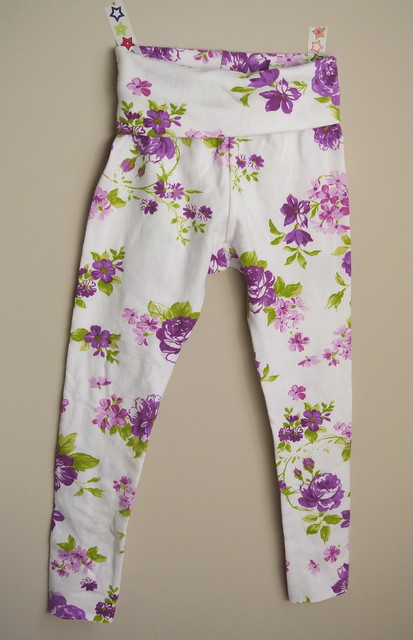
For this spring version of Kid’s Clothes week, I made the Apple Loungewear Leggings.  It was 80 this weekend in my part of North Carolina, and Monday it was rainy and 45 degrees.  Then again today, was mid-60’s so the weather is just crazy.  Either way, summer is not yet 100% here, so the little girl needs leggings.

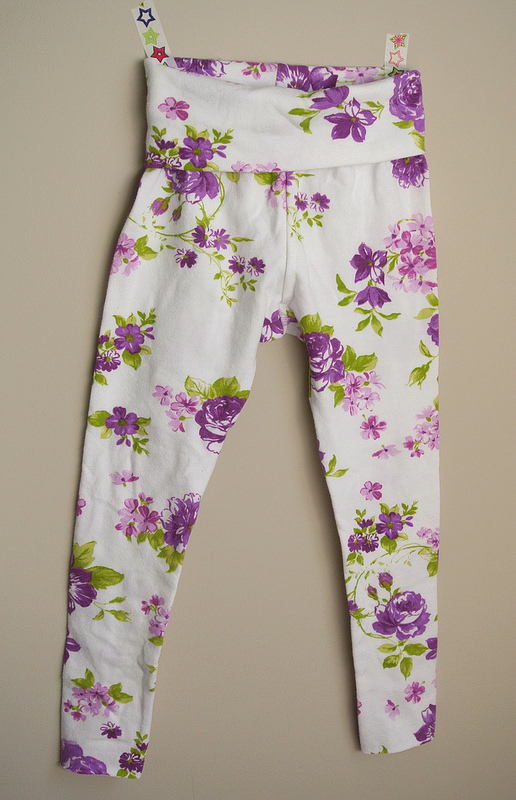
Apple Loungewear Leggings by Shwin Designs

Pattern: Apple Loungewear Leggings by Shwin Designs, purchased end of November and finally made.

Size: 12-18 months

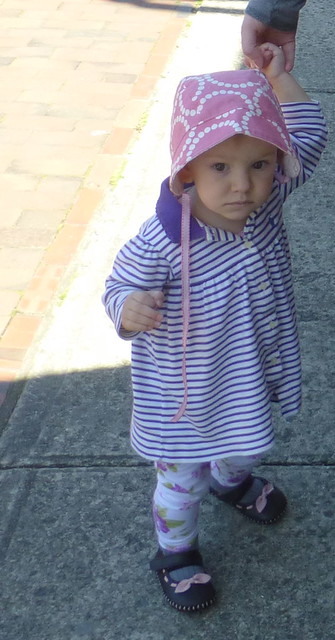
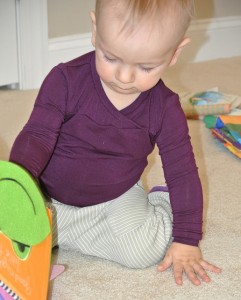
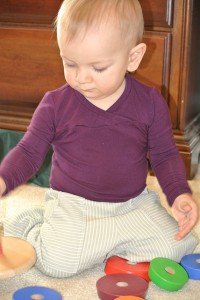
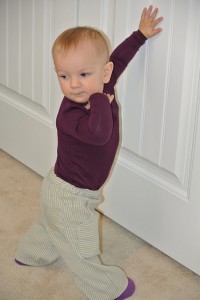
Sizing: The sizing was chart was pretty good.  Technically, she would have been in the 6-9 month waist size, but I’m glad I sized up to her RTW size.  These fit more comfortably, and will be worn longer.  My daughter is a tall, thin 14 month old and these leggings fit her incredibly well.  The length is good.  Most purchased pants are too short on here, and they would not have needed the extra length I added.

The leggings even work well under a dress, especially for a new walker that still trips occasionally.

Apple Loungewear Pants in action

Fabric: Purple floral purchased from Girl Charlee forever ago, so it looks like they no longer have it.  It’s a fairly substantial knit, I didn’t write it down but I’m guessing it is at least 8 oz, maybe 9 oz knit.  It is a great weight for leggings.Instructions: These leggings have three pieces, and are incredibly easy to construct.  They are a super fast sew.

Overall Impression: I like these leggings, and plan to make more pairs.  I wasn’t sure about the fold over waistband at first, but it fits right under her toddler tummy and helps keep the pants up without requiring elastic in the waist.  This pattern is a winner!

Linking up to Anything Goes Monday.

Fresh Sewing Day – January Summary

January flew by!  I can’t believe it’s already time to do a summary for Fresh Sewing Day and the Small Blog Meet.  For those coming from the Small Blog Meet, I am a quilter that loves to piece and quilt, and sew clothes for my 1 year old daughter.  Welcome, and please check out the other projects on my blog.

I joined two bees so far this year.  I’m really enjoying it so far.  It’s a lot of fun to do colors and blocks that I wouldn’t have thought of myself.

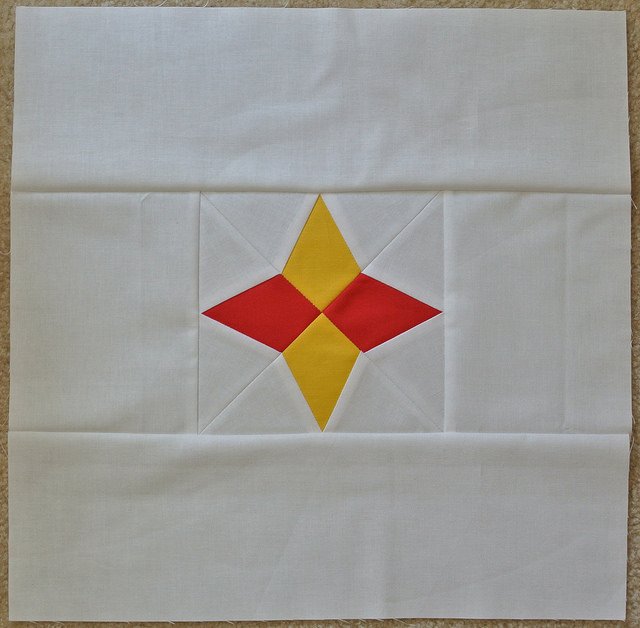
For the Stash Bee, I made this red and yellow block for Heather from Quilts in the Queue.

That Stash Bee Hive #12 January Bee

I made my test block for the 4×5 Modern Bee.

4x5 modern bee hive #4 test block

I also participated in Kids Clothes Week.  Part 1 of my week can be found here.  The pants were really the highlight of the week.  I finished up the week by turning the Oliver and S Hopscotch Knit top into a onesie.  The completed outfit is shown below.

She kept pulling on the neck, I think because it is much stretchier than the onesies she normally wears.

O+S Hopscotch knit onesie and Sandbox Pants
It’s such a soft knit, I kind of wish it was for me.  However, I only had 1/2 a yard, so I managed to get a 12-18 month onesie and thought I was doing good.
O+S Hopscotch knit onesie and Sandbox Pants
The linen pants are a little big despite being 12-18 months, but I’m ok with that because I love them and hopefully they will still fit this fall.
O+S Hopscotch knit onesie and Sandbox Pants
And now, she shows off the whole outfit 🙂
O+S Hopscotch knit onesie and Sandbox Pants
Thanks for checking out my blog, and I hope you stick around and see what else I have here!  

Kids Clothes Week: Winter 2014, part 1

I am super excited for this Kids Clothes Week: Winter 2014. I have vowed to spend 1 hour per day sewing for my daughter. That means realistic sewing for me – and includes pattern prep, cutting out fabric, sewing, ironing, and everything else involved.  I don’t have time to spend hours everyday sewing and pump out dozens of garments.

Part of this experiment for me is to realistically see just how much time these activities take.  I can’t actually tell you how long it takes me to make a shirt or a pair of pants.  Even if I can estimate the sewing, I don’t count the prep work of the pattern and fabric cutting.  This week, I will.

Day 1 – 1:00:42

KCW Day 1 - Pattern Tracing

I was 42 seconds over my 1 hour time limit, but I did manage to trace and cut out two patterns.  I will be making the Oliver + S Sandbox pants in size 12-18 months and the Hopscotch knit shirt in size 12-18 months.

Partway through tracing the tissue paper pattern on tracing paper, I was definitely cursing my cheapness thriftiness for buying the paper pattern on sale instead of buying the digital pattern at full price.  Those tissue paper folds are surprisingly difficult to get flat enough to trace over.

Day 2 – a little over two hours

KCW Day 2 - Cutting and start sewing

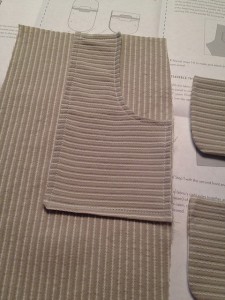
I cut out the fabric for the pants, then started on the pockets.  Those pockets took probably 45 minutes – I would leave them off in the future, but they really are adorable and make the pants.  That took me to about 1.5 hours, but my daughter was napping, so I kept going.  At the end of the time, I had the pants mostly done, leaving the waistband to go.

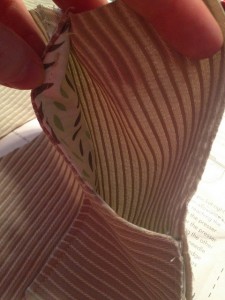
How cute is it that the pockets even have a coordinating lining?  I love Oliver + S.

Inside Sandbox Pants Pocket

Day 3 – a little over an hour

KCW Winter 2014 Serious Sewing
The sewing is serious when the serger and regular sewing machine are sitting next to each other.  

My timing is getting worse instead of better.  I wasted some time first trying to figure out how to use the buttonholer for my vintage Singer.  Then, I discovered I did not have the cam for the 3/8 inch hole I needed to make.  Then I make the drawstring, which should be a quick thing, but with the stretch striped linen I’m using – took FOREVER.

By this point, I was frustrated and decided to just do the waist as an elastic waistband instead of the way the pattern called for.  Once again, I was slightly thwarted by my supplies because I only have 1/2 inch elastic, not the 3/8 inch required.  It fit in the waistband, but it just took a lot more time because it fit so tightly.  At least there was a bright spot today – I finished the pants!

KCW Day 3 - Complete pants
KCW Day 3 - Complete Pants

The fabric is a linen blend from Mood NYC.  I picked it up when I was there after Christmas.  It’s nicer fabric than any pants I own, but it is adorable, and I am considering remaking these pants in every size because they look that good.  The weight is perfect for spring, and I am very pleased with the fit – it was just too dark to get a photo of them being worn.

Oliver + S patterns are so wonderful.  They cost a little bit more, but from what I have seen, they are worth it.  The finishes are always professional, there are no errors in the pattern instructions, and the forums are active if you have any questions or issues.

Although, I just realized I still have not made one of their patterns as written.  This pair of pants is on my projects page.  Let’s see what gets done the rest of the week!

Kids Clothes Week, Fall 2013

I was very excited to participate in Kids’s Clothes Week for the first time!  This is pretty much what I got done for the week, but I was showing real time progress over on Instagram throughout the week.

First, the plan.  There have been many versions of the plan.

Version 1 – make 3-4 bonnets to last through winter into spring, 2 O+S seashore dresses, and a fall themed pinafore.   Now, why did it seem like a good idea to make two O+S summer dresses in October?  I wanted one as her Army vs. Navy outfit, and figured while I was at it I should also make the next size up for next summer.  I wanted the upper portion embroidered with the Army logo, but after many hours of searching I realized West Point has its copyrights locked up so tight you can’t even find a legitimate way to do what I wanted to do.  Also, realistically we are going to be sitting on our couch watching the game so it doesn’t matter what she wears.  Seashore dresses out.

Version 2 – I bought a serger (yay!), so what better time than the present to learn how to use it?  I saw Bimaas and leggings in my future.  Turns out the serger doesn’t come with thread and the instructions I need to watch on a windows computer.  My windows laptop died over a year ago.  Moving on…

Version 3 – Get ready for a Southern Winter Kids Clothes Week.  This still includes a bonnet and pinafore.  Now, I added flannel lined Quick Change Trousers, baby mittens, lumberjack hat, scarf, and O+S hood.  Neither winter hat was completed.

Pinafore: The pinafore needs two buttonholes.  In my defense, my regular machine decided it doesn’t want to sew without leaving huge thread nests from the bobbin so this was/is on hold while I bought a vintage buttonholer off eBay for my Featherweight, which is what I’m sewing on this week.

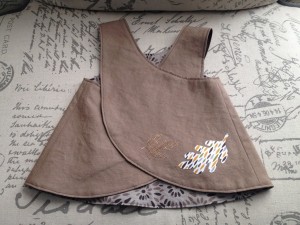
The pinafore is using the free pattern from Smashed Peas and Carrots.  I added the pockets on one side, and fall appliqué on the other side.  It is made of linen, and once I get buttons put on will be super cute. These in-progess pictures show the idea.

Side 1:

Side 2: 

Fall applique
Fall baby dress

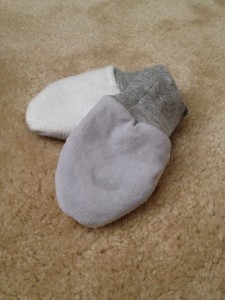
Baby mittens- version one and two complete.  The concept is good, but my daughter has really long fingers so they just barely fit.  This was my priority because it was 40 degrees several mornings this week and she doesn’t like to keep her hands under the blanket.  I used the tutorial from Speckled Owl Studio.  The only challenge was that tutorial was really meant for newborn mittens to keep babies from scratching themselves as opposed to winter gloves, so I had to do some adjusting.  I used corduroy and fleece to warm them up.  I am still working on sizing because my second version was too large and she just pulled them off her hands in two seconds.

homemade fleece mittens

Bonnet- this bonnet makes my heart heavy.  I absolutely love how it turned out!  The problem is that it is huge!  Her old ones were getting small so I decided to go up two sizes, and it will not fit this winter.  Maybe next week I can face making another smaller one.  This matches the pinafore perfectly, so it would be a shame to not have her wear them together.

Handmade baby bonnet

Winter Quick Change Trousers: I used the pattern from Handmade Beginnings by Anna Maria Horner.  The last pair I made was huge, so I reduced the front piece by an inch on each side.  This was probably a little too aggressive, about 1/2 inch would have probably been perfect.  I also added the tuxedo strip for some fun.  The butt is also the gray elephant fabric, and I love the elephant butt on these!  The inside shown is flannel.  The large size is nice in winter because they do fit over her knit pants.  I used the width reduced 9 month size with 12 month length.

Handmade fleece lined baby pants
Fleece Booties: Also a must in the cold.  I used the tutorial from Dorothy Was Here.  I used the size exactly as is, and they fit my 8.5 month old perfectly.  I will probably have to size them up for another pair before the winter is over.  I would also like to try using the non-stick fabric on the bottom like she suggested, but I couldn’t find any at my fabric store during Kids Clothes Week.  
Handmade winter baby shoes

The combined result of this efforts is my little warm girl below 🙂  Although, we did add two more blankets because it was freezing this morning.  Not too bad for a week’s effort!  Kids Clothes Week has been a blast and I can’t wait for the spring version!

Edited to add:
Linking up to Show and Tell, Made By Hand, and Make It, Wear It.