One of Those Days Mini Quilt

Challenging free pattern tutorial will test your accurate seam allowances to make a mini quilt with 448 pieces.

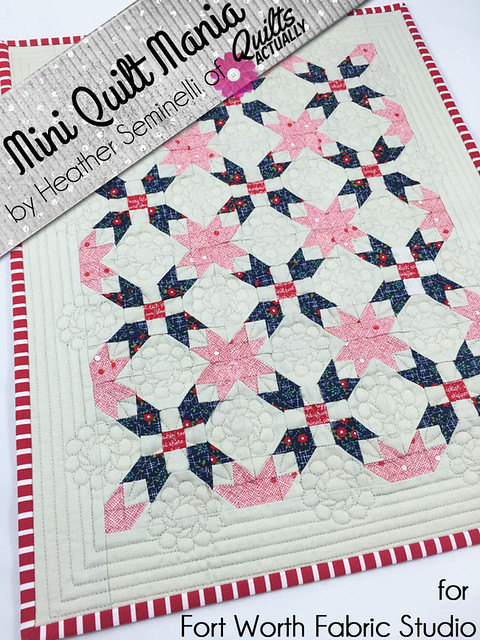
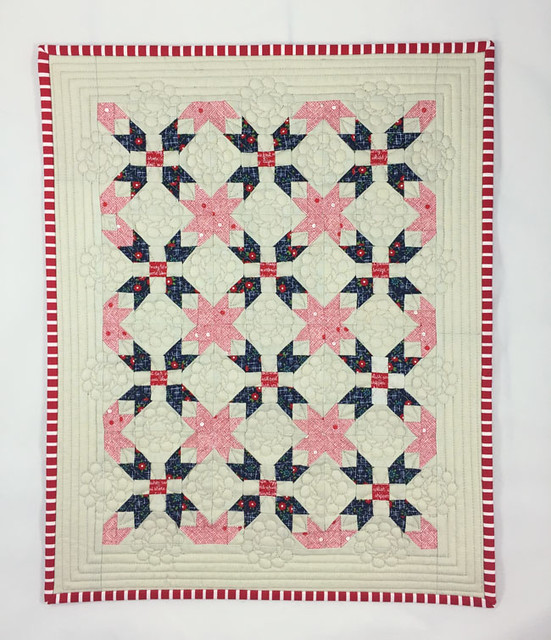
We all have those days… and those projects!  This project is the front of the mini quilt I showed yesterday in my mini quilt hanging tutorial.  This mini quilt was my design for the Fort Worth Fabric Studio Mini Quilt Mania for the month of April.

One of Those Days

To see the other mini quilts designers this month, visit the following links:

April 1st : Lindsey – FWFS
April 2: Melissa – My Fabric Relish
April 6: Nettie – FWFS pattern tester
April 8: Afton  – Quilting Mod
April 13: Amanda – The Cozy Pumpkin
April 14: Trina – Will Cook For Shoes
April 22: Wendy – Sugarlane Quilts
April 27: Paula – The Sassy Quilter
April 28: Heather – Quilts Actually

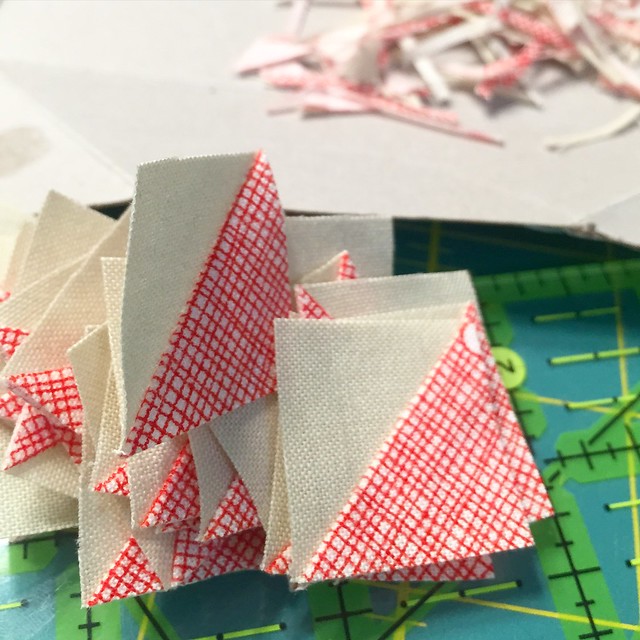
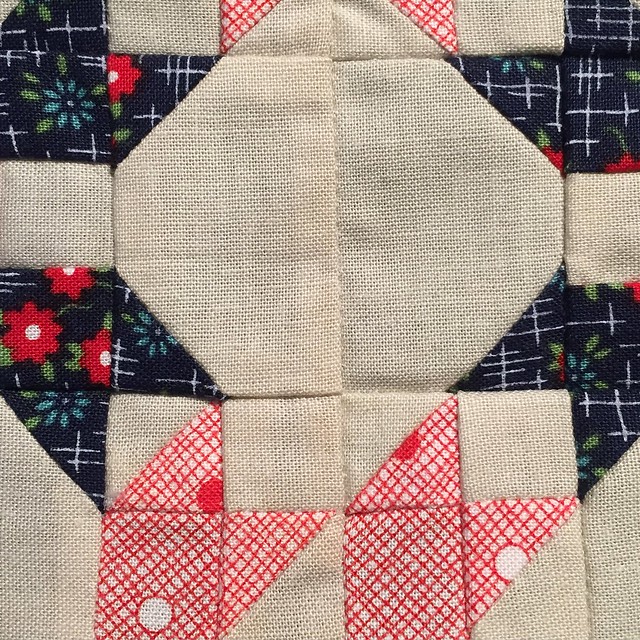
It’s a challenging little miniature quilt.  The blocks are 3.5″ finished, so each of those little squares and HSTs finish at 1/2″.

tiny HSTs

I really like the secondary design that is created by this block, and really wanted to try the block out, so it seemed like a good idea to try it out really small.  Ask me again in a couple weeks if it was a good idea or not!

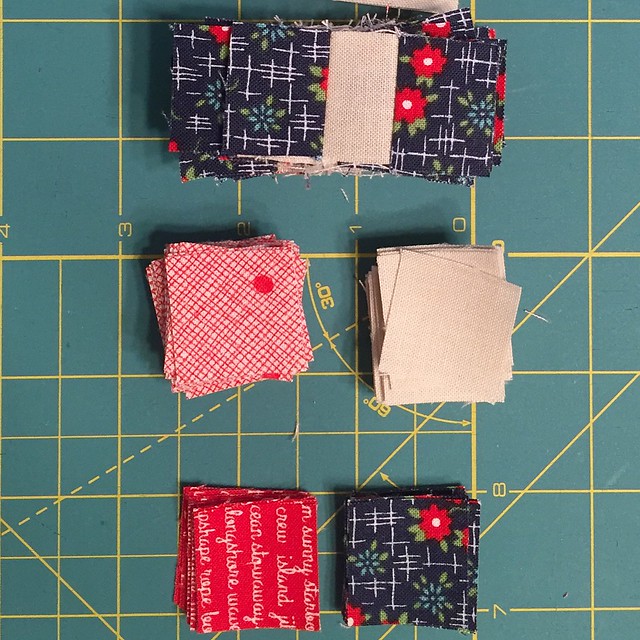
Not to scare anyone off, but there are 448 tiny pieces in this quilt.

tiny pieces

If you are careful and precise, it is a do-able project, I promise!

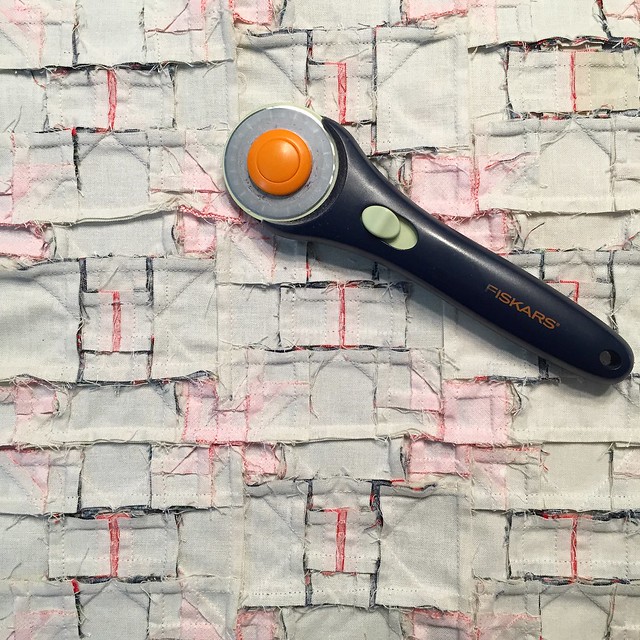
nested seams

I called it one of those days because as I was assembling it, I was making pretty good progress.  Then, I noticed that one of these things was not like the others.  So, I seam ripped, and pulled the offending section out and resewed it in place correctly.

One of these things is not like the other

What I did not notice, was that a second thing was not like the others.  Not through pressing, adding borders, or until I was about 2/3 of the way done quilting and it was too late to tear it out and redo it because I had quilted too close around it.  Like I said, one of those days!

one of those days mini


At least my test to see how this block looks as a quilt was successful!  Now to move on to the full sized version!

Linking up to: Finish it up Friday @ Crazy Mom QuiltsWhoop Whoop Fridays @ Confessions of a Quilt Addict, and TGIFF


How to hang a mini quilt

Tutorial shows you a quick and effective non-permanent way to display your growing collection of mini quilts.

If you are visiting from Fort Worth Fabric Studio Mini Quilt Mania, Welcome!  I have a quick tip on an easy way to hang mini quilts.

how to hang a mini quilt_square

If I am making a mini to keep or give away, I generally do the corner tab hanging method.

When I first started making mini quilts, I didn’t add any sort of sleeve or tab to hang it with.  As a result, I never hung them up.  This is an easy way to  make it easy to hang your mini quilt up.  You made it, enjoy it and show it off!

Corner Hanging tab

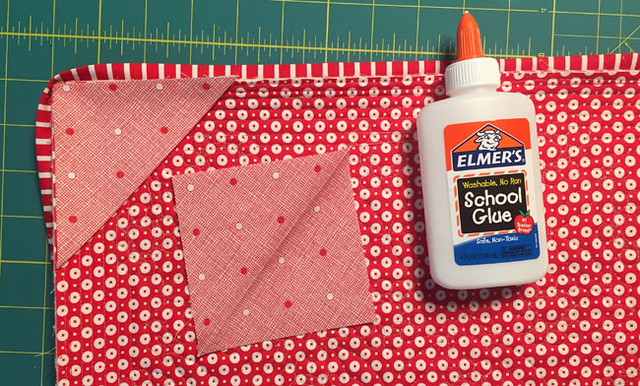
To do this, I cut two squares from scrap fabric.  In this case, I cut (2) 4″ squares.  Fold them in half diagonally, and press with wrong sides together.

I then use a very small line of Elmer’s Washable School Glue within the seam that will be covered by the binding, and glue the triangle in place with the raw edges flush against the raw edges of the quilt.  Press to heat set.

This will keep those triangles in place so that they will be sewn down when you sew the binding down.

So, why on earth you would let a wire cutter get near your hard work?

Hanging tools

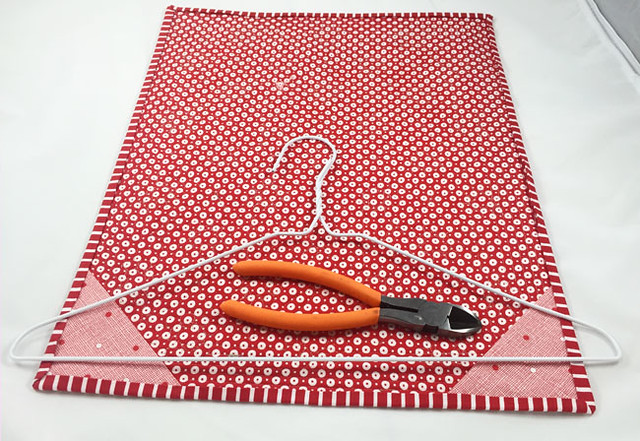
To hang, I cut the bottom part of a wire clothes hanger to match the width of the quilt.  I used a wire cutter to cut the hanger.

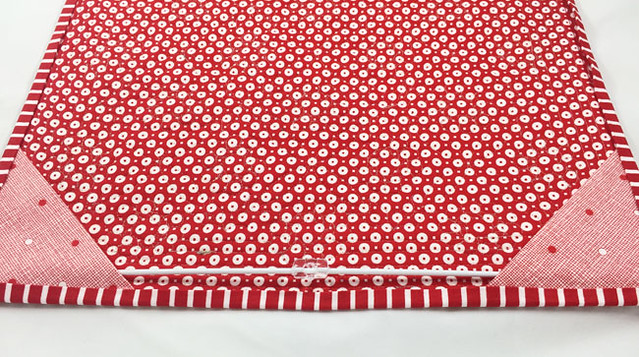
The wire clothes hanger fits perfectly inside a Command Clear Mini Strip.  Depending on the size of the mini, I will use one or two of the Command Mini Strips, and gently press the hanger into the gap.

Example of how to hang mini quilt

This gives me a removable system that does no damage to walls, and I can rearrange easily if I want to.

You can see the front of the mini quilt here!

1/2 yard skirt

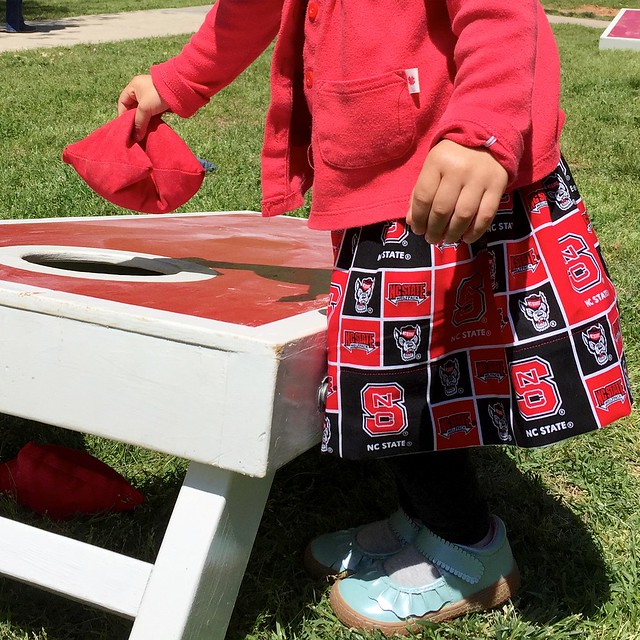
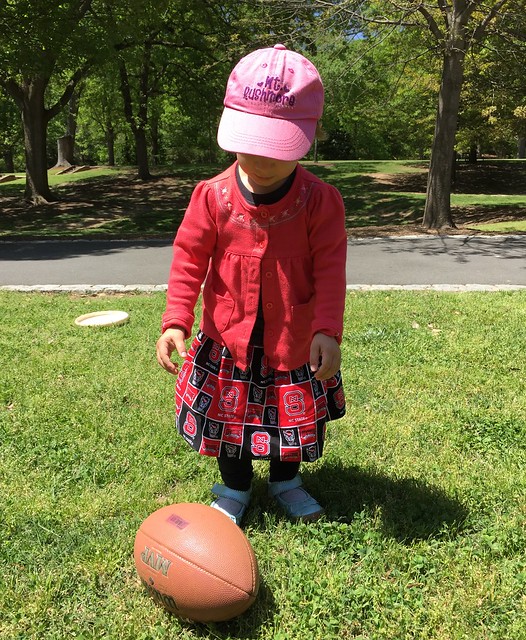
I managed to make a 2nd item for Kids Clothes Week!  This was just a quick rectangle skirt made from 1/2 yard of fabric with a gathered waist and a deep hem, but it was the perfect spirit item to wear to my husband’s picnic for his department at NC State.

NC State Skirt


This fabric was printed ridiculously off grain, so I cut based on the print rather than the grain, and then ironed it into submission.

NC State Skirt


It was a little long – like Little House on the Prairie long, so I hemmed it up 3 inches, and it’s still slightly long.

NC State Skirt


It was a quick and easy skirt – or would have been if I didn’t have the owner of said skirt on my lap “helping” unthread the serger and sewing machine.  She loved the attention she got wearing the skirt, and many of the students loved her support of their school.  Plus, it’s long enough that it will still fit if my husband goes back to NC State to get his PhD someday 😉

Go Wolfpack!


Little Zippy Top

I originally had not planned to participate in Kid’s Clothes Week this week because I have quite a few other obligations that need to be finished.  Then, I was working on a particularly frustrating quilt top, so I needed to just take a break from quilting/piecing for a morning.  I decided that following an easy pattern was just what I needed before tackling that other project.  Therefore, I present to you the Little Zippy Top.
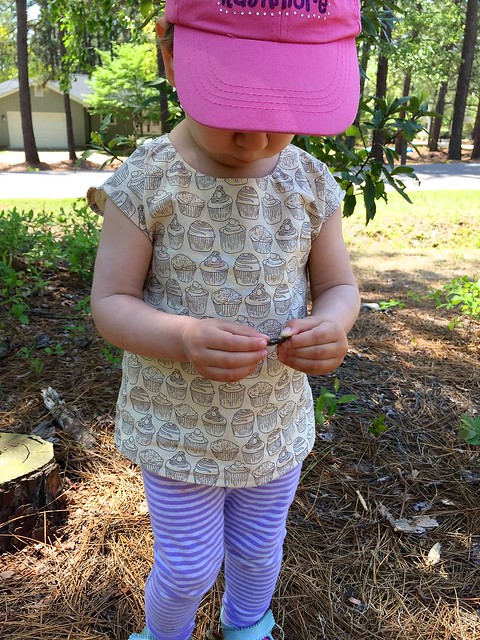
Little Zippy Top

Pattern: Little Zippy Top from See Kate Sew

Pattern Description (from designer): This top is a versatile woven top with an exposed zipper on the back! Make it with all your favorite fabrics! This top is perfect for beginners and quick and fun to sew! Requires very little fabric and a little zipper!

Pattern Price: $9 full price, but watch for sales.

Fabric Required: 1/2 yard for size 4T and smaller

Amount of fabric used: 1/2 yard!

Sizing: Comes in size 18M to 10.

Alterations:  This shirt is a little short, in my opinion.  I used the 4T length hoping to get a little more wear out of the shirt, and it needed that length just to be wearable now on my daughter.
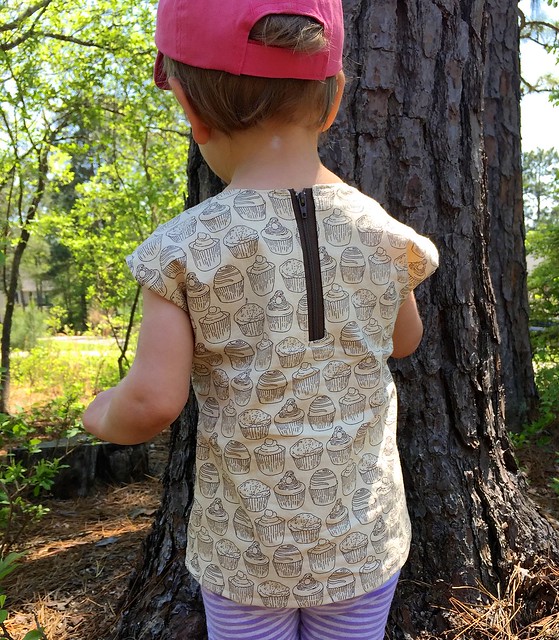
Little Zippy Top

Instructions: Some of the steps were in a little bit of a weird order.  For example, you don’t stay stitch the neckline until step 6 by which point you’ve already handled it quite a bit so if it was going to stretch out, I think it would have by then.  I also prefer to do prep-type work at the beginning, but that’s my personal preference versus a pattern issue.  For example, step 7 is to fuse the interfacing to the facing pieces.  That’s something I prefer to do first before I get into sewing the piece of clothing.

Pattern Issues: Instructions are adequate, but not my preferred style of construction.  For example, you don’t under stitch the facing to the seam allowance.  Instead, you just topstitch the whole neckline.  Which is fine, but that step has you also topstitch around the zipper opening prior to the zipper being installed, which leads you to have to install the zipper while insanely carefully trying to topstitch over the line of stitching already there.  I probably made more work for myself by under stitching the neckline, then installing the zipper and just continuing on to topstitch around the neckline in one go.

Fabric Choice: Cute cupcake fabric that was on sale from Fort Worth Fabric Studio.  The actual name of the fabric is Love At First Bite by Color Bakery for Windham Fabrics.  Quilting cotton works fine for the shirt.

Finished Product: It’s a cute shirt.  I wish the neck was a little bit higher in front.  Sometimes the shirt has a tendency to sit forward a little more than it should, so that may be why the neckline looks lower than it should.
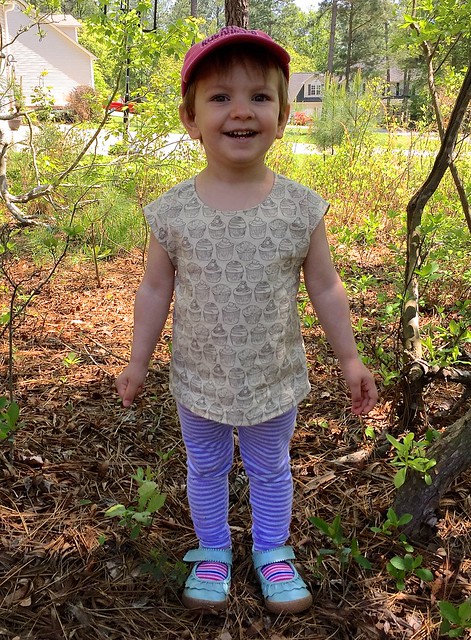
Little Zippy Top

Husband’s opinion: I like the exposed zipper, and the fabric.

Notes for future makes: I think I will go up a size in width, and at least one more size in length (to 5T for a little girl that wears 2T in ready to wear).  My daughter is pretty skinny, but likes to “help” put her clothes on by sticking her arms out straight in whatever direction that makes it impossible to get a woven shirt on, so I’m hoping a little extra width will help make dressing her a little bit easier.
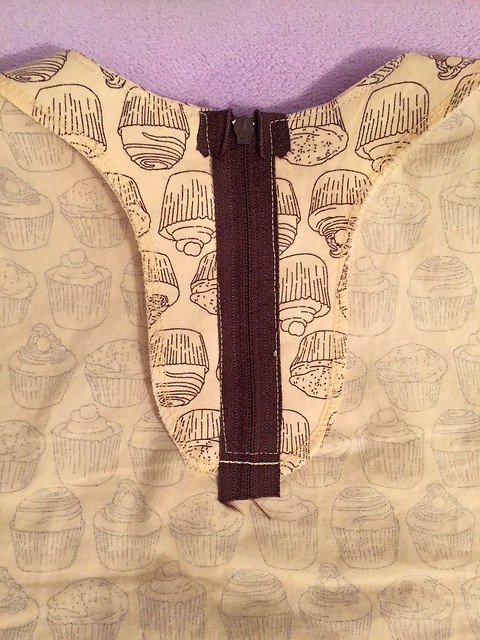
Little Zippy Top

Final Thoughts: I had high hopes for this shirt being one that I go to again and again, but I’m not sure that I will.  It’s like when someone tells you a restaurant has the best hamburger they’ve ever had in their entire life… your hopes get high and no hamburger is going to live up to what you have built up in your head.  I had higher hopes for this pattern, so I think that’s why I’m a little disappointed.

I didn’t keep track of time, but it wasn’t quite as fast of a make as I was hoping.  Then again, if I made multiples, it would go faster.  Making sure the zipper is evenly installed takes longer than buttonholes and sleeves do for me.  I also don’t really like how the zipper is installed.  The zipper seemed to be annoying my daughter last night when we were sitting on the couch together.  I still like how little fabric it uses, so I may try it again just for that reason.

I guess for now, I’ll see how often I dress her in it before deciding if it’s a total win or bust.

Franklin Dress

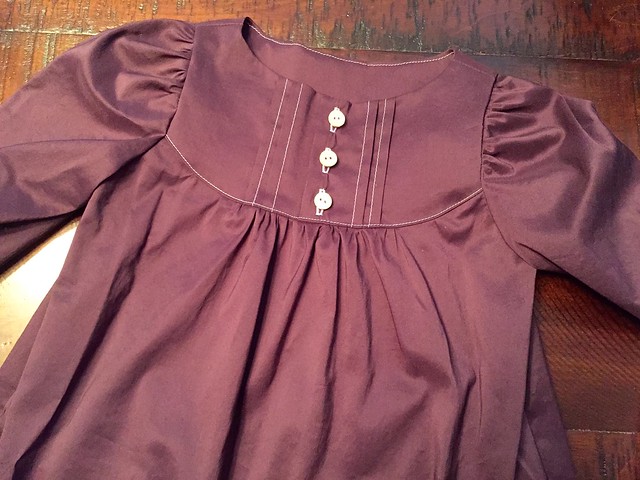
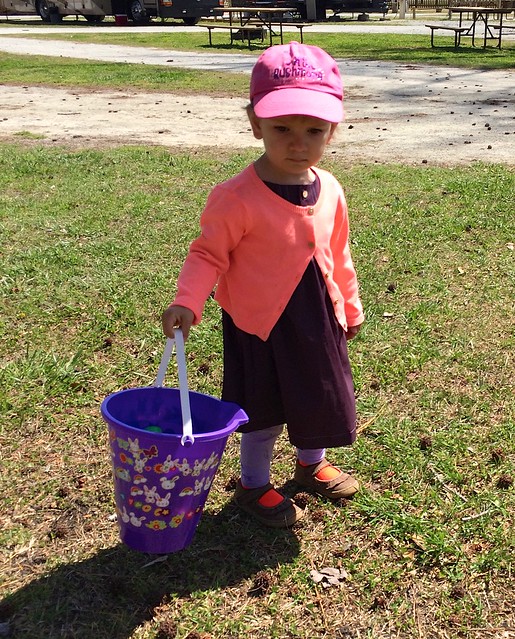
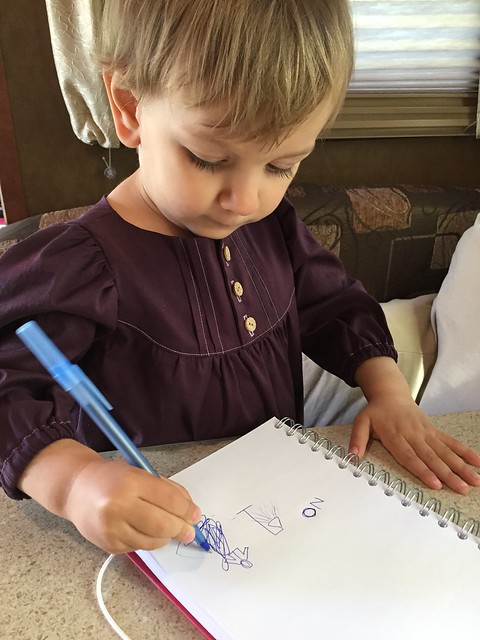
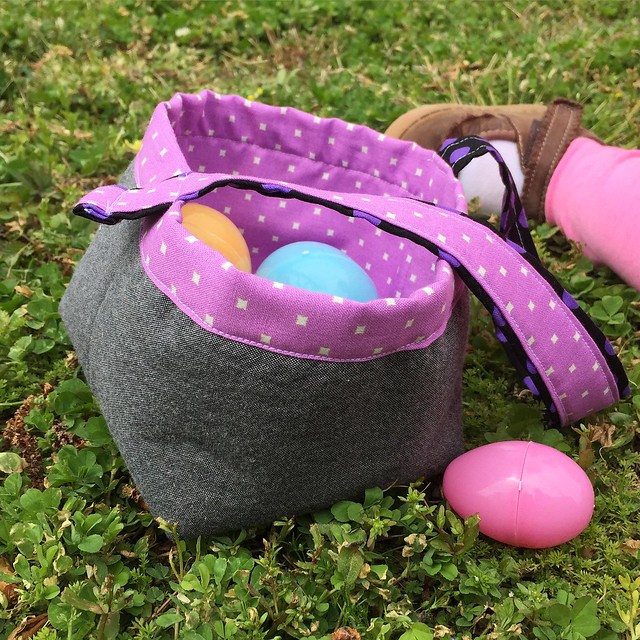
I made the Franklin dress pattern for my daughter for Easter.  Unfortunately, it ended up being a little chilly, so almost all of the pictures of her that day are covered up by a sweater.  Then, I made her an Easter basket from the Fabric Basket Tutorial from Ellison Lane, which she also ended up not using because a bucket was provided at the Easter Egg Hunt.  Oh well!  She had a blast running around and picking up eggs, and that is what mattered.

Pattern: The Franklin Dress is the first dress pattern offered by the Brooklyn Pattern Company.

Franklin Dress

Pattern Description (from designer): A surprisingly simple dress with playful details and endless options. Whether romping in the dirt with frogs in her pockets or strolling across the Brooklyn Bridge, both mom and daughter will appreciate the versatility. A pleated yoke frames the face while gathered sleeves add a special touch. Go casual with a sweet polka dot cotton or dress it up with linen or silk.

Pattern Price: $12

Fabric Required: For 12 month size, it requires 1- 1.5 yards depending on width.

Amount of fabric used: I used 1 yard of 54″ wide fabric and did not have garment sewing usable scraps after.

Sizing: Includes sizes 6 months – 8 years.  I made size 2T.  Actual measurements are not included, which I am so used to using to decide what size to make that I was lost without it.

Franklin Dress

Alterations: I made the pattern as written.

Instructions: Instructions are good and there is also a sew-a-long for beginners or anyone who needs extra help.  Diagrams are included in the pattern.  My only issue is below.

Pattern Issues: My only complain is that the diagram showing where to place the interfacing behind the buttonholes makes it look like it should be placed again the cut edge of the fabric, instead of inside the seam or even just centered on the line you are going to put the buttonholes on.  I knew it didn’t seem right as I was doing it, but I try to follow the instructions as written for the first time I make a pattern so I went with it in case there was some reason it was done that way.  There wasn’t.

Fabric Choice: I made it in a lovely purple stretch poplin purchased from Mood, now out of stock.  I originally purchased it for me (back when I had a short-lived misconception that I could make a woven shirt for myself out of 1 yard of fabric).  I used 1 yard of fabric for her dress.

Franklin Dress

Finished Product: It is a very sweet dress.

Husband’s opinion: Why did I make it a dress when we never dress our daughter in dresses?

Notes for future makes: The bodice width is a bit wide.  Not crazy wide, more room to grow wide, but if in doubt about size I would probably go with the lower size.  Also, I would shorten it to make as a shirt so she would wear it more often.

Final Thoughts: It’s a pretty easy sew that makes a cute dress.

Ellison Lane Fabric Basket as Easter basket

I had to include the Easter Basket somewhere!  It was used during the practice egg hunts, so it wasn’t a total waste.  I’m probably going to remove the handles and use it as a thread catcher.  I like how it turned it!

Linking up to Frances Suzanne’s Link Party for the Franklin Dress Flip this Pattern, even though I didn’t flip it at all.


Quilts Actually on the move….

Quilts Actually Moving Announcement 2015


As you may know, my husband is in the Army.  Therefore, every few years they notify us that it is time to move.  This summer we will be moving from North Carolina to New York.

What that means to me and my family:

We will be putting all our belongings on a truck in early June, to include my longarm.  That means I need to finish all customer quilts before I take down my longarm prior to the arrival of the packers and movers.  I do not want to move any quilts that are not my own because I don’t want your quilt subject to any of the risk inherent when other people move your belongings.

moving truck

What does that mean to you?
I am setting a cutoff date of May 1st for you to mail your quilts if you want it completed prior to my move.  That will give me time to quilt it for you and give it the attention it deserves before I pack everything up.  You will receive your completed quilt as I finish it, but guarenteed before the end of May.
If you will not have your quilt ready to mail by May 1st, I will be setting up my longarm back up and still doing quilting for others in New York.  We are tentatively hoping to be unpacked and settled in sometime in July.
The only thing that will change will be my physical location.  Instead of being a little over an hour from Raleigh, I will be a little over an hour from New York City.

house border

When I am ready to accept quilts again, I will let you know and we will celebrate with a Quilts Actually Grand Re-Opening!

Thank you for your understanding and patience, and I hope to quilt for you in the future!
– Heather

Heart Quilting

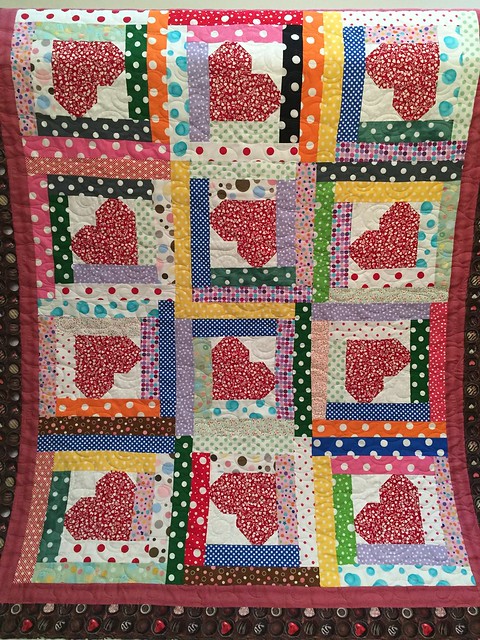
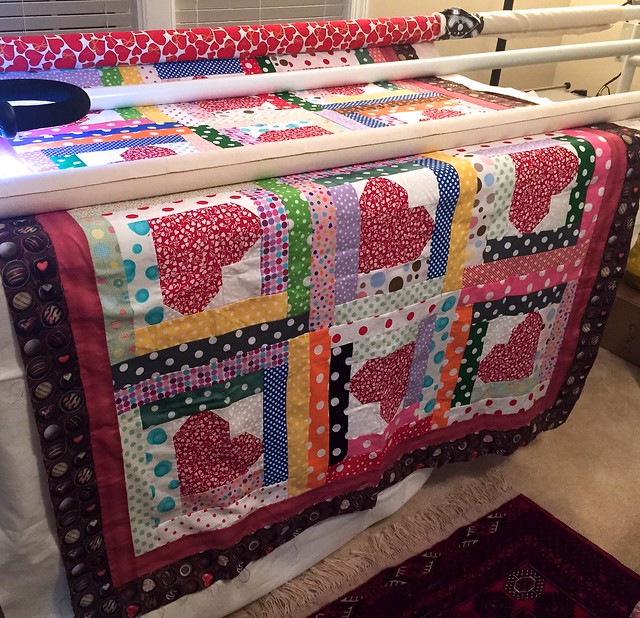
Here is a beautiful quilt that I finished while ago, but forgot to share.  If you follow me on instagram (@QACreations) or Facebook, you may have already seen some pictures of this quilt.

Heart Quilt

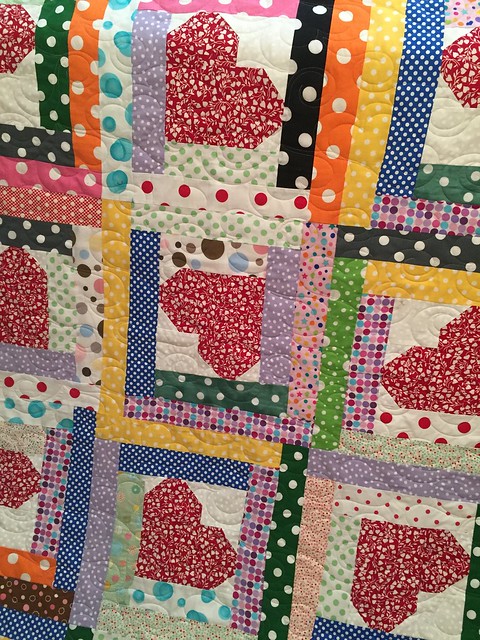
This cheerful quilt had hearts at the center of log cabins.  The borders were fabric made to look like chocolate.  This was literally a sweet quilt!

Heart Quilt

I kept the sweet + heart theme going and used light pink thread to quilt a heart panto all the quilt.

Heart Quilt

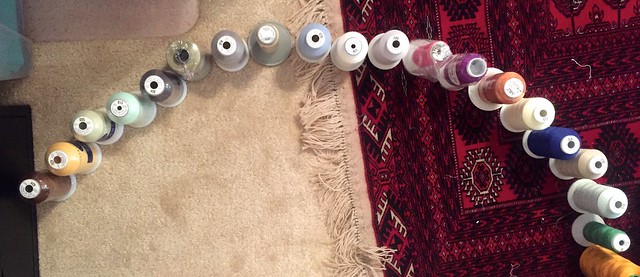
My daughter even decided to “help” out with the quilting… by re-arranging thread!

Heart Quilt

I hope its future owner loves it!

– Heather

Linking to: Linky Tuesday @ Freemotion by the RiverLet’s Bee Social Wednesday @ SewFreshQuiltsWhoop Whoop Fridays @ Confessions of a Quilt Addict