Little Zippy Top

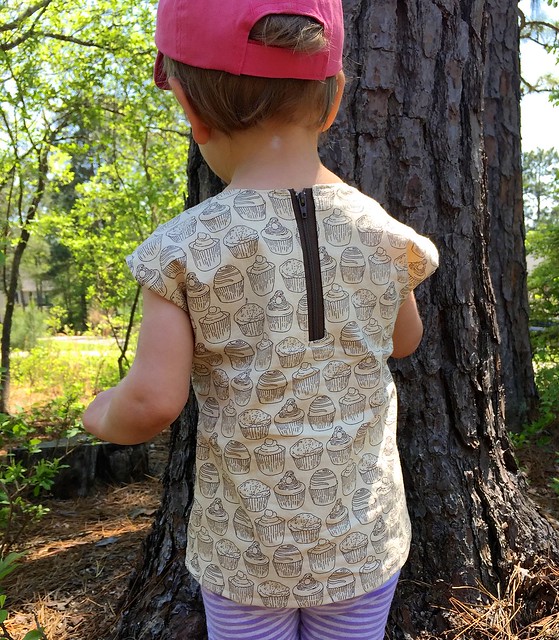
I originally had not planned to participate in Kid’s Clothes Week this week because I have quite a few other obligations that need to be finished.  Then, I was working on a particularly frustrating quilt top, so I needed to just take a break from quilting/piecing for a morning.  I decided that following an easy pattern was just what I needed before tackling that other project.  Therefore, I present to you the Little Zippy Top.

Little Zippy Top

Pattern: Little Zippy Top from See Kate Sew

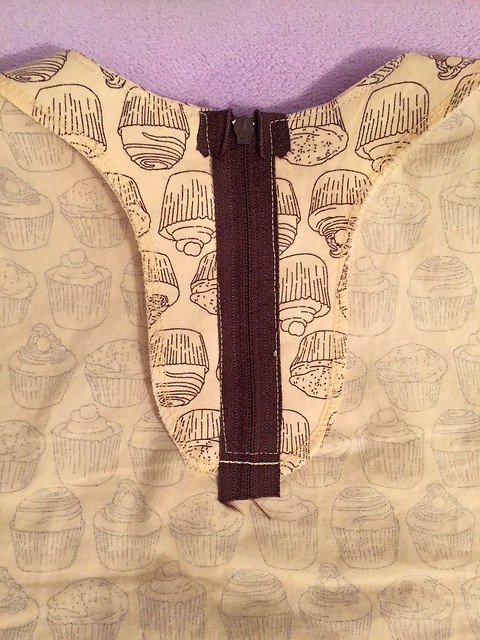
Pattern Description (from designer): This top is a versatile woven top with an exposed zipper on the back! Make it with all your favorite fabrics! This top is perfect for beginners and quick and fun to sew! Requires very little fabric and a little zipper!

Pattern Price: $9 full price, but watch for sales.

Fabric Required: 1/2 yard for size 4T and smaller

Amount of fabric used: 1/2 yard!

Sizing: Comes in size 18M to 10.

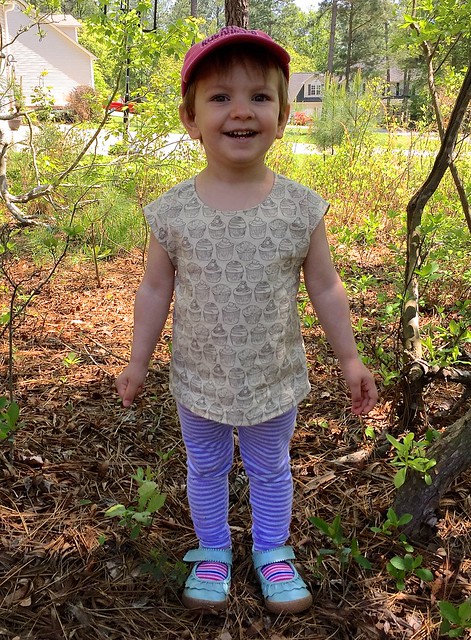
Alterations:  This shirt is a little short, in my opinion.  I used the 4T length hoping to get a little more wear out of the shirt, and it needed that length just to be wearable now on my daughter.

Little Zippy Top

Instructions: Some of the steps were in a little bit of a weird order.  For example, you don’t stay stitch the neckline until step 6 by which point you’ve already handled it quite a bit so if it was going to stretch out, I think it would have by then.  I also prefer to do prep-type work at the beginning, but that’s my personal preference versus a pattern issue.  For example, step 7 is to fuse the interfacing to the facing pieces.  That’s something I prefer to do first before I get into sewing the piece of clothing.

Pattern Issues: Instructions are adequate, but not my preferred style of construction.  For example, you don’t under stitch the facing to the seam allowance.  Instead, you just topstitch the whole neckline.  Which is fine, but that step has you also topstitch around the zipper opening prior to the zipper being installed, which leads you to have to install the zipper while insanely carefully trying to topstitch over the line of stitching already there.  I probably made more work for myself by under stitching the neckline, then installing the zipper and just continuing on to topstitch around the neckline in one go.

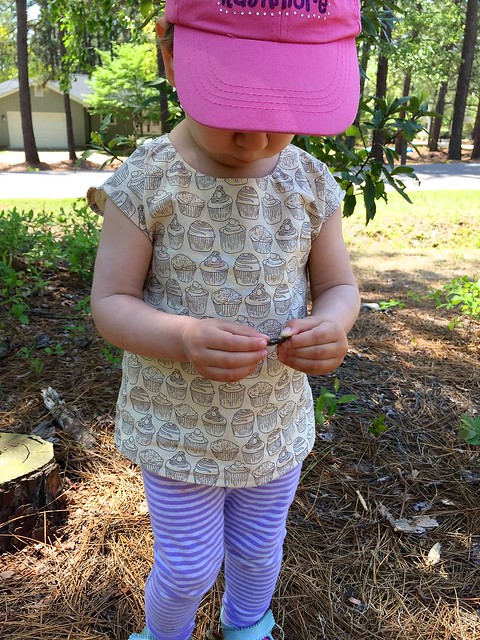
Fabric Choice: Cute cupcake fabric that was on sale from Fort Worth Fabric Studio.  The actual name of the fabric is Love At First Bite by Color Bakery for Windham Fabrics.  Quilting cotton works fine for the shirt.

Finished Product: It’s a cute shirt.  I wish the neck was a little bit higher in front.  Sometimes the shirt has a tendency to sit forward a little more than it should, so that may be why the neckline looks lower than it should.

Little Zippy Top

Husband’s opinion: I like the exposed zipper, and the fabric.

Notes for future makes: I think I will go up a size in width, and at least one more size in length (to 5T for a little girl that wears 2T in ready to wear).  My daughter is pretty skinny, but likes to “help” put her clothes on by sticking her arms out straight in whatever direction that makes it impossible to get a woven shirt on, so I’m hoping a little extra width will help make dressing her a little bit easier.

Little Zippy Top

Final Thoughts: I had high hopes for this shirt being one that I go to again and again, but I’m not sure that I will.  It’s like when someone tells you a restaurant has the best hamburger they’ve ever had in their entire life… your hopes get high and no hamburger is going to live up to what you have built up in your head.  I had higher hopes for this pattern, so I think that’s why I’m a little disappointed.

I didn’t keep track of time, but it wasn’t quite as fast of a make as I was hoping.  Then again, if I made multiples, it would go faster.  Making sure the zipper is evenly installed takes longer than buttonholes and sleeves do for me.  I also don’t really like how the zipper is installed.  The zipper seemed to be annoying my daughter last night when we were sitting on the couch together.  I still like how little fabric it uses, so I may try it again just for that reason.

I guess for now, I’ll see how often I dress her in it before deciding if it’s a total win or bust.

Pilot Hat Review

Pilot Hat Review

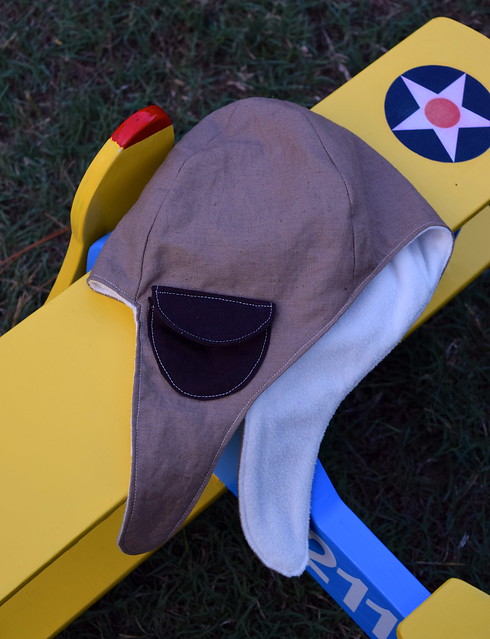
This is a project summary of the “Pilot Hat” pattern by See Kate Sew.  I bought this pattern during her Black Friday sale last year, made it in February, and am just now blogging it.  It is sized to fit from 18M to 7/8.

See Kate Sew Cozy Pilot Hat

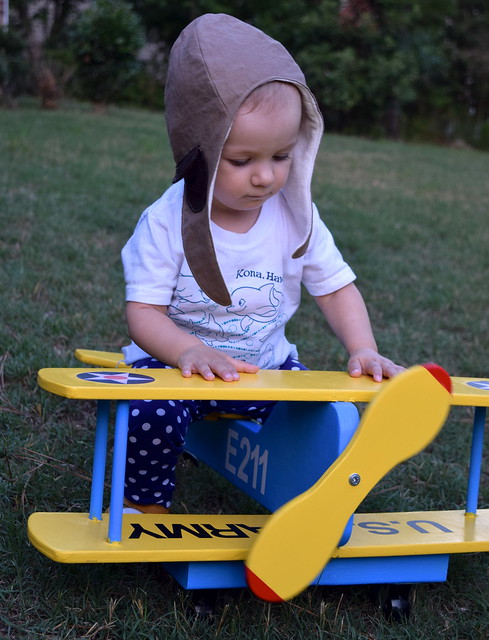
I originally thought that it would fit my daughter next winter and beyond, but then when I checked the sizing, she was a 12 month old wearing the 2T size.  Granted, she has a large head.  Her head circumference was 19.5 when I made it, and I made the 18M-2T size which is recommended for a 19 inch head.  It fits her well, but probably won’t after her next growth spurt – I’ll have to size up.  Then again, it’s been a few months since I made it and it still fits, so maybe I’m good for a little while longer.

See Kate Sew Cozy Pilot Hat

I made this using linen for the outer fabric and a light fleece for the inner fabric.  Both were pre-washed prior to sewing.  I like the fabric combination.

I chose not to add the velcro enclosure.  My daughter prefers to put this hat on when she starts playing with the airplane and then take it off about 2 minutes later, so the velcro is unnecessary.

See Kate Sew Cozy Pilot Hat

Pilot Hat Review: As far as the pattern, I’m mostly happy with it…  I think it’s overall a cute pattern.  I think the angular top is a bit odd and slightly alien-ish.  Traditional pilot hats were not shaped like that so I’m not quite sure why the hat is shaped that way.  I sewed it with a larger seam allowance at the very top in an attempt to minimize that aspect of the hat and you can still see it a little.

Wooden AAC Plane

The instructions were adequate.  I would have preferred a few additions, such as a diagram showing where she measured the head for fit recommendations or a table with the finished size so that I could better decide what size to make.  I also wish she would proofread a little bit better.  On page 11, the instructions said, “… cut out bow pattern pieces located on page xx.”  I know that’s a small detail, but her patterns (while reasonably priced) cost enough that I expect them not to have basic typos like this.  If you have a free tutorial or the pattern cost next to nothing, I am more accepting of typos, but these are small and easy to catch so it makes me wonder about the testing process.

See Kate Sew Cozy Pilot Hat

One other issue I had with this pattern was that it did not call for topstitching, or ironing of any seams.  I added it everywhere – partially because I like the finished look of it and partly because I know that it helps a garment (or hat) wash and wear better.  I know that I can put this hat through a washing machine and it will come out  fine.  The ironing thing is a personal preference, I suppose, but if I had not made other hats before I don’t know if I would have known to do it and would not have as good of a result.  I think that for a pattern that seems to be aimed at beginners, it doesn’t have quite enough detail.

Wooden AAC Plane

Overall, it’s a cute hat, and with some modifications I will probably make this again.

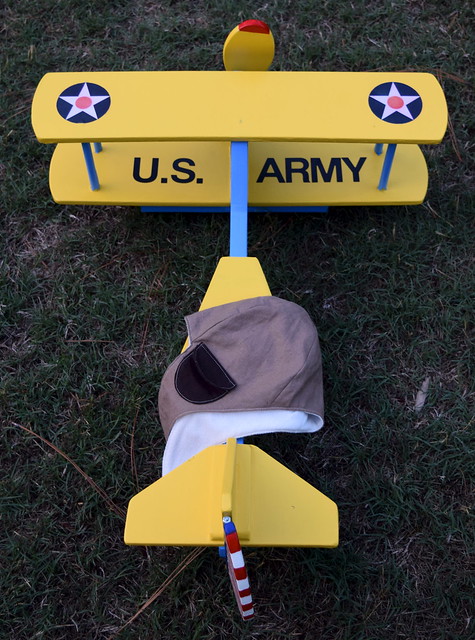
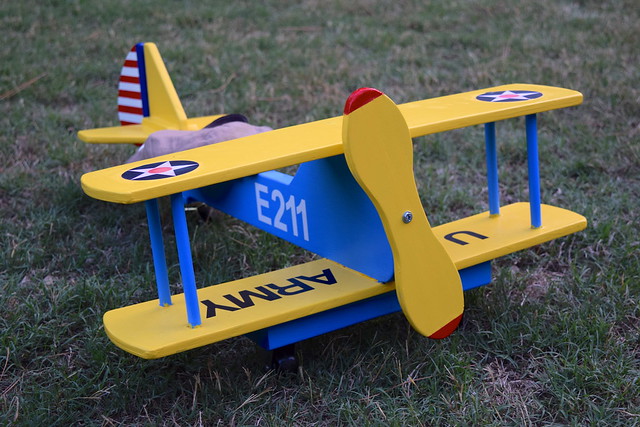
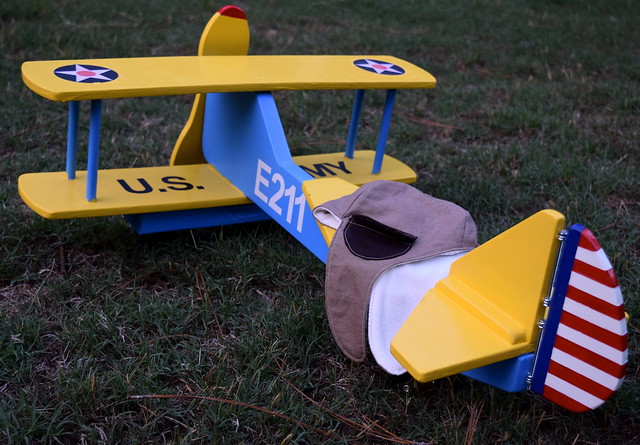
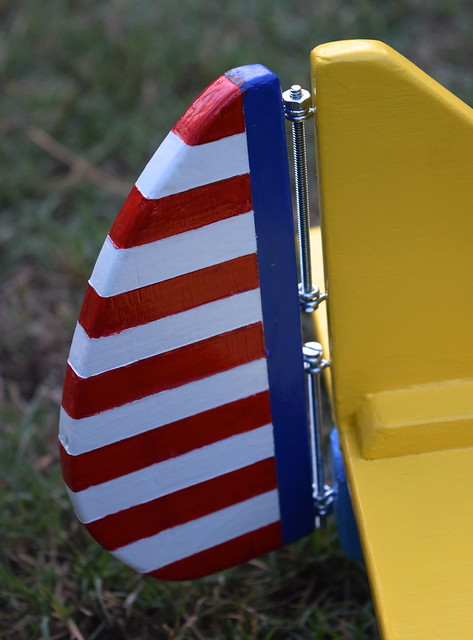
The hat was an accessory to go with the absolutely awesome airplane my husband made the little girl for her birthday.  She enjoys pushing it around, making the rudder flap, spinning the propeller, and scooting around in circles on it.  She knows that the hat goes with the airplane, but it usually doesn’t last long.  Probably because the hat is lined with fleece and it’s really hot in June in North Carolina.  The airplane is made to look like an old World War II Army Air Corps trainer.  I may be slightly partial, but I think he did an incredible job on the plane!

-Heather

Linking to: Anything Goes MondayFabric Tuesday @ Quilt StorySew Cute Tuesday @ Blossom Heart QuiltsLet’s Bee Social Wednesday @ SewFreshQuiltsNeedle and Thread Thursday @ My Quilt InfatuationFinish it up Friday @ Crazy Mom QuiltsWhoop Whoop Fridays @ Confessions of a Quilt AddictTGIFF , Fabric Frenzy Friday @ Ft. Worth FabricSewjo Saturday at My Go-Go LifeShow off Saturday at Sew Can She, and Sewing Saturday at Simple Simon & Co