Jewel Puzzle Paper Pieced Pattern

Jewel Paper Pieced Tutorial

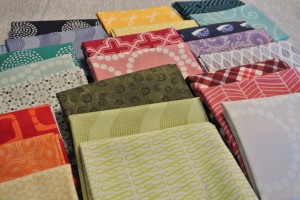
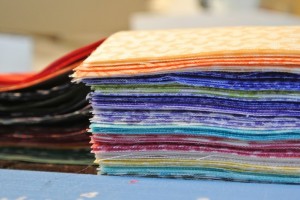
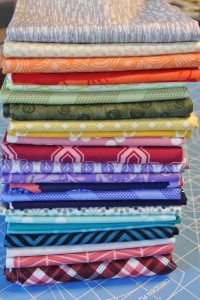
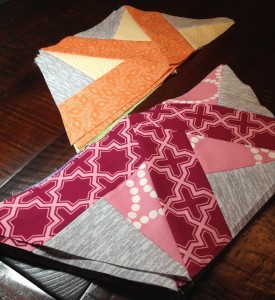
Free paper pieced pattern for 12″ finished block that includes detailed photographic instructions on how to paper piece.

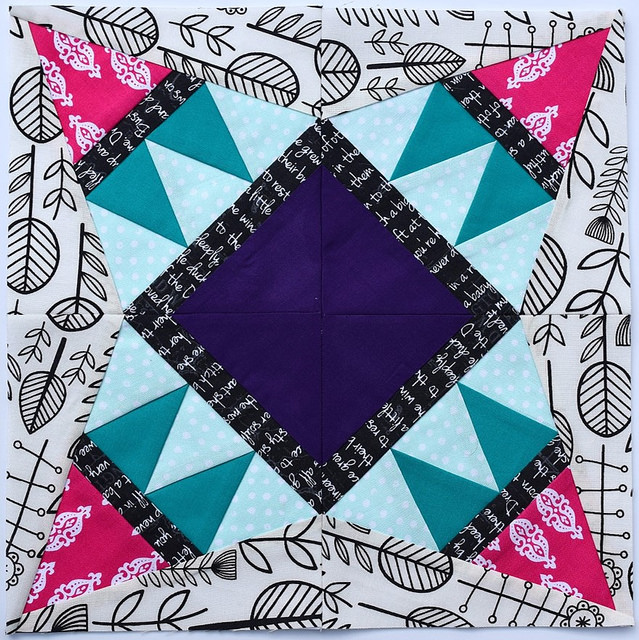
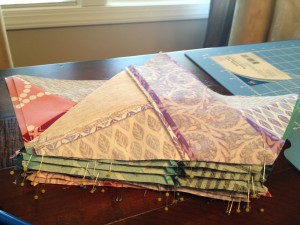
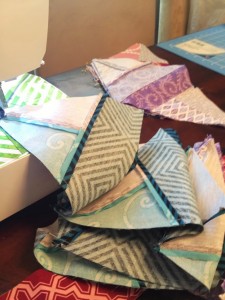
Today, my new Jewel Puzzle paper pieced block pattern was featured on Sew Mama Sew!  Head over to Sew Mama Sew for the Jewel Puzzle Tutorial.

Jewel Puzzle Block

This paper pieced pattern is probably a solid intermediate level… not too hard because there aren’t a lot of intersections to match up, but a lot of pieces for a true beginner.

I made this block to use a pillow in my daughter’s new room.  I wanted something bright and cheerful, and I think this block does just that.

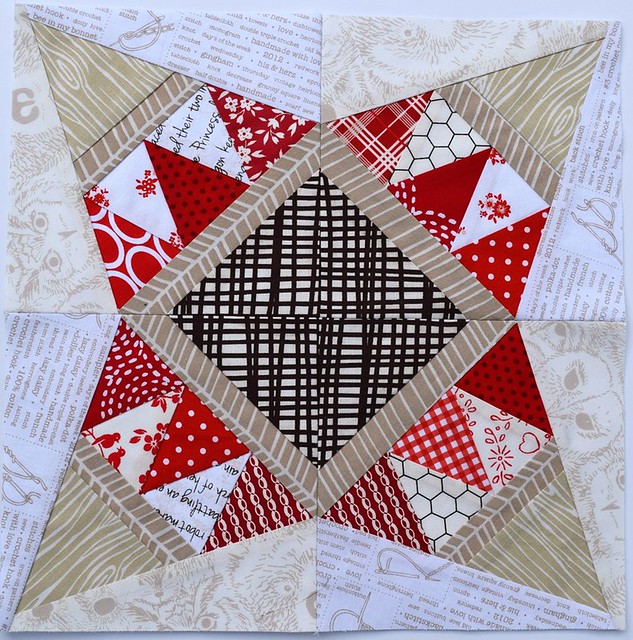
I also made a version of this block for my Red & White Sampler.  It amazes me how different these blocks look with some different fabric and different fabric placements.

Red Jewel Puzzle Block


If you make this block, please let me know because I would love to see your work!  I’ve started an Instagram tag for #jewelpuzzle block, or you can email me a picture.

– Heather

Also linking up to:

WiP Wednesday @ Freshly PiecedLet’s Bee Social Wednesday @ SewFreshQuiltsWhoop Whoop Fridays @ Confessions of a Quilt AddictFabric Frenzy Friday @ Ft. Worth FabricShow off Saturday at Sew Can SheSewing Saturday at Simple Simon & Co,  Anything Goes MondayFabric Tuesday @ Quilt StorySew Cute Tuesday @ Blossom Heart Quilts


Spinnaker Quilt for my dad

Now that Christmas is over, I can share the Spinnaker Quilt that I made for my dad.

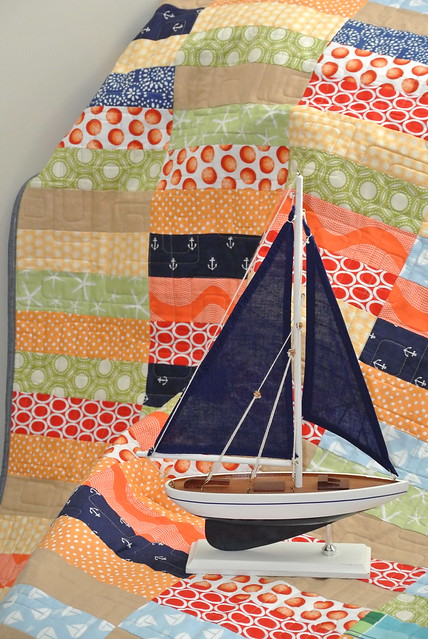
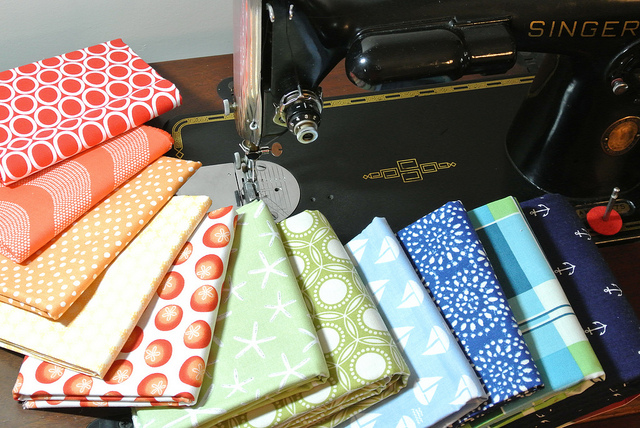
This summer I went to visit my parents and Grandmother in Wisconsin.  While I was there, my dad described a skirt he had seen and asked if I could recreate a quilt like it.  He wanted a quilt made up of rectangles about 2 inches by 8 inches in yellow, red, and green with some white in there to calm it down a bit.  His major descriptor was that he wanted it to be bright and cheerful.  Later, the request was modified somewhat as he said it reminded him of the colorful spinnaker sails at a sailboat regatta.

I had already pulled some nautical fabrics before the spinnaker theme was requested, so I knew I was going in the right direction.  My dad grew up around boats, and had a boat most of his life.  Some of my fondest memories growing up are from sailing down the Columbia River at dusk.
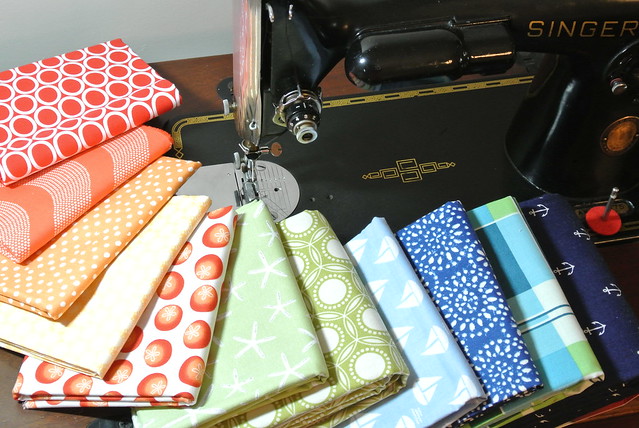
The making of the Spinnaker Quilt

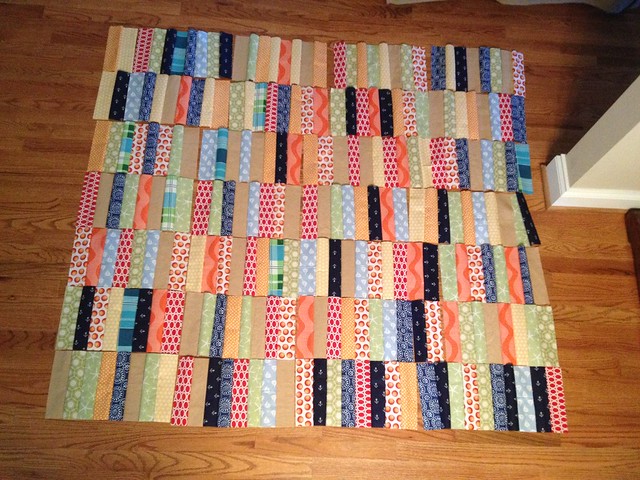
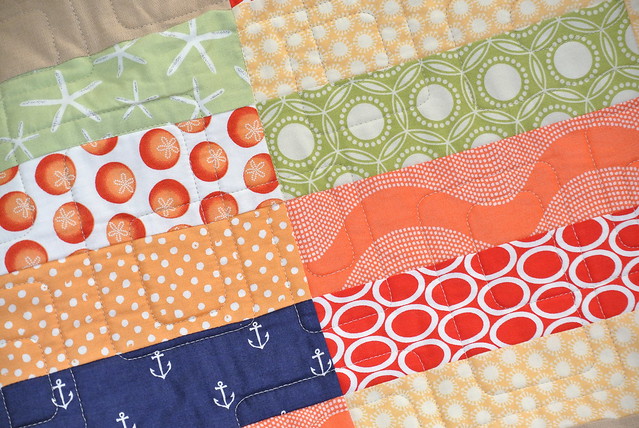
Each of the 238 rectangles in this quilt measure 2.5 inches by 8 inches prior to sewing.
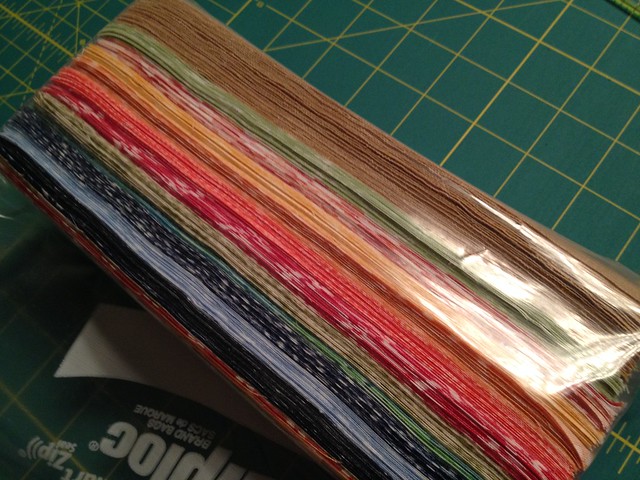
The making of the Spinnaker Quilt

My trimmings turned out quite pretty, at least more so than usual.
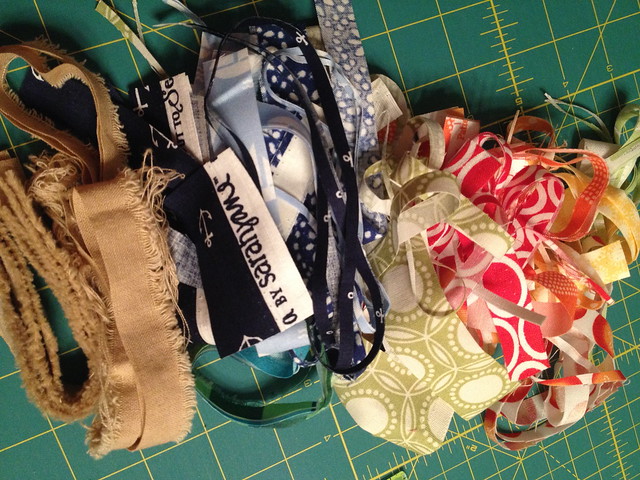
The making of the Spinnaker Quilt

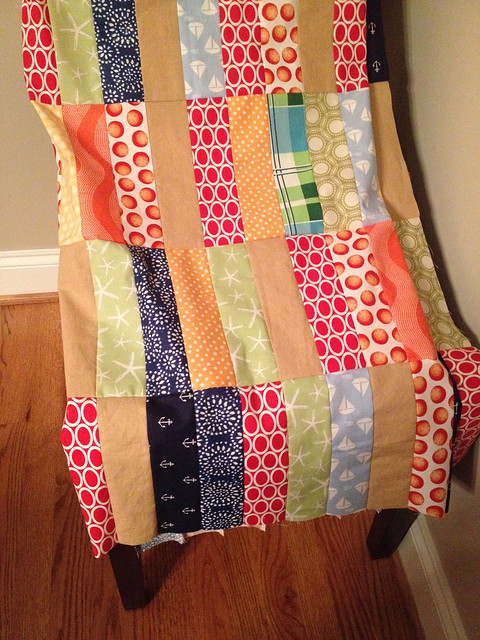
The layout is 34 rectangles vertically and 7 rectangles wide.  The top photo is prior to being sewn together – it was a risk to use the design floor with baby and dog around.
The making of the Spinnaker Quilt

The making of the Spinnaker Quilt

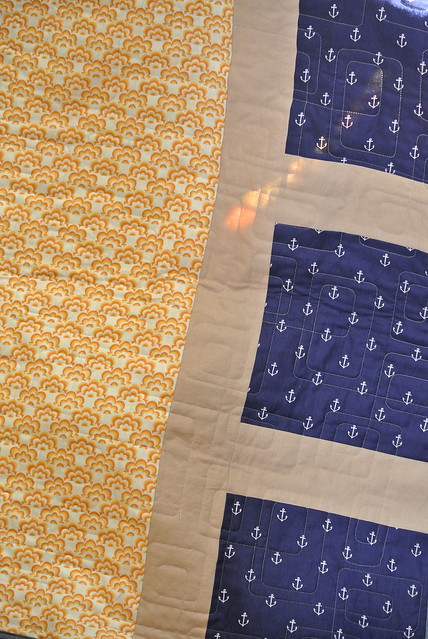
The back is pieced – I didn’t have enough of the one main fabric, so I pieced in the linen and anchor fabric as a design choice.  Plus, I think pieced backs are kind of fun.

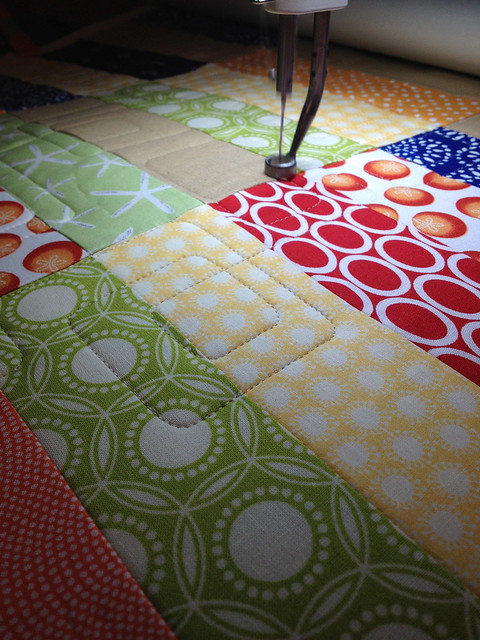
I chose to quilt it with a new panto – rounded rectangles.  I wanted something masculine, yet the rounded edges helped to soften the design.  I think a sharp quilting design would have been too much for this quilt.
The making of the Spinnaker Quilt

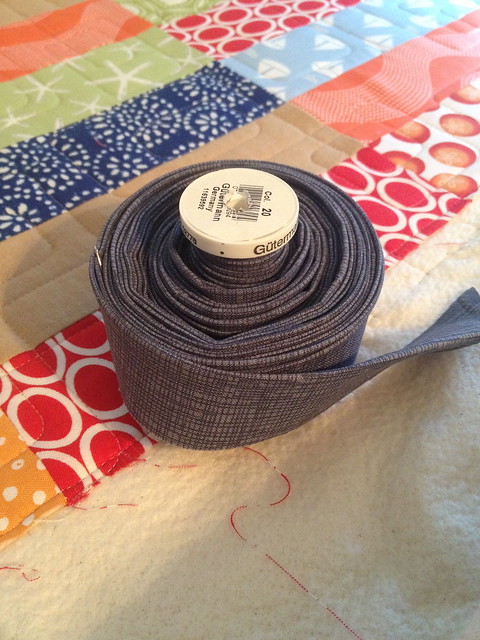
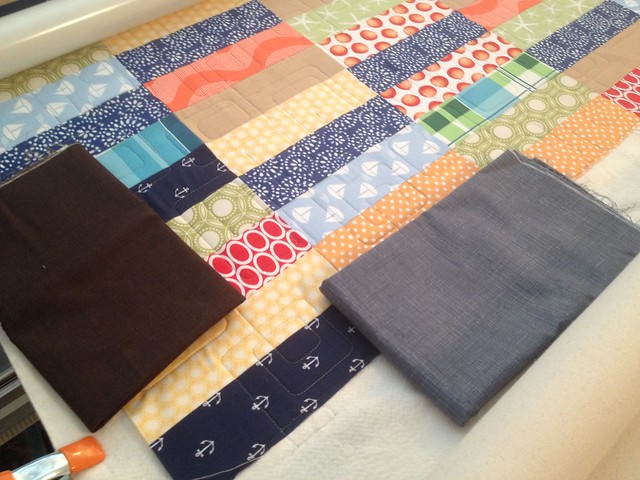
I debated about the binding, but after getting some confirmation from instagram friends, I went with the gray binding.  It fit the nautical theme much better.
The making of the Spinnaker Quilt

The making of the Spinnaker Quilt

And now for the stream of finished pictures… The quilt had been finished for several days before I finally had a sunny day to take them!
Spinnaker Quilt

Spinnaker Quilt

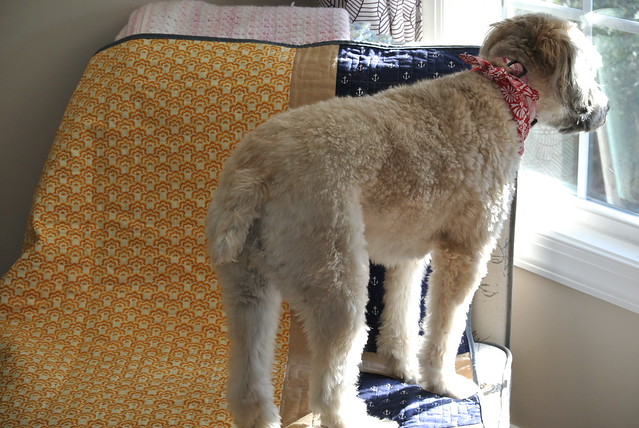
I had trouble taking pictures of the back thanks to my helpers – my two girls.  First, the dog wanted to see what was going on outside.
Spinnaker Quilt

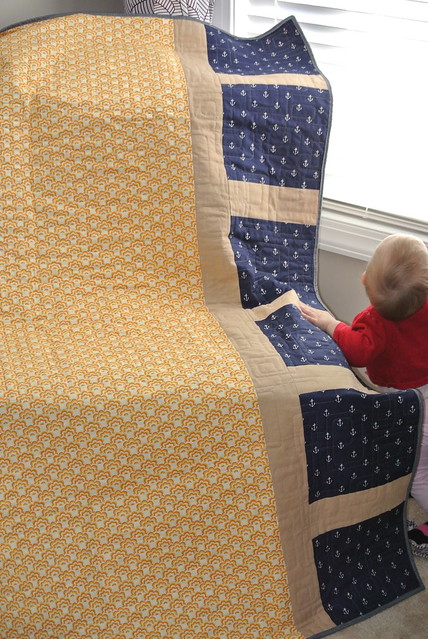
After I closed the window, the daughter walked over trying to figure out why she couldn’t see outside.
Spinnaker Quilt

It’s a very large throw, which made it a little difficult to get a photo of the entire thing inside my dry house.  I don’t risk quilts outside when it is wet.
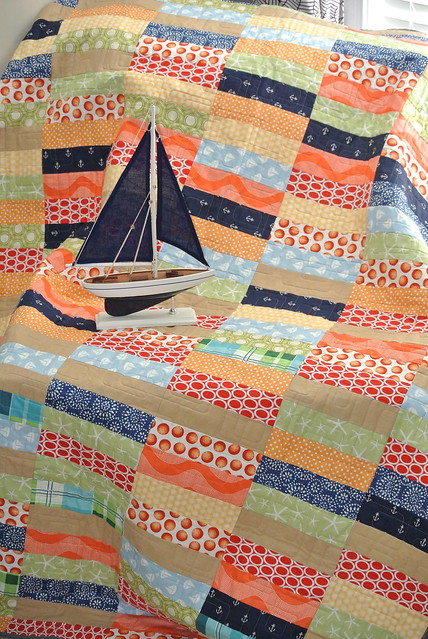
Spinnaker Quilt

Spinnaker Quilt

Lastly, the roll shows the binding color the best.
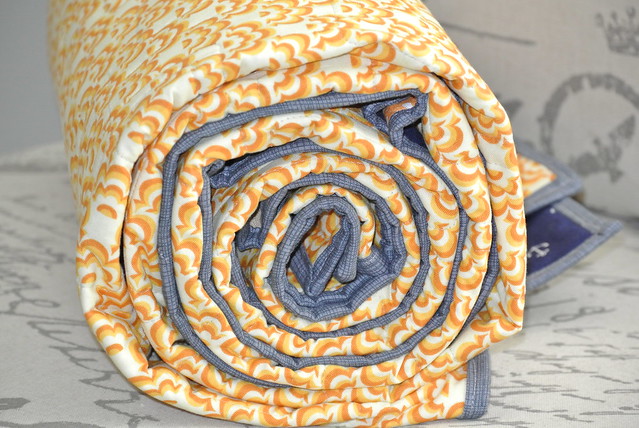
Spinnaker Quilt

My dad loved it! Below is my dad’s view of the quilt being shown off Christmas morning.  So much so that he said it was too nice to use and that he wanted to just hang it up.  Luckily, my mom (who crochets, and therefore understands that things are made to be used) told him it was too nice not to use and that he has to use it.  A successful Christmas quilt!
Spinaker QUilt

Linking up to: Quilt StoryYou Flew Tuesdays at Feather’s FlightsFinish it Up Friday at Crazy Mom QuiltsFriday Favs Party at Nap Time Crafters, Anything Goes Mondays at Stitch by Stitch, and while not quite a work in progress (because I couldn’t share it during the progress) Work in Progress Wednesday at Freshly Pieced.

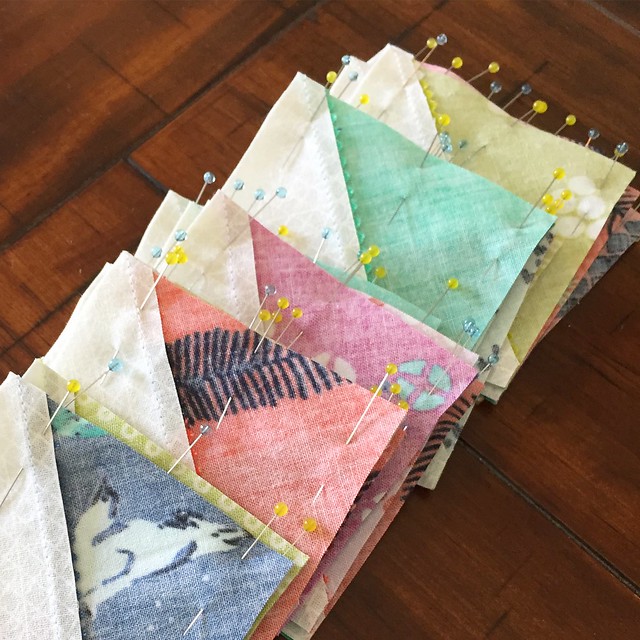
Bloom Bloom Pow, in progress

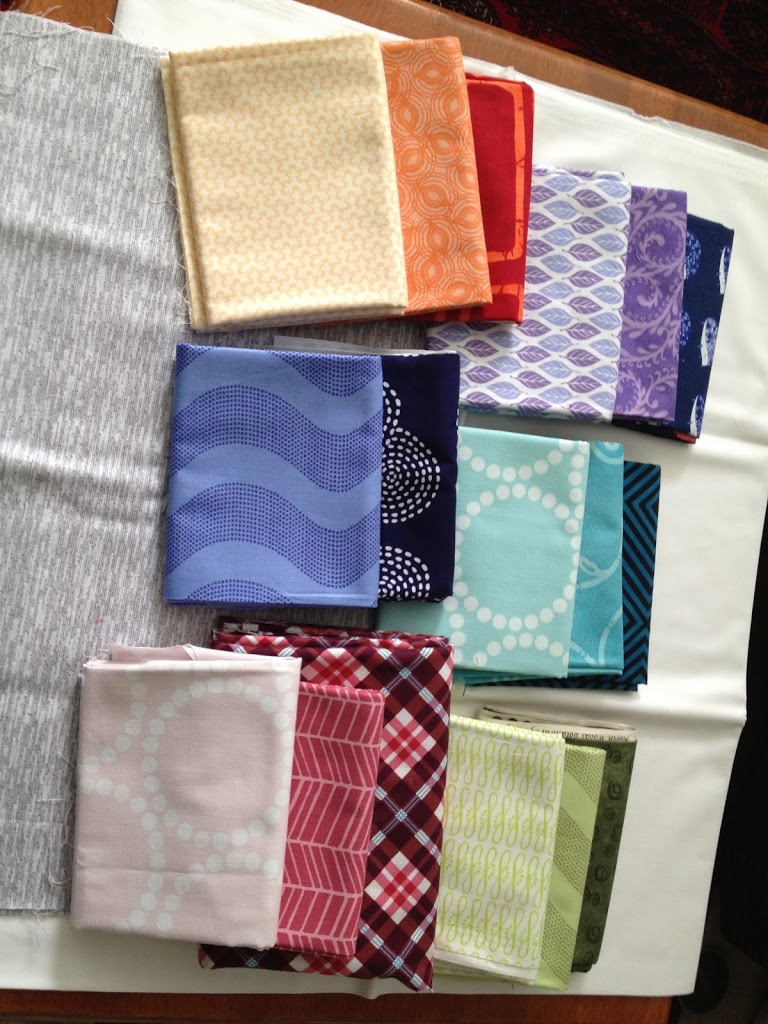
The Bloom Bloom Pow Quilt Along from Freshly Pieced looked like so much fun, but there was no way I could keep up with the schedule.  I tried to resist the lure, but the versions popping up in her flickr group kept calling to me.  I decided I could justify it if I used fabric I already had.  Below is what my home shopping trip yielded.  I debated the white background, and decided to go with grey.  I just pulled this piece until I could order a solid grey, but over time that design grew on me and I decided to just use that as my background for the quilt.  


Next came the cutting.  I will admit that cutting a 25 inch strip of fabric 2.75 inches wide is annoying and slow.  Luckily, I order my fabrics in half yard increments for the most part because if I was a fat quarter collector, this quilt would not have happened.  It was also while I was cutting that I realized if I make just a couple more rows, I could expand this to a twin size quilt.  That could help justify this quilt as a future bed quilt for the little girl, as opposed to yet another throw sized quilt that I already have enough of.  Some of my ideas are better in my head than in reality (work wise, not common sense wise) 🙂  This is also when I realized that for as many blocks as I needed, I was going to have to add some more fabric to the pull.


As stated before, the 25 inch strips take a lot of cutting and patience.  The stack of strips for 29 blocks is shown below.  Only 4 more to go!


Next step is the half block assembly.  I can only do about 9 at a time because of the number of pins I have free to use.  It is slow going, partially due to my time available and partially because I am doing other projects in-between.  


I now have 33 halves complete.  This is slow-going (even with strip piecing), but I think I am going to really like the finished product.  


Linking up to WiP Wednesdays!
WIP Wednesday at Freshly Pieced

WiP Wednesday/March Finishes: March 26, 2013

Life with a newborn is challenging and rewarding.  I usually get 2 naps a day before she demands to be held for 12 hours straight.  The first nap is full of basics like brushing my teeth and eating breakfast, but if I get a second nap it is my time (as long as there isn’t laundry to fold or a house to clean!).

Finished: 

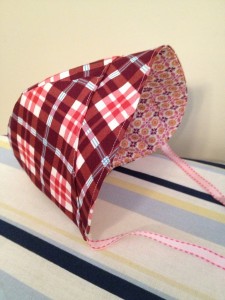
Bonnet. I used the design from Little Betty Designs to make a reversible bonnet for my baby girl.  I realized when I took her to the Arbor Day celebration at my husband’s work that everyone wants to hold her, but not everyone is so good about keeping her face shaded, so hopefully this bonnet will help.  The first one I made went a little slow, but I think as I get practice I will be able to make a couple more fairly easily.  I plan to attach velcro to the straps and cut them down shorter to use as the fastener.  The velcro should come apart easily enough to avoid any choking hazards from the hat.  I can’t wait to try this out on her!

Itty Bitty Baby Dress.  I used the pattern from Made By Rae to make this dress.  I found the pattern to be very small… and I even used the 0-3 month size instead of the newborn.  My 6 week old (admittedly she is on the larger size of the spectrum) barely fit into it, so she only wore it once to an Easter egg hunt.  The size issue is due to the construction because there is no opening in the back.  It was still cute the one time she was able to wear it and we got a lot of compliments.

In Progress: 

Quilt backs:

Plan C – I strip pieced one section of the back of the Plan C quilt, still need to iron.  I also decided on the fabric for the majority of the back.  The alphabet print from the new PB&J collection will be perfect – I just need to order it.

Out to sea baby quilt back – I was able to start on the wonky stars that will be a portion of the back.

Up Next: 

I still need to finish assembling my long arm.  My in-laws are coming this weekend, so hopefully while they are here I will get this done.

WIP Wednesday at Freshly Pieced My Button

WiP Wednesday/March Goals: March 6, 2013

It’s been awhile… life with a newborn is demanding.  She is good, but wants to be held approximately 23 hours a day.

Finished:

Absolutely nothing.  Emptying the dishwasher and eating meals at approximately their scheduled time is a victory for me right now.  

In Progress:

Quilt Backs.  The Out to Sea quilt is still the current priority.  I’ve started to pull fabric and have a couple ideas.  

Up Next:
I finally have the last parts for my longarm machine.  My mom is visiting this week, so I am hoping I can finish assembly while she is here to help with the baby.  Once that is complete, I need to get hot on the quilt backs so I can actually have something to quilt!

WIP Wednesday at Freshly PiecedMy Button

WiP Wednesday: February 13, 2013

I’m on a streak… two weeks in a row of actually keeping track of what I’ve done.  I also feel good doing something creative most days.  I am taking inspiration from a book –  Victoria Findlay Wolfe (aka V aka Bumblebeans), 15 Minutes of Play- a goal to create even if it is just for 15-30 minutes a day.  I am trying to do that, but some days it’s harder than others.


Finished this week: 


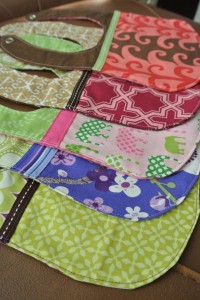
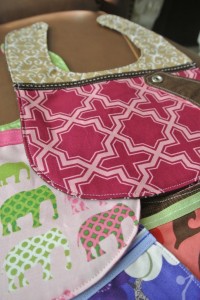
Bibs.  These are a little big for a newborn, but cute and will be used soon enough.  I used the pattern from Chickpea Sewing Studio.  Most have flannel as the back and I used snaps for all of them.  

Tag Blanket.  These are my go to baby shower gifts, so I figured I should also make one for my own little girl.  I love the combination of flannel and minky.  The ribbons all have different textures, and will hopefully be well loved.  


Boppy Covers.  The first one I made is the top one.  I used the pattern and tutorial from Vanilla Joy.  My only changes were to take in the top outside curves a little and I didn’t pre-wash my fabrics because I wanted it to shrink a little to fit better.  The second one I attempted to improve and do my own thing.  I hope to eventually make a version that I like better – for example I added a strip in the middle portion that stretches because I think it will hold up in the long run better than the seam in the tutorial and used an invisible zipper in the back seam portion so it won’t hit my legs.  However, my design is still not where I want it to be and you can’t beat the ease of the already ready to go one from Vanilla Joy.  

Vanilla Joy version

My attempt to improve… still needs more work.


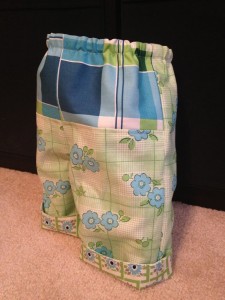
Quick Change Trousers from Anna Marie Horner’s “Handmade Beginnings”.  Pants were next on my to do list as I teach myself how to make clothes.  The pattern was fairly easy although time consuming due to having to get up, sit down, pin, iron, read directions, repeat times both sides of the pants.  I can see doing them again, but assembly line style – it would be multiple pairs of these pants to make it go more quickly.  They are very nice because they are reversible and all the seams are enclosed.  Due to being reversible, they are a little heavy so hopefully they will be fine in warmer weather.  I made these from the DS Quilts fabric collection.  

Side 1
Side 2

Baby!  My sweet girl was born on Monday.  I’m fairly certain that is the end of productivity as I know it, yet totally worth it 🙂

In Progress:


Out to Sea Quilt back.  Does pulling fabrics count?

Quilt Backs for the rest of my quilt fronts.  I started sewing together strips for the back of my “Plan C” quilt.  Moving more toward the back burner temporarily, but it still needs to get done.


Up Next: 

Quilt Backs.  Moving more toward the back burner temporarily, but it still needs to get done. 

Headbands.  No change.  I have a horrible fear that my baby girl will have no hair, so I want at least a couple headbands ready to go. 


Charity quilts.  No change.  I have one ready to be quilted, and fabric set aside for three more.  I have baby on the brain though, so it is hard for me to concentrate on non-baby projects. 


WIP Wednesday at Freshly PiecedMy Button

WiP Wednesday: February 6, 2013

I’m starting to get my sewing mojo back so to celebrate, I’m linking up to WiP Wednesday at Freshly Pieced.  I’m also ridiculously pregnant so sewing keeps my mind off how uncomfortable I am.
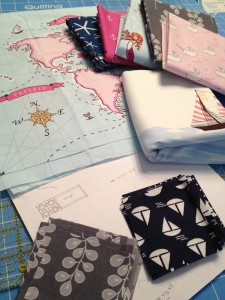
Finished this Week:

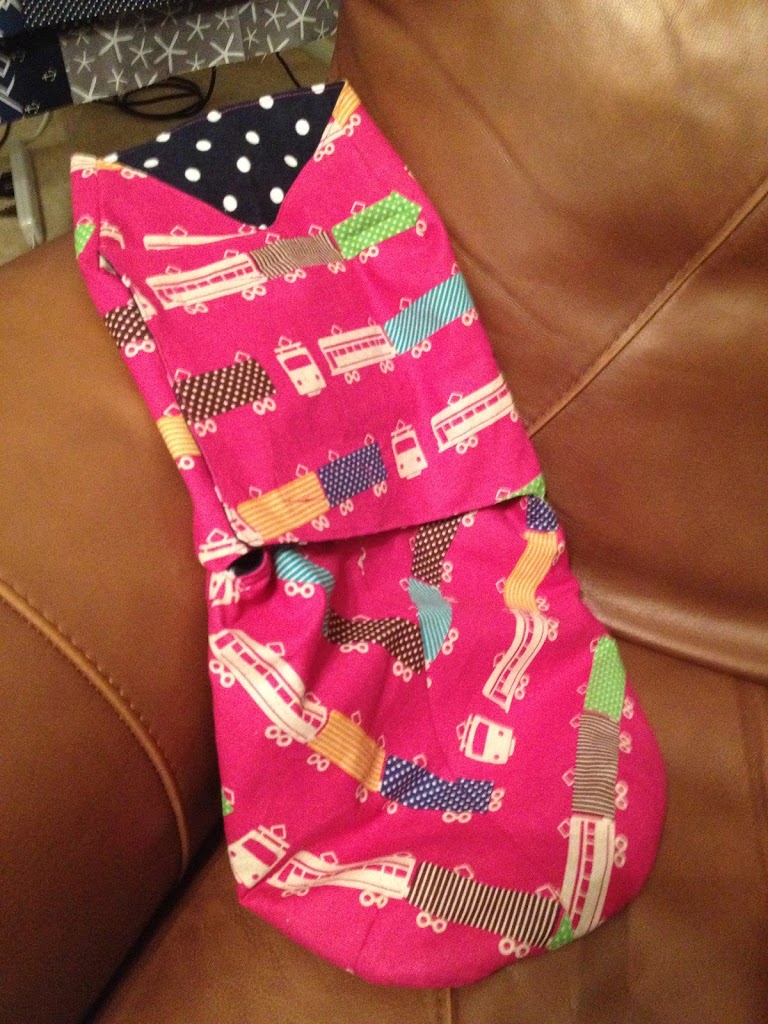
Snuggler.  I know not every baby likes swaddling, and I already have multiple muslin blankets to use for swaddling, but when I found the patter for Lotta Jandotter’s Snuggler I couldn’t help myself and had to make it immediately.  The fabric is Echino linen, the selvage says train.  I bought it awhile ago with a purpose and now love it for baby accessories although since it is true linen, I can’t use it for anything that will actually touch the baby.  I used flannel for the inside because it is too warm in North Carolina (even in winter) to use the fleece called for in the pattern.

Lotta Jandotter Snuggler

Baby Dress.  Continuing on a baby theme, I made the Little Geranium pattern in 0-3 months.  The pattern is by Made by Rae, and was a fantastic pattern considering I have never made a piece of clothing before in my entire life.  The fabric is from the Lisette collection at JoAnn’s Fabric and is a “voile”.  I am definitely going to buy the full pattern and be making more of these in the future.

Little Geranium Dress (0-3 months)

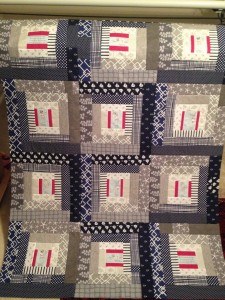
Out to Sea Quilt Top.  This started as a improv log cabin, but I’m blaming pregnancy brain on it turning into a bizarre cross between the coloring of a log cabin and the pattern of courthouse steps.  It’s not exactly what I pictured, but I’m still pleased with how it turned out.  Now to do a back for it….

Out to Sea Quilt Top

In progress:

Quick Change Trousers from Anna Marie Horner’s “Handmade Beginnings”.  Pants are next on my to do list as I teach myself how to make clothes.

Quilt Backs.  As I opened my closet where I store finished quilt tops, I realized that I have five quilt tops that don’t have backs ready for quilting.  I plan to start dedicating more of my time to improving my quilting skills, so I need to get these backs done ASAP.

Up next:

Headbands.  I have a horrible fear that my baby girl will have no hair, so I want at least a couple headbands ready to go.

Out to Sea Quilt Back.  Must…finish…quilt back… so I can quilt this! This quilt back is also my February task for “A Lovely Year of Finishes” over at Bittersweet Designs.

Charity quilts.  I have one ready to be quilted, and fabric set aside for three more.  I have baby on the brain though, so it is hard for me to concentrate on non-baby projects.

Baby!  This little girl’s due date is today, so hopefully she will be making an appearance soon.