My first Fairy Tale Dress was almost a year ago, and I adjusted it to make my daughter’s baptismal gown. At that time, I was still pretty new to garment sewing. I think it was my third dress ever. I chose to go from the Made by Rae Itty Bitty Dress, to the Made by Rae Geranium Dress, to the Oliver & S Fairy Tale Dress. It was a pretty big learning curve. Now that I have actually sewn the pattern as written, I feel better about writing a Fairy Tale Dress pattern review.
I have to say I was much more confident this time than I was last time. Although, last time I had the advantage of ignorance – I didn’t know enough to know that I had chosen a challenging pattern with silk and “scary” invisible zippers. If I had realized what I was doing was supposed to be harder, I don’t know if I would have finished it so quickly.
Pattern: Oliver & S Fairy Tale Dress
Fabric Required: From pattern (44-45″ wide): 1 3/4 yards of main fabric, and 1 yard of lining fabric.
Amount of fabric used: A little under 1 yard of main fabric (52″ wide), and a little under 1 yard of lining fabric. If anyone has a use for just over a yard of silver silk dupioni, please let me know!
Sizing: I used the 12-18 month size for width, 18-24 month size for bodice length, and I added 2 inches to the 18-24 month skirt length to make it mid-calf instead of knee length.
Alterations: I had to lengthen the front of the bodice by 1/2″. I just added the 1/2″ to the middle and tapered it to the normal length at the sides. It was a small change, but helped fit over the toddler belly a little bit better. I also tacked the collar down because it was flipping up too much for my taste when she tried it on pre-wedding.
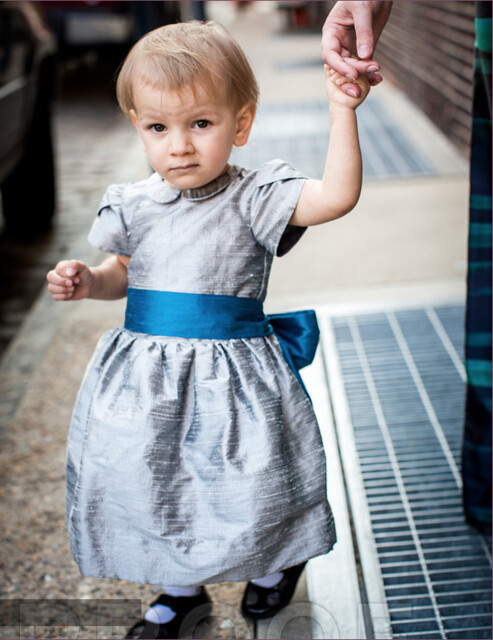
- Sash: I didn’t want to use either version of the sash as published in the pattern. I was hoping to have my daughter wear this for Christmas so I didn’t want to sew the sash to the dress. I liked the wide sash in the back, but sometimes the super wide sashes on the front of a dress overwhelms little girls. I decided to use the pattern pieces for the back, but sew it to a narrower portion for the front of the dress.
Instructions: As expected with Oliver & S, these were good instructions. I did use couple additional tutorials shown below.
Tutorials Used:
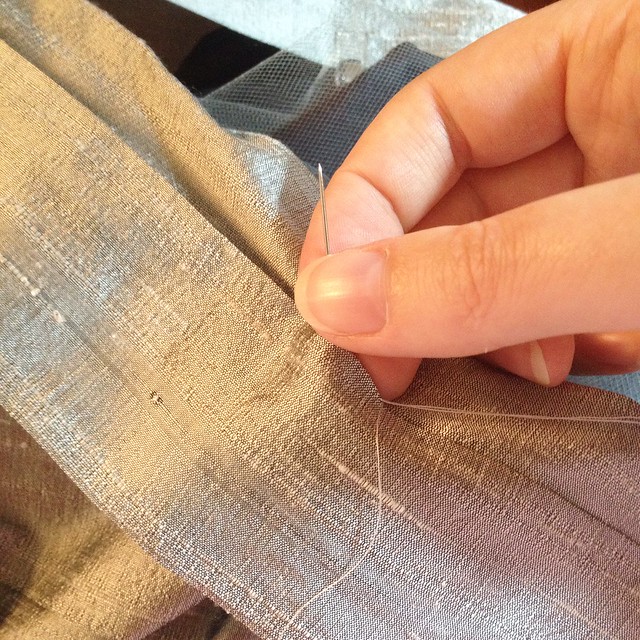
- How to hand stitch a hem – I used the slipstitch to hem the outer dress. I don’t hand sew many things, but it felt right for this dress.
- How to install an invisible zipper – Liesl’s instructions are good, but I like the photos in this tutorial.
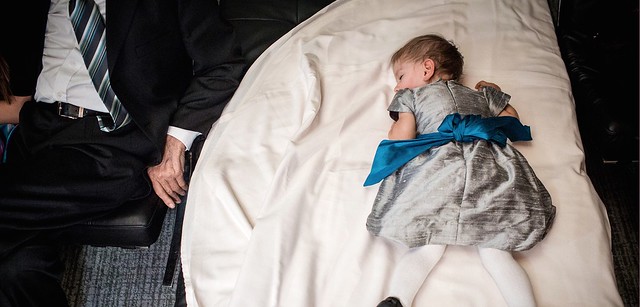
- How to Tie a Perfect Bow – This method worked great, it was a little worn by the end of the night, but that’s to be expected.
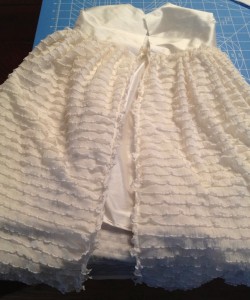
Pattern Issues: The only step that I had any issues with was attaching the zipper to the dress exterior. In some of the diagrams it showed the seam finished, in others it wasn’t, and it didn’t mention in the directions the right time to finish the seam. I was using a serger to finish the seams and chose poorly, because I should have finished that back seam before attaching the zipper. I ended up serging from the bottom as close as I could to the zipper. The rest of it gets encased in the lining. This dress won’t be going through a washing machine, so it will probably be fine.
Although, I do have to add – why is there not a table with the width of the skirts for each size? I hated having to print out 8 extra pieces of paper for the three skirt pieces when I knew I was just going to cut the skirt as one continuous piece. This skirt doesn’t need side seams. It makes it slightly easier to line stuff up, but as long as you mark where the side seams would have been there is not issue lining up the skirt to the bodice.
Fabric Choice:
– Outer: I used silk dupioni from NY Fashion Center Fabrics in 137 – Silver. I was fortunate that they had a Labor Day sale that lowered the price point when I needed to order it.
– Tulle: I also ordered the gray tulle from NY Fashion Center Fabrics in the same sale.
– Lining The lining was a cheap voile from Fabric Mart that appears to be out of stock now. I was too cheap, and should have used a better quality voile (even though it would have cost more). It looks fine in the finished garment, but it was so thin that it was horrendous to sew and I was fighting it the whole time. I think Tim Gunn has a quote that a successful garment starts at Mood, and he is so right. I thought I had learned my lesson on cheap vs. good value fabric, but I’m still learning it over and over.
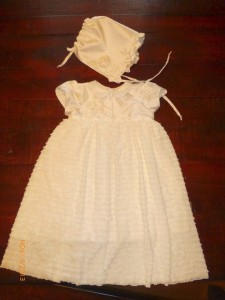
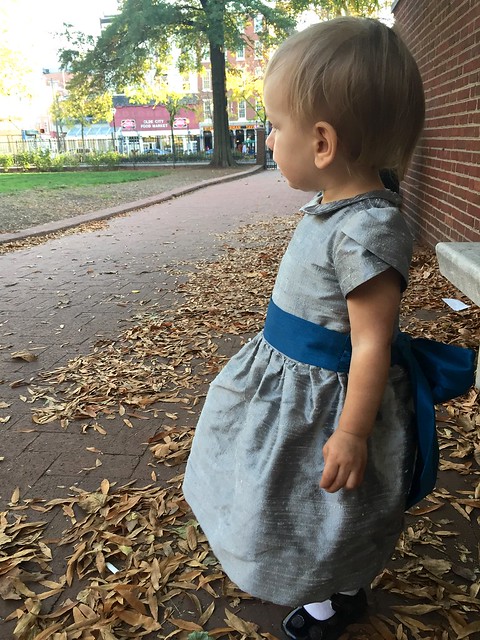
Finished Product: I love this dress as a party dress for a little girl. The color isn’t the best color for my daughter’s complexion, but she was the flower girl for a wedding whose colors were grey and blue. I only had 1/2 yard of the matching blue fabric, so I used that to make the sash.
Husband’s opinion: He loves this dress.
Final Thoughts: This is my second time making this dress, and I will probably make it again if another fancy occasion comes up. I may have to use a different collar or something next time so people don’t realize I keep using the same pattern over and over!
Linking up to: Sew + Show Wednesday @ Straight Grain, Show off Saturday at Sew Can She, Threading your way @ Threading my Way