Spinnaker Quilt for my dad

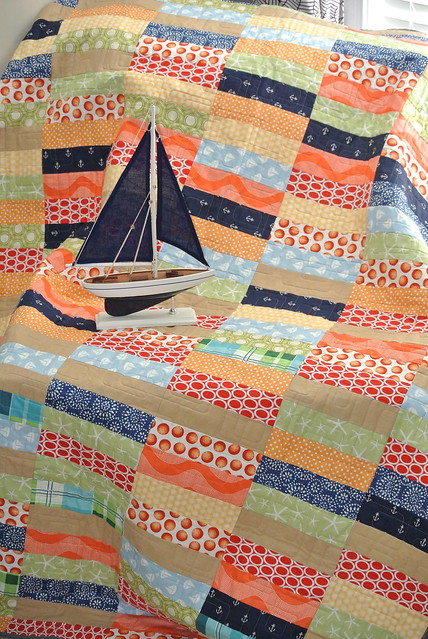
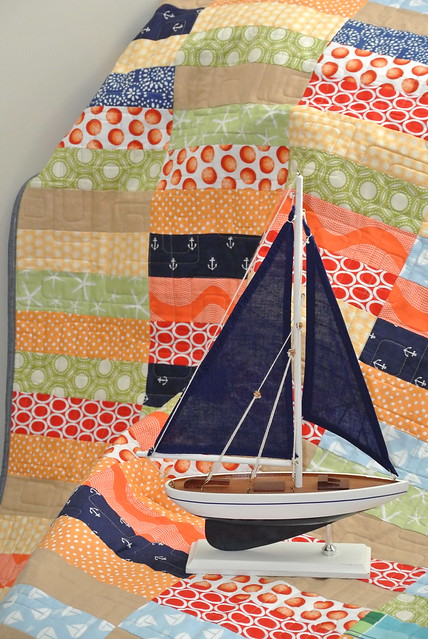
Now that Christmas is over, I can share the Spinnaker Quilt that I made for my dad.

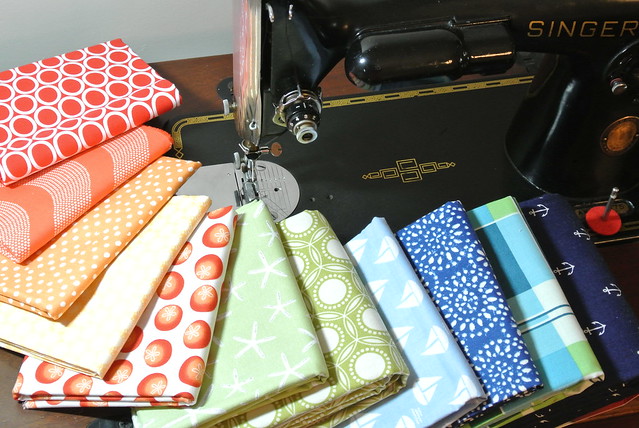
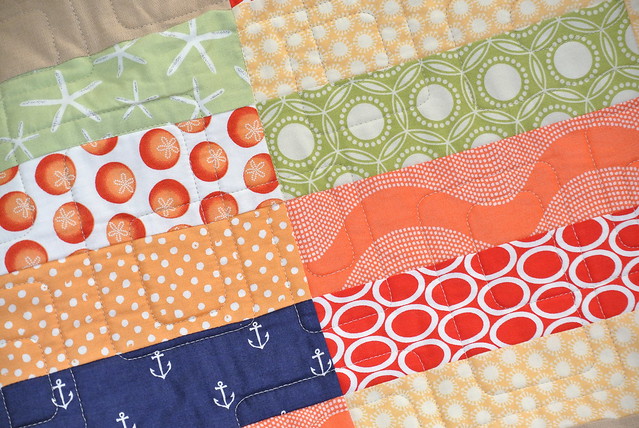
This summer I went to visit my parents and Grandmother in Wisconsin.  While I was there, my dad described a skirt he had seen and asked if I could recreate a quilt like it.  He wanted a quilt made up of rectangles about 2 inches by 8 inches in yellow, red, and green with some white in there to calm it down a bit.  His major descriptor was that he wanted it to be bright and cheerful.  Later, the request was modified somewhat as he said it reminded him of the colorful spinnaker sails at a sailboat regatta.

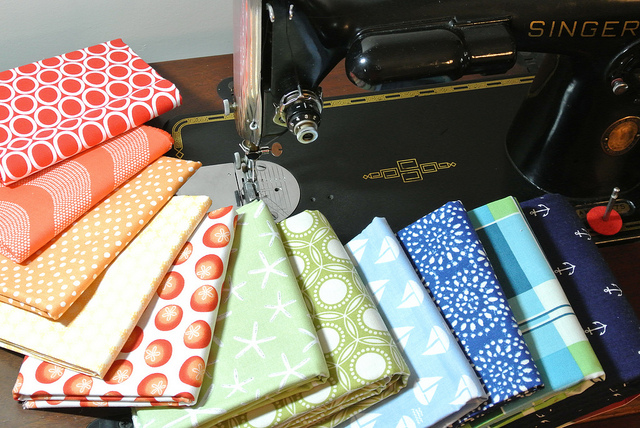
I had already pulled some nautical fabrics before the spinnaker theme was requested, so I knew I was going in the right direction.  My dad grew up around boats, and had a boat most of his life.  Some of my fondest memories growing up are from sailing down the Columbia River at dusk.

The making of the Spinnaker Quilt

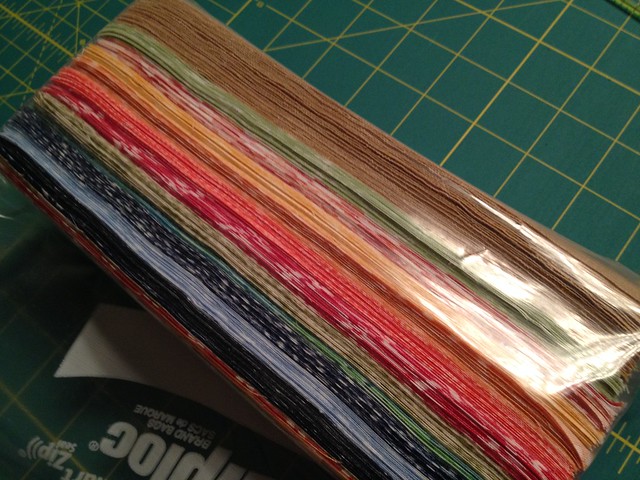
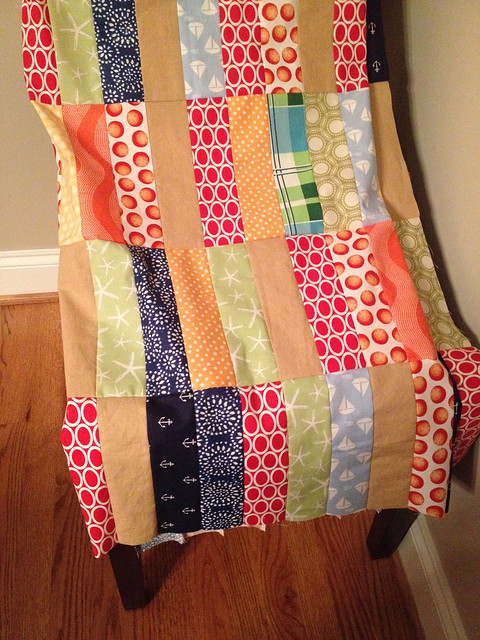
Each of the 238 rectangles in this quilt measure 2.5 inches by 8 inches prior to sewing.

The making of the Spinnaker Quilt

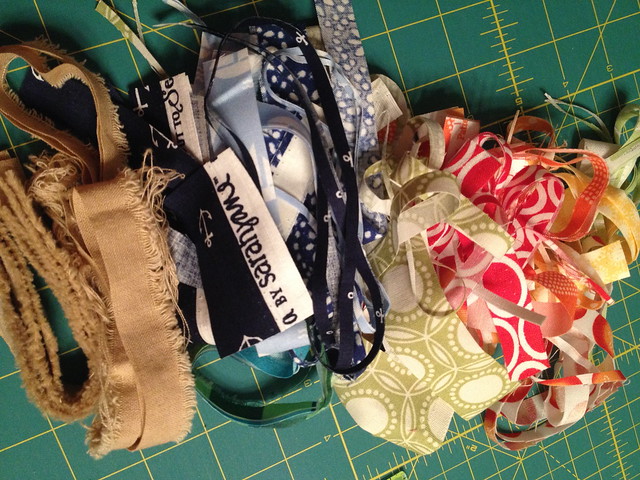
My trimmings turned out quite pretty, at least more so than usual.

The making of the Spinnaker Quilt

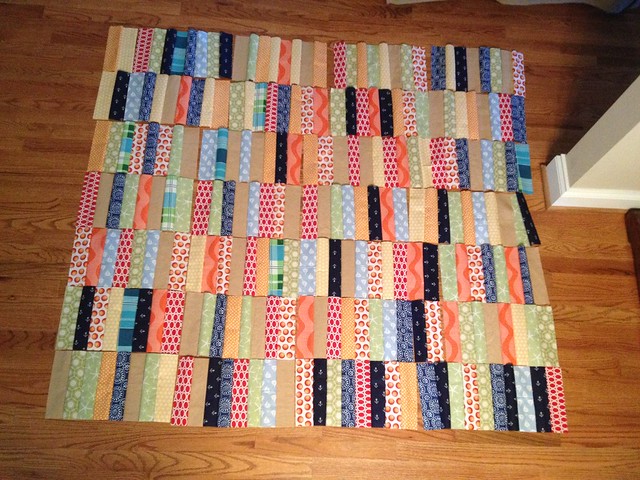
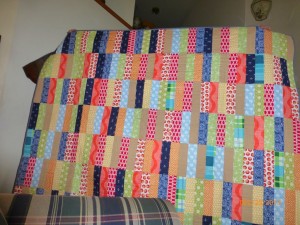
The layout is 34 rectangles vertically and 7 rectangles wide.  The top photo is prior to being sewn together – it was a risk to use the design floor with baby and dog around.

The making of the Spinnaker Quilt

The making of the Spinnaker Quilt

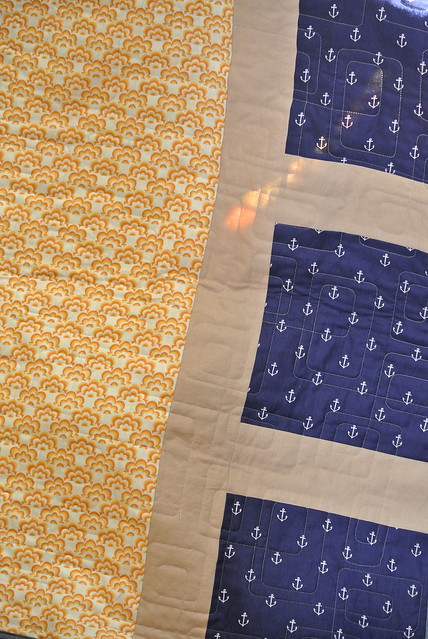
The back is pieced – I didn’t have enough of the one main fabric, so I pieced in the linen and anchor fabric as a design choice.  Plus, I think pieced backs are kind of fun.

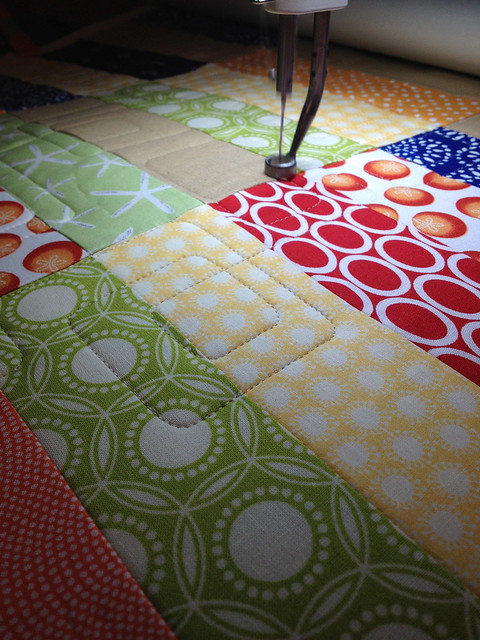
I chose to quilt it with a new panto – rounded rectangles.  I wanted something masculine, yet the rounded edges helped to soften the design.  I think a sharp quilting design would have been too much for this quilt.

The making of the Spinnaker Quilt

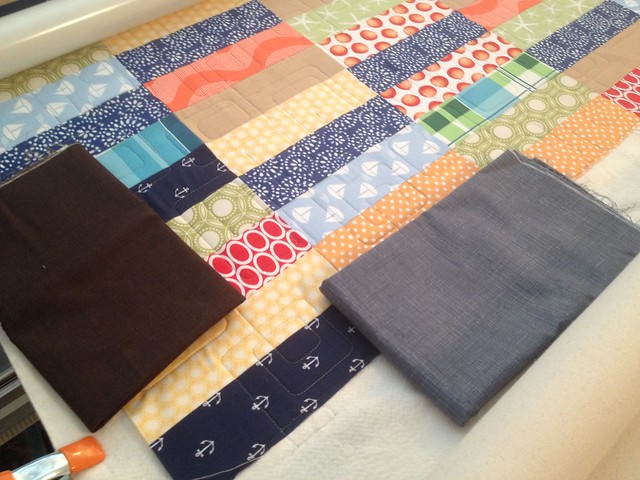
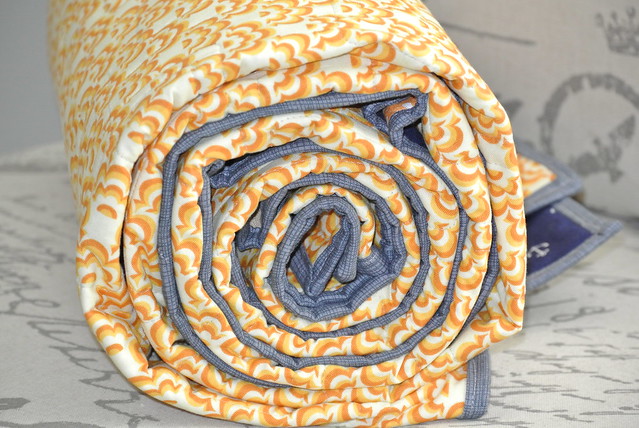
I debated about the binding, but after getting some confirmation from instagram friends, I went with the gray binding.  It fit the nautical theme much better.

The making of the Spinnaker Quilt

The making of the Spinnaker Quilt

And now for the stream of finished pictures… The quilt had been finished for several days before I finally had a sunny day to take them!

Spinnaker Quilt

Spinnaker Quilt

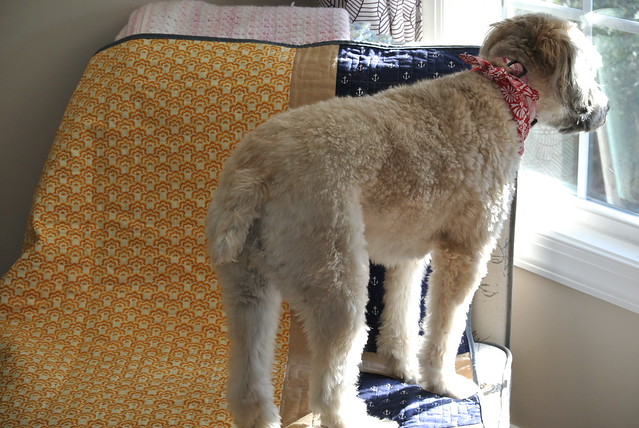
I had trouble taking pictures of the back thanks to my helpers – my two girls.  First, the dog wanted to see what was going on outside.

Spinnaker Quilt

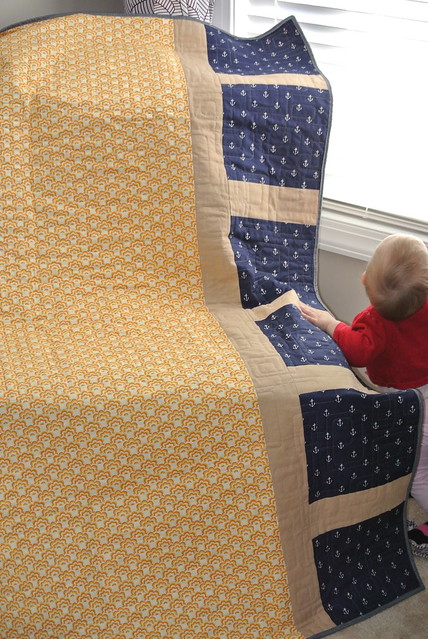
After I closed the window, the daughter walked over trying to figure out why she couldn’t see outside.

Spinnaker Quilt

It’s a very large throw, which made it a little difficult to get a photo of the entire thing inside my dry house.  I don’t risk quilts outside when it is wet.

Spinnaker Quilt

Spinnaker Quilt

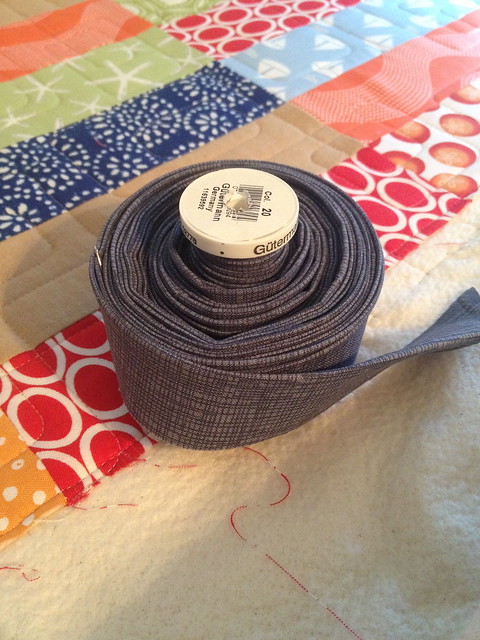
Lastly, the roll shows the binding color the best.

Spinnaker Quilt

My dad loved it! Below is my dad’s view of the quilt being shown off Christmas morning.  So much so that he said it was too nice to use and that he wanted to just hang it up.  Luckily, my mom (who crochets, and therefore understands that things are made to be used) told him it was too nice not to use and that he has to use it.  A successful Christmas quilt!
Spinaker QUilt

Linking up to: Quilt StoryYou Flew Tuesdays at Feather’s FlightsFinish it Up Friday at Crazy Mom QuiltsFriday Favs Party at Nap Time Crafters, Anything Goes Mondays at Stitch by Stitch, and while not quite a work in progress (because I couldn’t share it during the progress) Work in Progress Wednesday at Freshly Pieced.

How to sew a baby Santa Hat tutorial

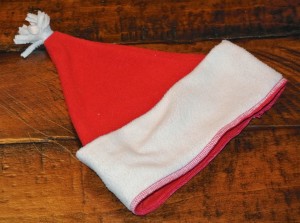
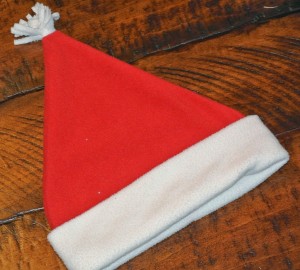
I was searching for a tutorial on how to make a baby Santa hat, and found crochet and knitting tutorials and patterns galore but nothing for sewing with knits or fleece.  I played around and made a couple cute versions for my daughter, so hopefully this very loose tutorial can help someone else.

If you choose to do the traditional santa hat, it is a bit easier.  I used a serger for this project, but it was really just because I have a new serger that I was excited and wanted to use.  A regular sewing machine would work just as well.

1. Measure your child’s head.  My daughter’s head was a little over 18.25 inches in circumference.

2. Make hat width about half of the child’s head size.  I made it 9 inches wide.  Cut bottom 9 inches wide, and then go up about 2 inches on the left and right sides of the hat.  For the band, cut white fleece rectangle 18 inches (double the red part’s width) by 6.5 inches.  Make sure the direction of stretch is widthwise when cutting all pieces.

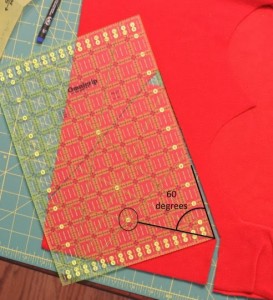
3. Cut the angle for the Santa Hat.  I made mine 60 degree angles using the marking on my quilting ruler.  I just cut up and let them intersect.

4. I cut the top part off because of how I was attaching the fleece pom pom.  If you are hand sewing, I would just leave the angle and sew it on once completed.  Don’t try to serge the fleece with the pom pom in it.  Don’t ask me why I know that.  Just trust me… it’s not worth trying to do no matter how clever it seems.

Example pom pom tutorials: 

5. Sew together the red top angled part of the hat.  If you are using a regular sewing machine, a straight stitch would work for this part.

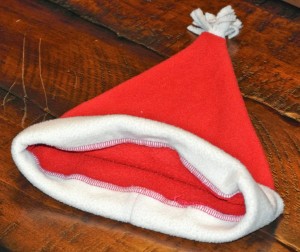
6. Sew the white rectangle band piece with right sides together on the short end.  Fold the band in half with right sides together.  Sew the white band and red hat together.  If you are using a regular machine, I would use a zig zag stitch for this part so that it will have some stretch to fit on your child’s head.

7. Fold the band down and it is ready for wear!

The skull cap version is a little bit more complicated, but not if you have a hat pattern.

Step one: Get hat pattern.  If you have a knit hat on hand that fits, you can trace it and then add seam allowances to get the proper size.  If you want to make a size 0-3 months, you can use the pattern provided at Zaaberry.  Her instructions on how to assemble the hat are very good and very well photographed, so I recommend using her tutorial for assembly.  
Step two: Cut out two hat pieces and one band piece.  The main hat pieces will be red and the band will be white.  Take care to make sure the direction of the fabric stretch is horizontal so that it can stretch and stay on your little one’s head.  
Step three: Make white pom pom or get pom pom for top of the hat.  Or buy some pom poms from the store, whatever is easiest.  Whatever method you use, make sure there is some thread or fleece or other method of attachment to sew into the hat.  If not, you can hand sew it on at the end.  
Step three: Prepare and Sew together the hat pieces.  Fold the hat piece in half and sew the cut out portion first.  Repeat for second piece.  Then put the right sides together and sew the half moon shape leaving the opening for the head.  Sew the rectangle band piece with right sides together on the short end.  Fold the band in half with right sides together.  
Step four:  Sew the band and hat together.

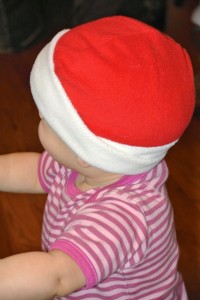
fleece baby santa hat

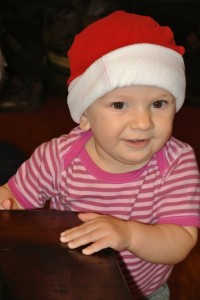
I originally had planned to sew a pom pom on the top, but it really fits better under a hood without one. The colors still read Santa hat without the pom pom.  Enjoy!

Linking up to: Make it, Wear it from The Train to CrazyFabric Tuesday at Quilt StoryYou Flew Tuesdays at Feather’s Flights, “We did it Wednesday” at Sew Much Ado and Friday Favs Party at Nap Time Crafters.